What can we help you with?
How to Obtain Outlook OAuth Credentials and Configure them in WSDesk?
Outlook OAuth is a secure and standardized method of allowing third-party applications like WSDesk to access and interact with Outlook accounts on behalf of users. OAuth enables users to grant permission to applications to access their Outlook data without sharing their actual login credentials.
With Outlook OAuth, users can authorize applications to perform actions such as reading, sending, and managing emails, accessing calendars and contacts, and performing other tasks related to their Outlook account.
In this article, we will demonstrate how to obtain Outlook OAuth credentials including the client ID, tenant ID, and client secret, and how you can set up Google OAuth settings in WSDesk.
Let’s get started.
To obtain Outlook OAuth credentials and configure them in WSDesk, you can follow the steps below:
Step 1. Register your application
- Go to the Microsoft Azure portal

- Log in with your existing Microsoft account, or sign up for a new one.
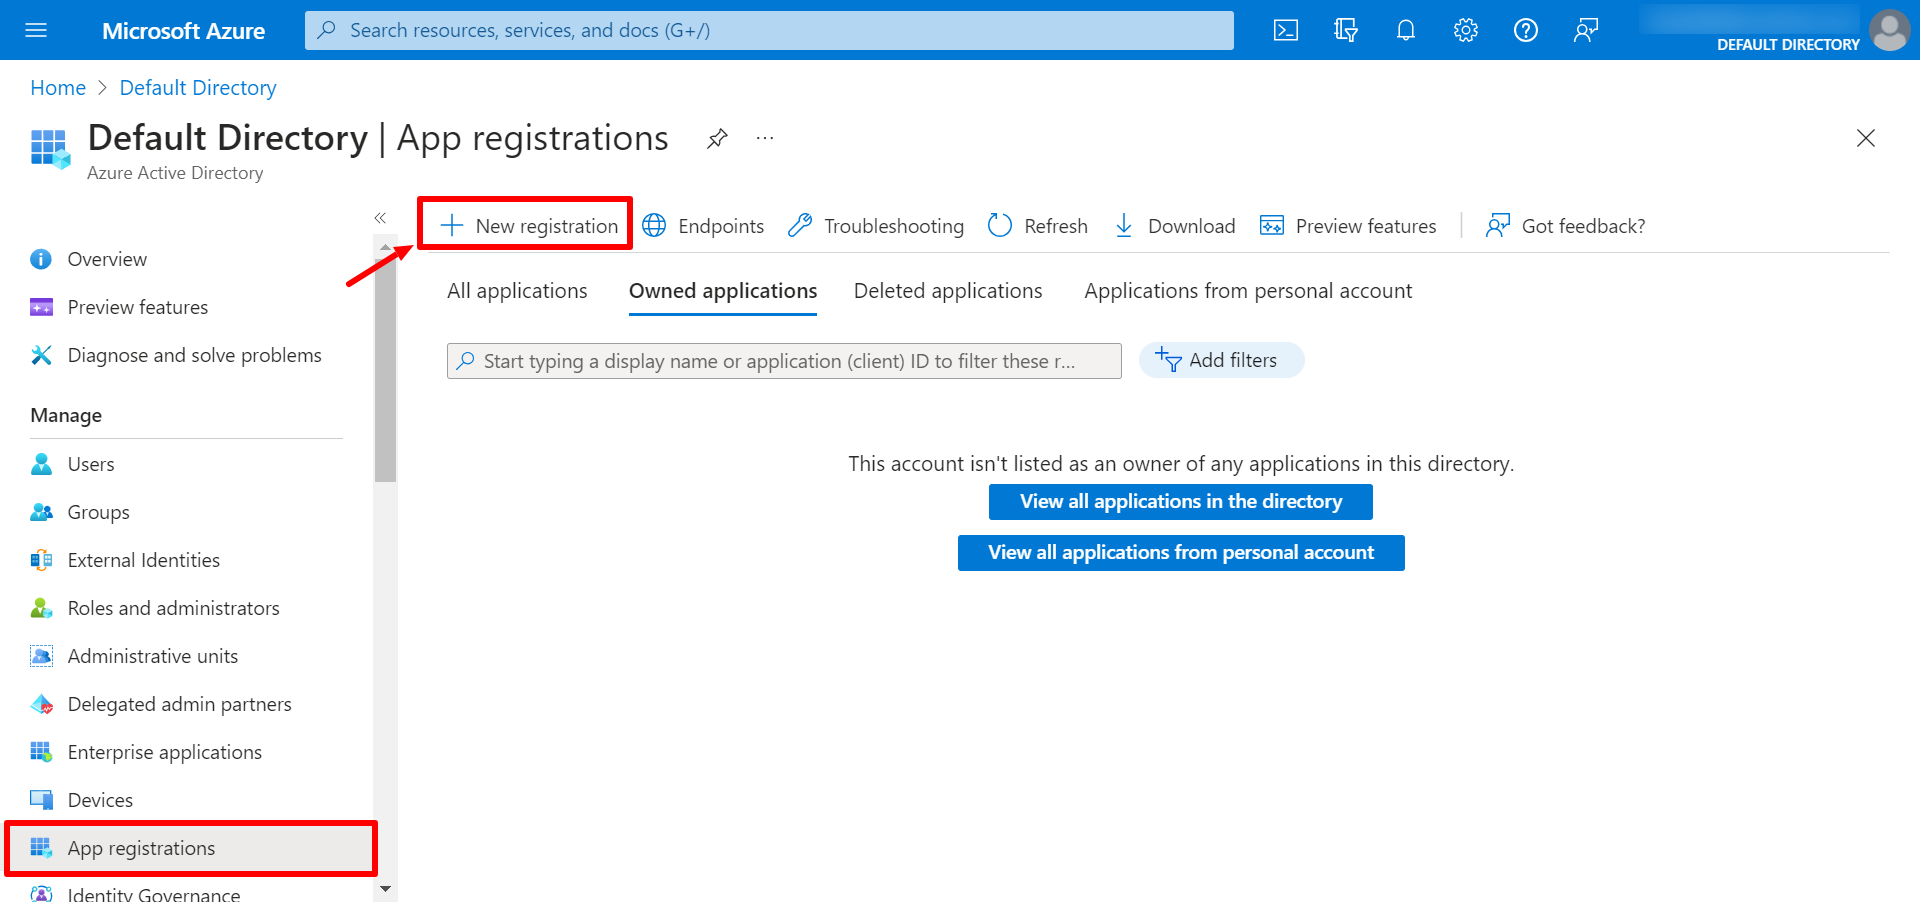
- Select “Azure Active Directory” from the side panel.

- Select “App registrations” and click on the “New registration” button.
- Provide a name for your application and select the appropriate account type.

- In the “Redirect URI” field, enter the callback URL where the OAuth response will be sent after authentication. Here, enter the link to the Outlook integration page on WSDesk. The link would look like this: https://yoursite.com/wp-admin/admin.php?page=wsdesk_email

- Click “Register” to complete your application.
Step 2. Obtain the client ID and client secret:
- Once your application is registered, you will be redirected to the overview page.
- Note down the “Application (client) ID” as it will be your client ID.
- Note down the “Directory (tenant) ID” as it will be your tenant ID.

- On the right-hand side of the essentials section, click on Client credentials > Add a certificate or secret

- Enter a description for the secret and choose an expiration period.

- Click on the “Add” button, and the client secret value will be displayed.
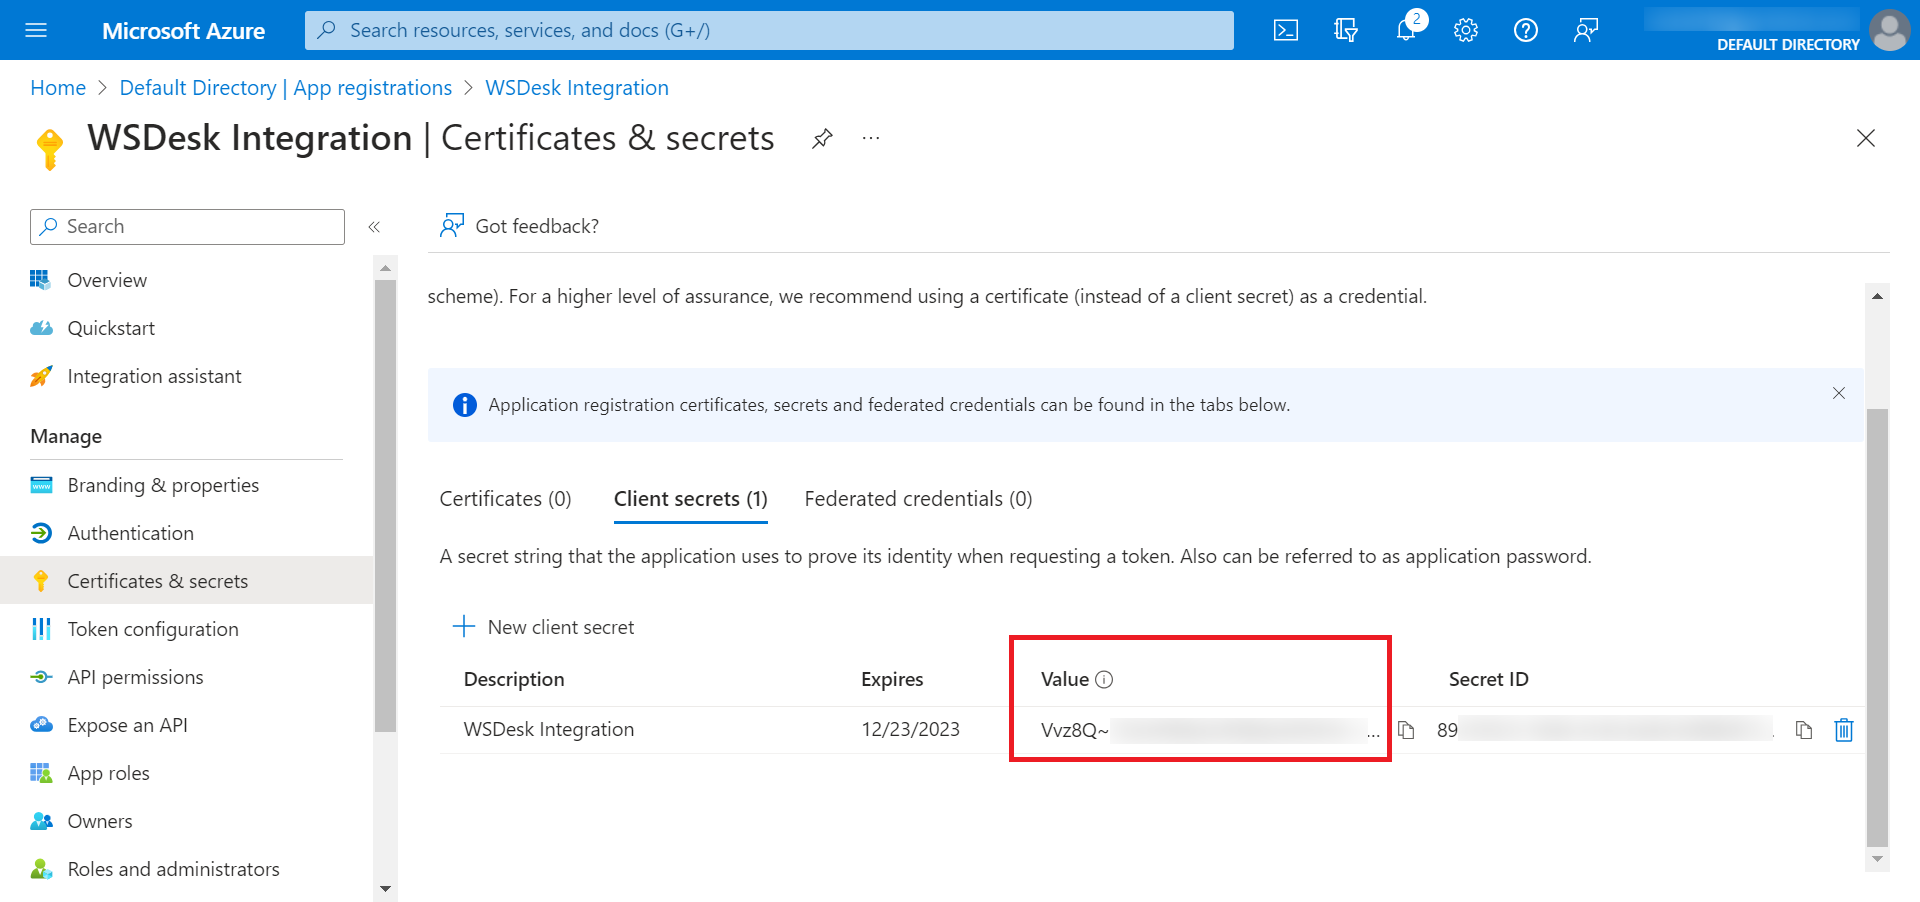
- Note down the value (Client Secret) as it will be required during the configuration process.
Step 3. Configure WSDesk with Outlook OAuth credentials
- Set up the WSDesk plugin on your WordPress site.
- Go to the Email settings by navigating to WSDesk > Email > Outlook OAuth Setup (Incoming)

- Enter the client ID, client tenant, and client secret obtained from the Azure portal into the respective fields.

- Click Activate OAuth. Accept the terms and conditions and click Proceed on the Outlook redirection page.

The Outlook OAuth configuration is now complete.
By following these steps, you will be able to obtain Outlook OAuth credentials from the Microsoft Azure portal and configure them in WSDesk to enable Outlook integration within the plugin.
To know how to set up the WSDesk plugin from scratch, you can go through the product documentation. If you have any questions, please feel free to get in touch with the ELEX support team.