In eCommerce, there are numerous pricing models. Suppose you want customers to recommend a price for your goods or wish to allow consumers to choose a donation amount on your website. You may efficiently handle this by implementing a system where customers can define the price or amount.
Accepting donations is an excellent approach for a non-profit to raise revenue. Most of these organizations want to make accepting donations online as simple as possible. Donation management solutions should be simple to operate and maintain. In this post, we’ll look at how to accept donations with the free WooCommerce Name Your Price plugin.
What is the ELEX WooCommerce Name Your Price Plugin?

The ELEX WooCommerce Name Your Price plugin allows you to take donations, invoices, or the price decided by clients to pay on your store.
It also helps to assess the market and lets you know how much clients are ready to pay for your items by putting the price decision in the hands of the customers. The flexible pricing model collects payment by imposing or advising a minimum price that clients must pay in order for your shop to be profitable.
On products where you accept a customer-specified price, the plugin also offers an option to set a minimum threshold price. As a result, you won’t have to worry about losing money on those products.
Let’s have a look at some of the plugin’s key features:
- Allows you to sell things at a price set by the consumer.
- Allows you to maintain a minimum threshold amount in order to avoid offering things for free.
- Allows you to conceal the product price.
- The settings for the products can be applied globally as well as for individual products.
- Simple and Variable Products are both supported by the plugin.
Create a Product to Accept Donations
Before we begin with the process of adding the Name Your price feature, let us create a product that will work as a donation-based product.
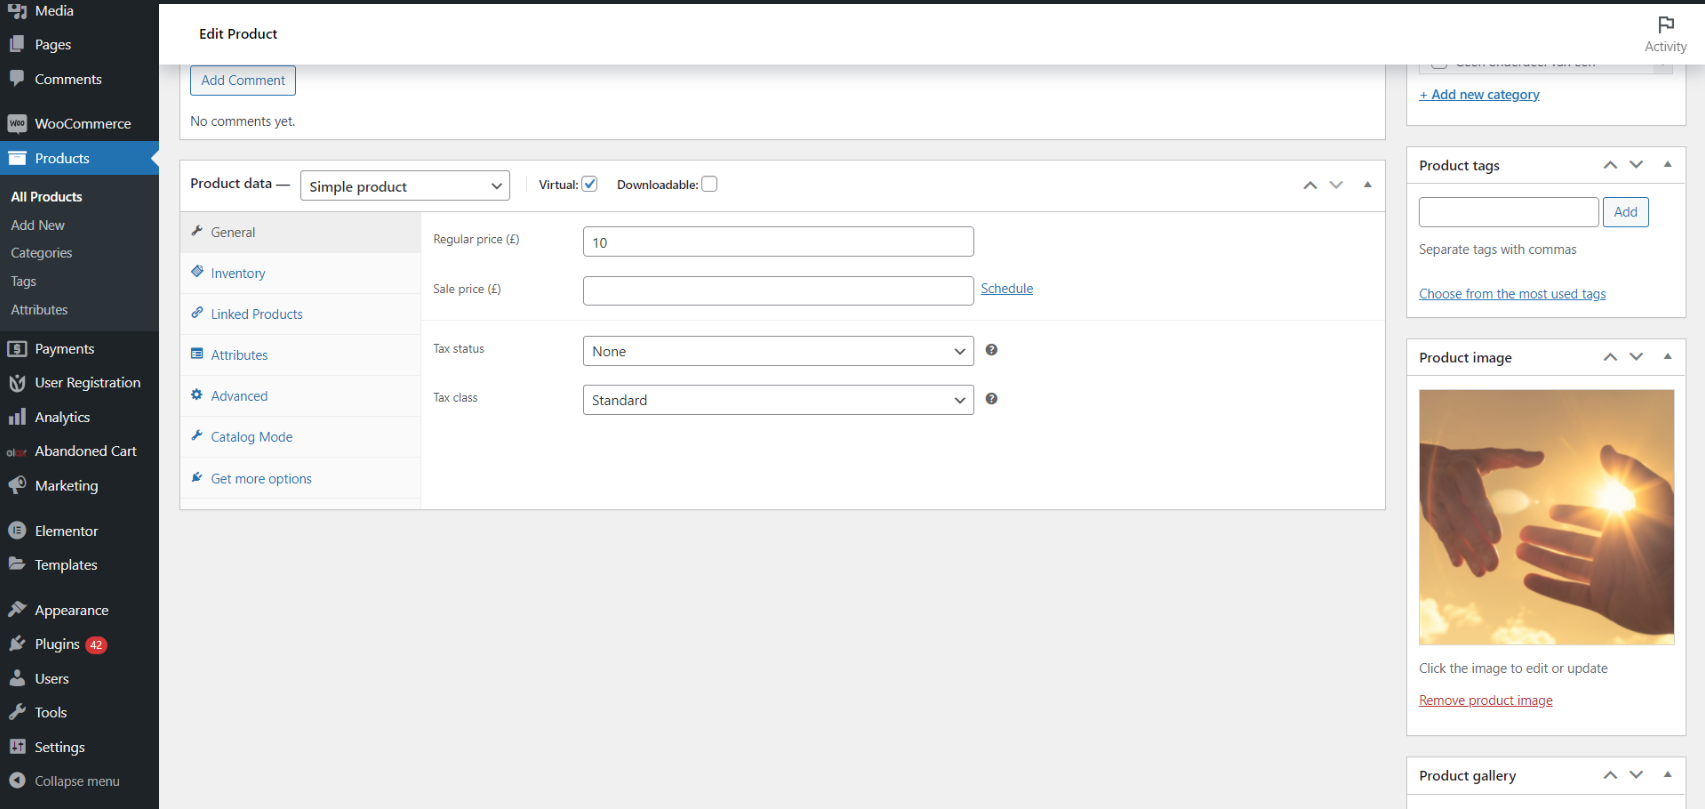
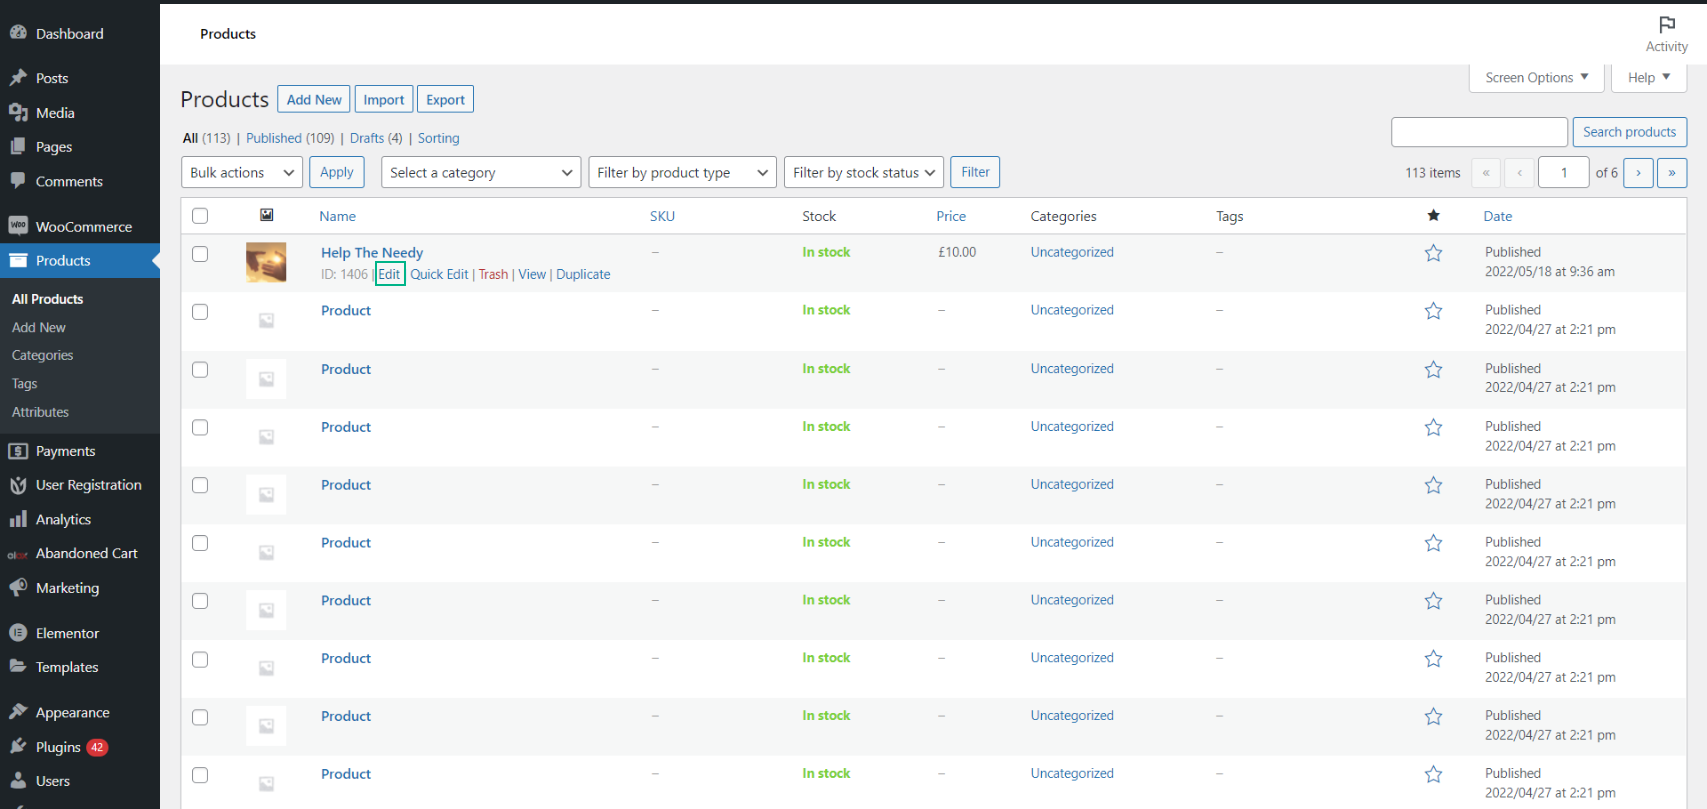
Start by going to WordPress Dashboard > Products > Add New. On the product creation dashboard, enter the required details. In our case, we will name the product “Help The Needy” and add a description.
We have also added a relevant image along with a Regular price of $10. Keep in mind that if you do not add a regular price, the product page will not display an add to cart button.
How to set up the plugin to accept donations?
If you wish to collect donations through your web platform, you must configure it appropriately. You can configure the settings once the plugin has been installed and activated.
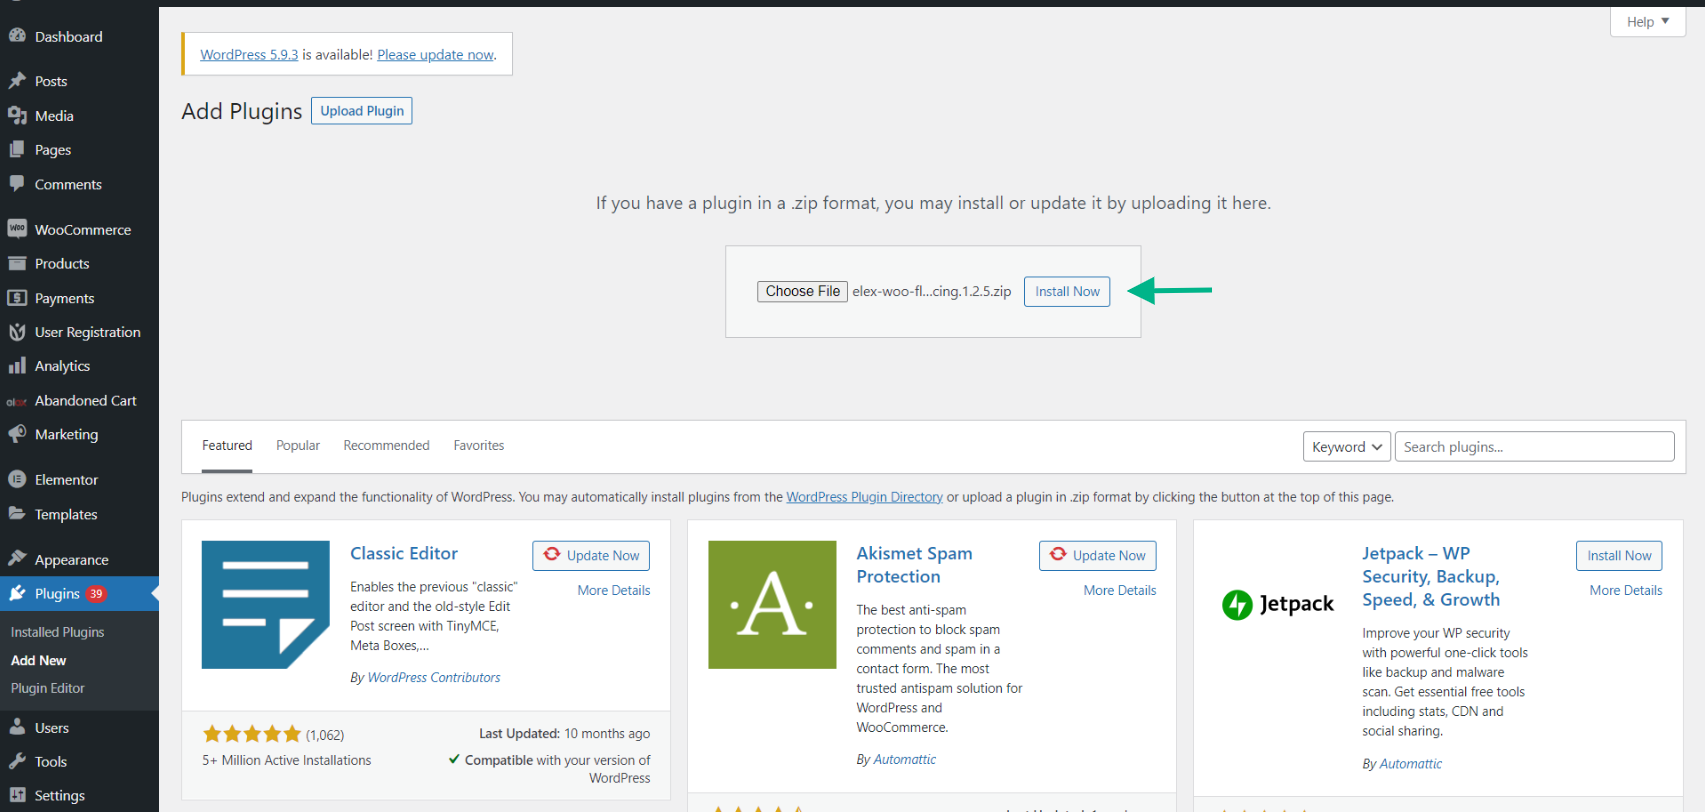
Begin by downloading and installing the free plugin. To do so, go to the ELEXtensions or WordPress website and download the ELEX Name Your Price plugin. After the download is complete, navigate to your WordPress Dashboard > Plugins > Add new > Upload Plugin > Install Now to install the plugin.
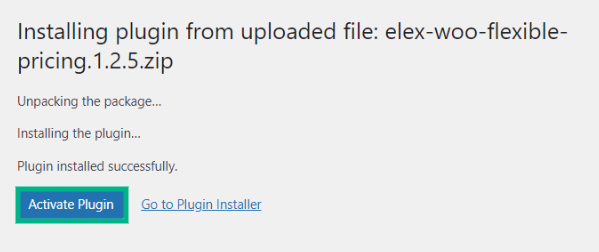
Click Activate Plugin after the installation is complete.
Now let us move on to configuring the plugin settings so that we can accept donations.
Step 1: Access the plugin
Go to the WordPress Dashboard > Plugins > Installed Plugins > ELEX Name Your Price Plugin > Settings in the admin settings to access the plugin. You may simply go to WordPress Dashboard > WooCommerce > Settings > Name Your Price to use the plugin.
Step 2: Tailor the settings to your satisfaction
Enable the Product Min Price to allow customers to choose a price at which they want to buy a product from your shop.
Then specify the minimum price in Set Min Price. This is the lowest price you want consumers to be able to buy your products for. You can also leave it blank if required. You’re letting your consumer spend whatever price they want for the goods if you leave it blank.
If the amount entered is less than the minimum price you’ve established, the consumer will be unable to finish the purchase. A message will display, prompting them to enter a value more than or equal to the minimum price you’ve specified.
Because we accept donations, it’s ideal to set a minimum price so that the total amount of donations received meets a certain level.
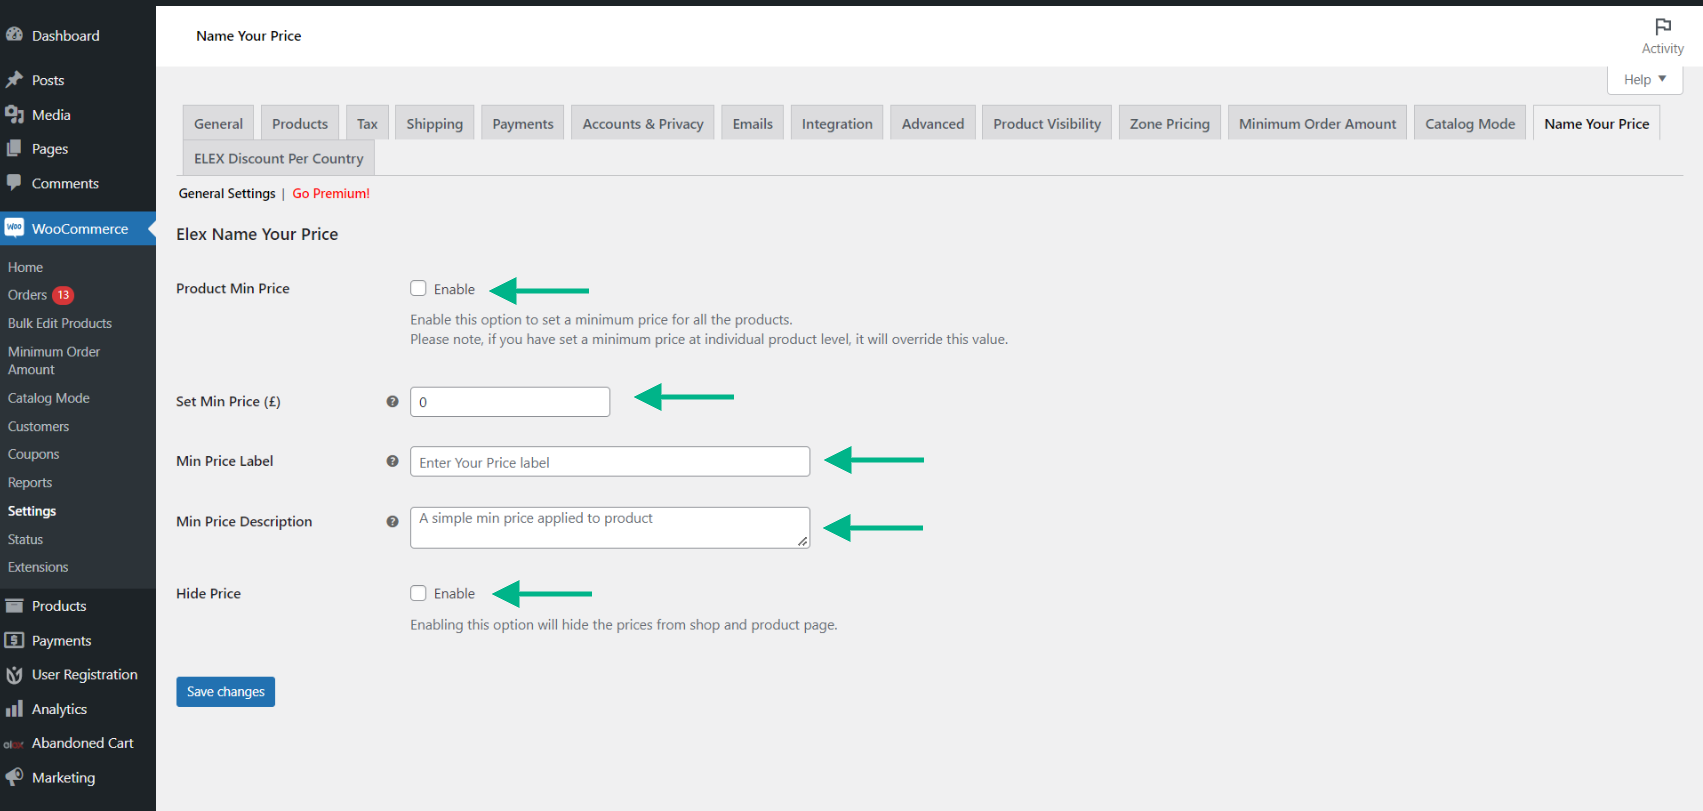
The Min Price Label, which is a custom text that will show beside the part where the customer must input the minimum price, is the next step.
Type a custom description in the Min Price Description field that will be displayed to purchasers.
For the sake of demonstration, we will enter “Donate to our cause” under the Min Price Label
And add a Min price Description stating “Be a part of our mission”.

The Hide Price option is another useful function. You may remove the price from the product page using this option. The consumer will only see the product’s minimum price, as well as the option to enter their ideal price for the product.
As we will be accepting donations, we will leave the Hide Price setting enabled.
Click Save Changes once you’ve finished adjusting the parameters to your liking.
Below, you can see the frontend view of the plugin in action. Keep in mind that the above-provided settings apply to all the products in your shop. This would be useful if everything in your shop is part of the donation run.

As you can see, the plugin is running efficiently. Now, the only part of the process left in order to create a donation run on your website is to change the text on the Add to Cart button to a more appropriate phrase, namely “Donate”.
In the next section, we will take a look at how to do the same.
Customize the “Add to Cart” Button on the Product Page
Now let us start customizing the “Add to Cart” button by installing and activating the ELEX Catalog Mode plugin like you would with any other plugin. The plugin is free with a bunch of features.
Once the plugin is active, you can access it by going to Dashboard > Plugins > Installed Plugins > ELEX WooCommerce Catalog Mode, Wholesale & Role Based Pricing > Settings.
The plugin dashboard consists of a variety of functions. Below, I have listed what each setting under Catalog Mode does.
- Remove Add to Cart: Remove the Add to Cart button and replace it with custom HTML content (from the store and product pages).
- Customize Add to Cart: Customize the Add to Cart button on the product and store pages (adding a custom URL as well).
- Hide Price: Hide simply the standard price (when the sale price is applied) or replace the price with a custom text message to hide the product price.
- Hide Cart and Checkout Page: For all user roles, hide the Cart and Checkout pages.
- Exclude Administrator: You may also opt to exclude the site administrator from the catalog mode settings by using the Exclude Administrator feature.
Once you enable Customize Add to Cart, a dropdown menu will appear. This includes three sections – Change Button text (Product Page), Change Button Text (Shop Page), and Change Button URL.
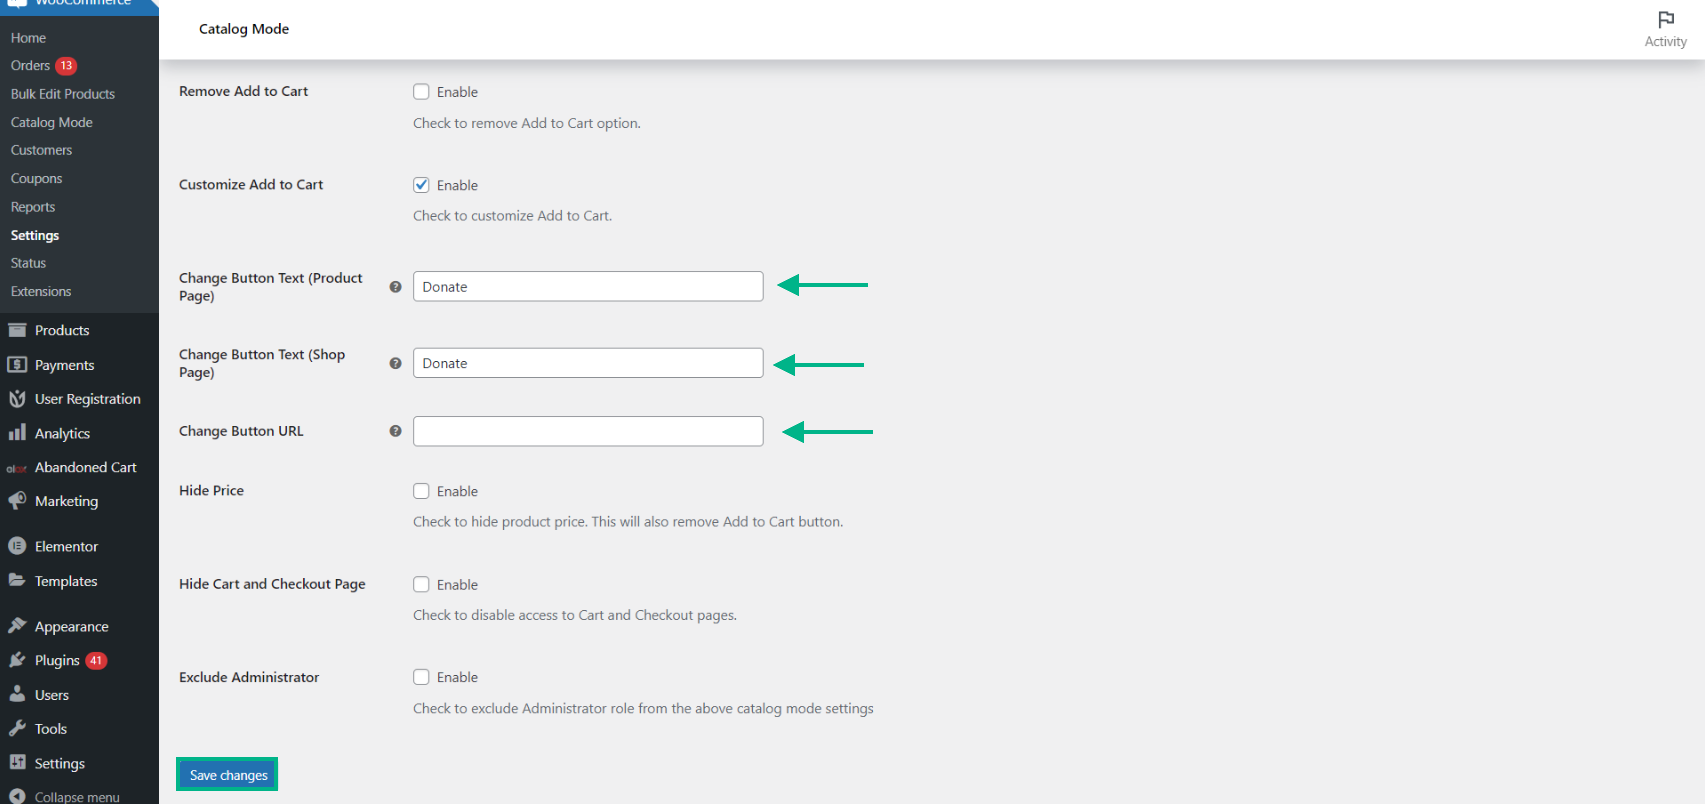
You can enter the required text in each of the fields, with the Change Button URL field consisting of the link to another page.
We are going to enter the phrase “Donate” in the change button text field and leave the link field empty.
Once you are done with the required customization, click Save Changes.
Below, you can see an example of the product page look with the customized “Add to Cart” button.

If you are satisfied with the free catalog mode plugin, you can purchase the premium version, ELEX WooCommerce Catalog Mode, Wholesale & Role Based Pricing. The premium version has all the features of the free version with a ton of extra features. Below, we have listed the vast array of features provided by the premium catalog mode plugin.
- Easily switch your WooCommerce store to catalog mode.
- The way catalog mode is applied can be customized.
- Replace the add to cart button with an optional text by removing or customizing it.
- Only particular user roles should have catalog mode settings applied.
- Set up sophisticated role-based pricing for the entire store or for certain goods or categories.
- Only registered users can utilize catalog mode options.
- The ability to establish new user rules is available.
- Create a CSV file with product information.
- Add a feature that allows customers to get a quotation.
- It works with any sort of goods.
- Compatibility with several languages.
To accept donations for individual products, check the next section.
How to accept donations for an individual product?
After you enable the plugin, you may also determine the minimum price at the individual product level, based on your store’s needs. Following that, all items will be eligible for the global minimum price you set in the plugin dashboard. To do so, go to WordPress Dashboard > Products and choose a product for which you want to establish a minimum price.
Go to the General tab by clicking Edit under the product and scrolling down to the product info metabox. In the Name Your Price box, set the minimum price.

Enable the ELEX Name Your price option and enter the minimum price, the minimum price description as you did in the previous steps. Once done, click Update.
Conclusion
A WooCommerce business owner will be concerned about a technique that asks the buyer to ”Name your price” However, studies suggest that the method has commercial benefits. As a result, you may use it on your WordPress website. The ELEX WooCommerce Name Your Price plugin is the best in this scenario and is perfect to accept donations on your eCommerce site.

