When it comes to advertising WooCommerce items, Google Merchant Center is one of the top marketing platforms. Millions of shoppers across the world use Google to look for items. It is the ideal platform for using the WooCommerce Google Merchant Feed to build Google Ads.
Google represents product information in the best way possible through search results and advertisements. It displays visually appealing search results depending on users’ search phrases. The information is displayed in a search result retrieved from Google Merchant Center in the form of Google Shopping Ads.
Google Merchant Center allows WooCommerce Store owners to easily place and maintain their product details. Users may compare the costs and characteristics of similar items, and if they find a good deal, they can also find out where to buy it.
Google Shopping advertisements have a higher conversion rate since they are aesthetically attractive and lively. Furthermore, advertising your items with Google Shopping advertisements is straightforward.
In this post, we will go through the process of manually generating and uploading your WooCommerce product feed to the Google Merchant Center. Before we go through the steps, let us take a look at a brief about Google Merchant center.
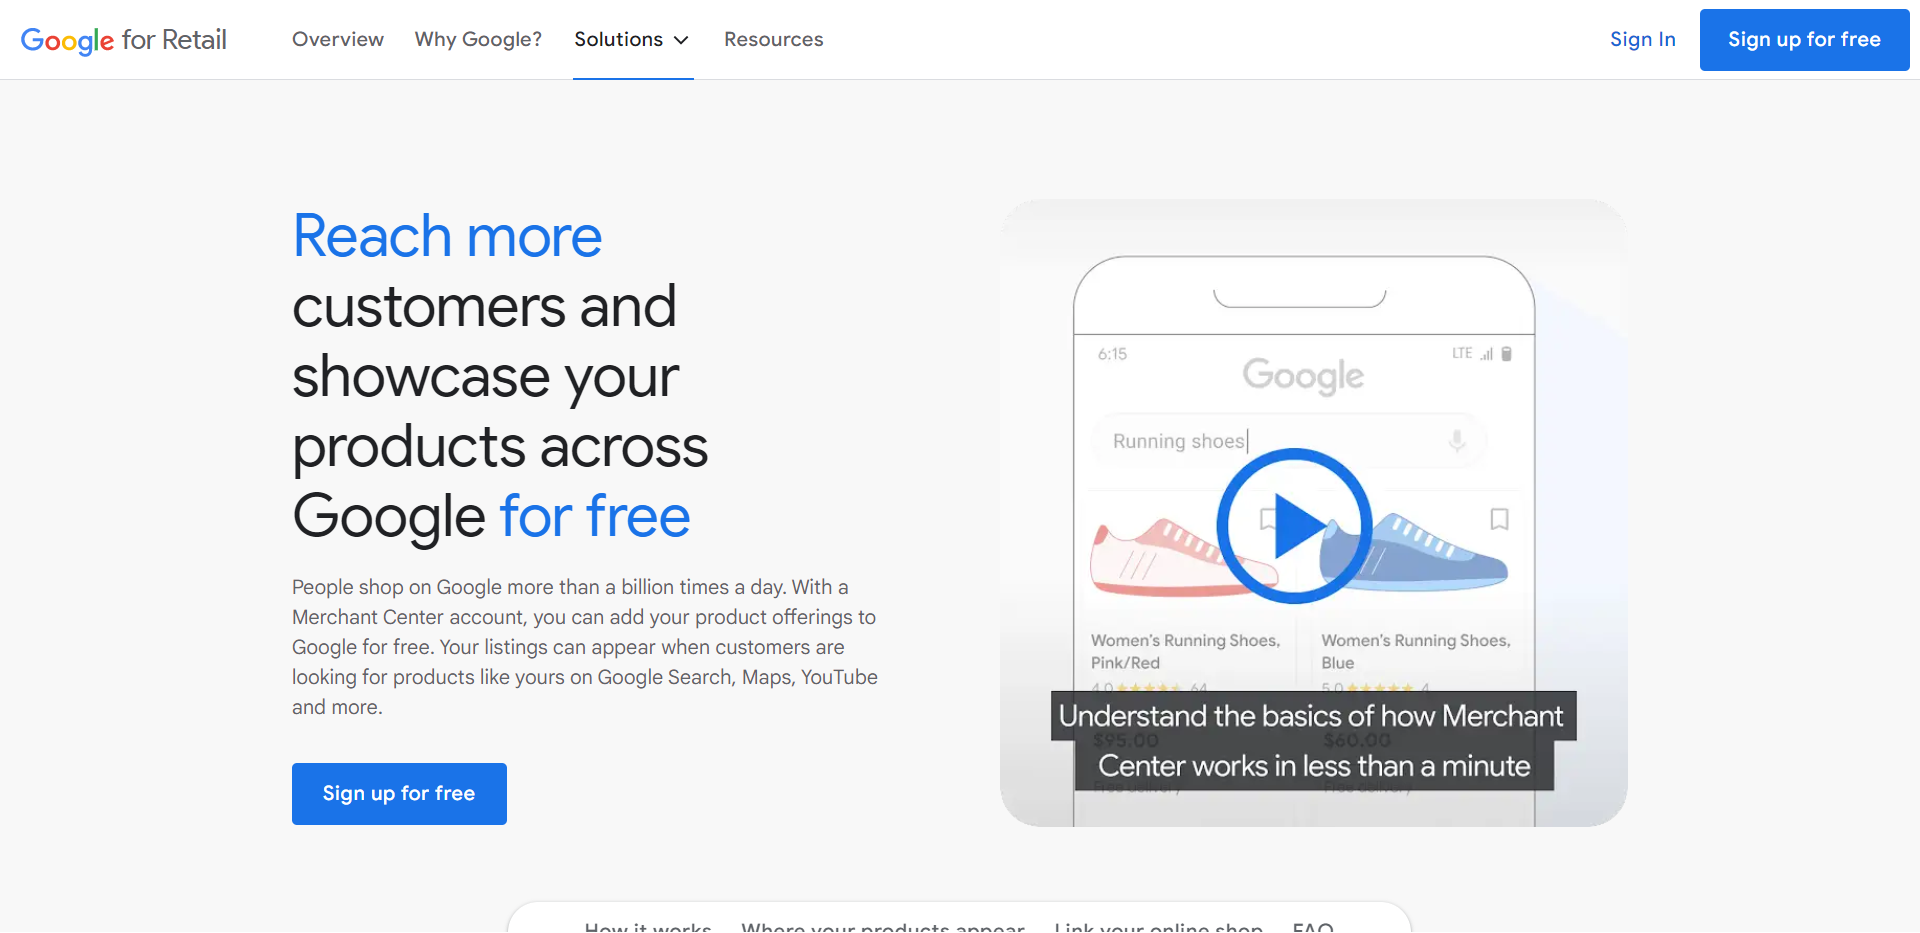
What is Google Merchant Center?
Online retailers may manage their visibility across all Google eCommerce products and update their web listings with the help of Google Merchant Center, which in simple words is a centralized online dashboard to handle the link between Google’s search engine and your eCommerce store.
The Google Merchant Center’s major objective is to give companies the ability to post and update product information, including images and prices so that it will appear in pertinent Google Shopping searches. In order to provide comprehensive monitoring and management over Google-based marketing and e-commerce, the Google Merchant Center also interfaces with other Google services, such as Google My Business.
Benefits of Using Google Merchant Center
After a company has successfully completed the setup procedure, the Google Merchant Center and associated services provide a number of advantages. A few of them are:
- Accurate listings: Customers will view the company’s items in a catalog-like fashion when they search Google for products, enhancing visibility.
- Google AdWords: Each product in the Google Merchant Center may be quickly and simply connected to certain AdWords advertising. Remarketing strategies can also be used to remind customers about items they’ve previously viewed.
- Compatibility with Google Analytics: Analytics users may create a Custom Segment just for Google Merchant Center data, keeping its statistics distinct from other types of data, in order to reduce confusion.
- Product reviews: Star ratings and integrated public reviews of items are shown alongside their listings. (Products with 4.5- and 5-star ratings are positioned more favorably.)
- Website funnels: Customers can be led directly to a product’s shop page on an e-commerce website by clicking the public listings.
- Integration with Google Local Search: Listings may have geographic tags that point customers to neighboring small businesses.
Now that we have a brief overview of Google Merchant Center and its benefits, let us go through the step-by-step process of setting it up with your WooCommerce product feed.
Keep in mind that the information in your product feed file must comply with Google’s standards. As a consequence, Google will be able to grasp the format of your WooCommerce product feed. But don’t worry, the plugin we’ll be utilizing in this instance takes care of everything.
Step 1: Creating a Google Account
To set up your Google Merchant Center account, you must first register a new Google account. You may also utilize it if you’ve already had a Gmail or Google My Business account.
Step 2: Provide Information About Your Business
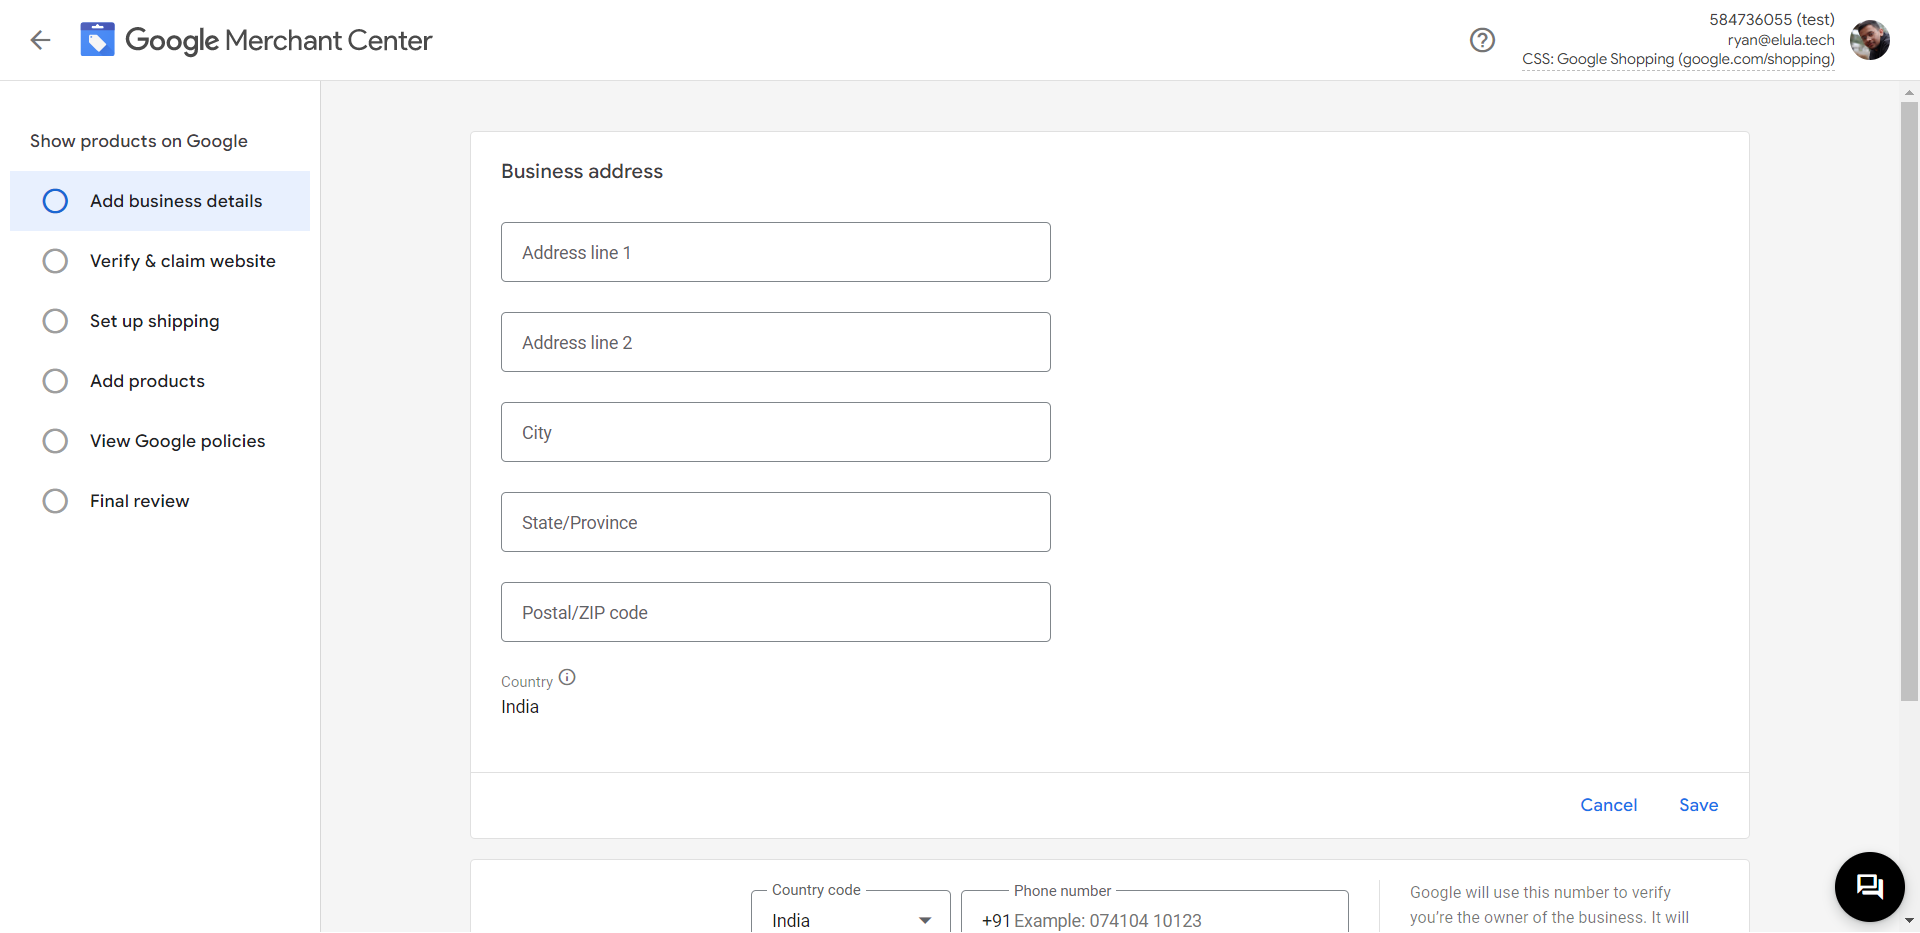
You must enter some important business and contact information on the following screen after logging in. First, include the nation where your company is registered. Second, enter the name of your store or website and the display name of your company.
Keep in mind that the name you submit will be shown to customers all over the world. Entering the time zone for the region where your company is located is the third step. Click Continue to move on to the next stage of creating a Merchant Center Account.
To finish the procedure quickly, you can also adhere to the instructions provided by Google on Google Merchant Center.
Step 3: Verification of Website
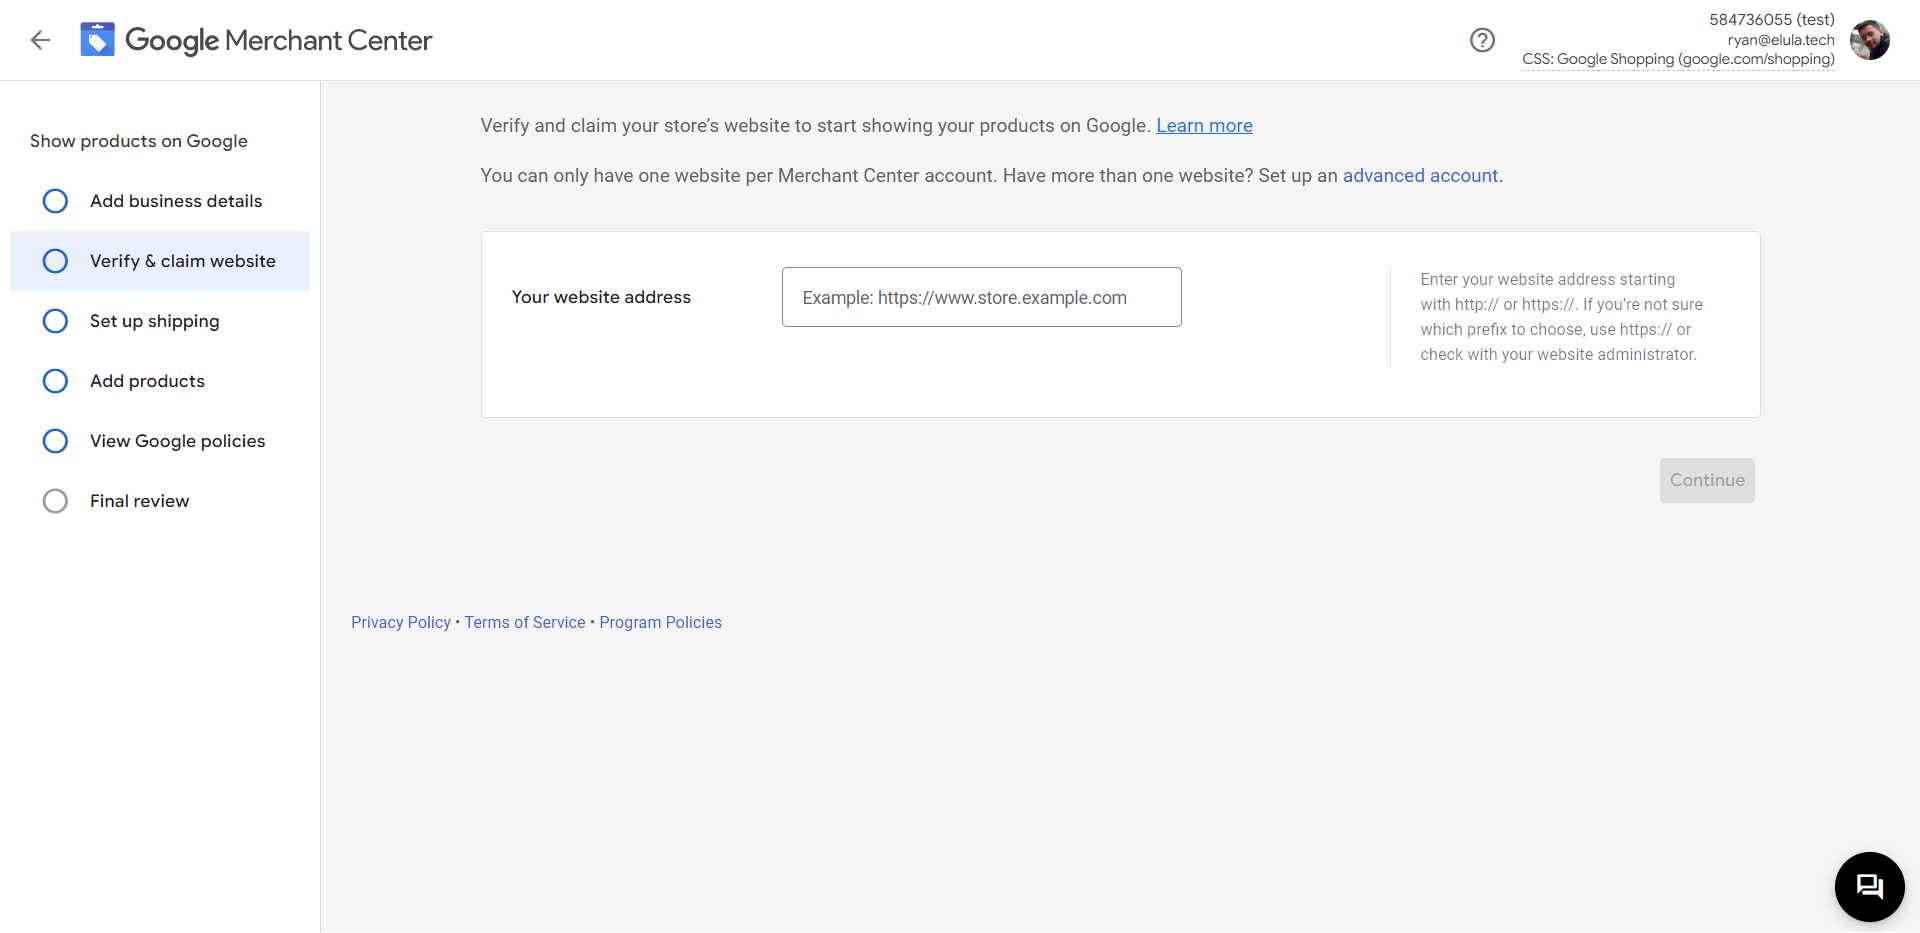
Now, confirm your ownership of your website URL by using Google’s verification method. Copy and paste your website’s URL in the field provided.
This procedure must be finished in order to verify that you are the legitimate owner of the URL for your website. Additionally, it enables you to link your website to your GMC account.
Step 4: Add Information Regarding Shipping

You must now provide the shipping details for your company. You must adhere to particular conditions depending on where you are shipping to.
The two most crucial pieces of company information are tax and shipping information. Customers will be able to view and comprehend the final cost of your goods. Set up this information in accordance with the shipping regulations of your country of business.
Step 5: Creating a Google Ads account
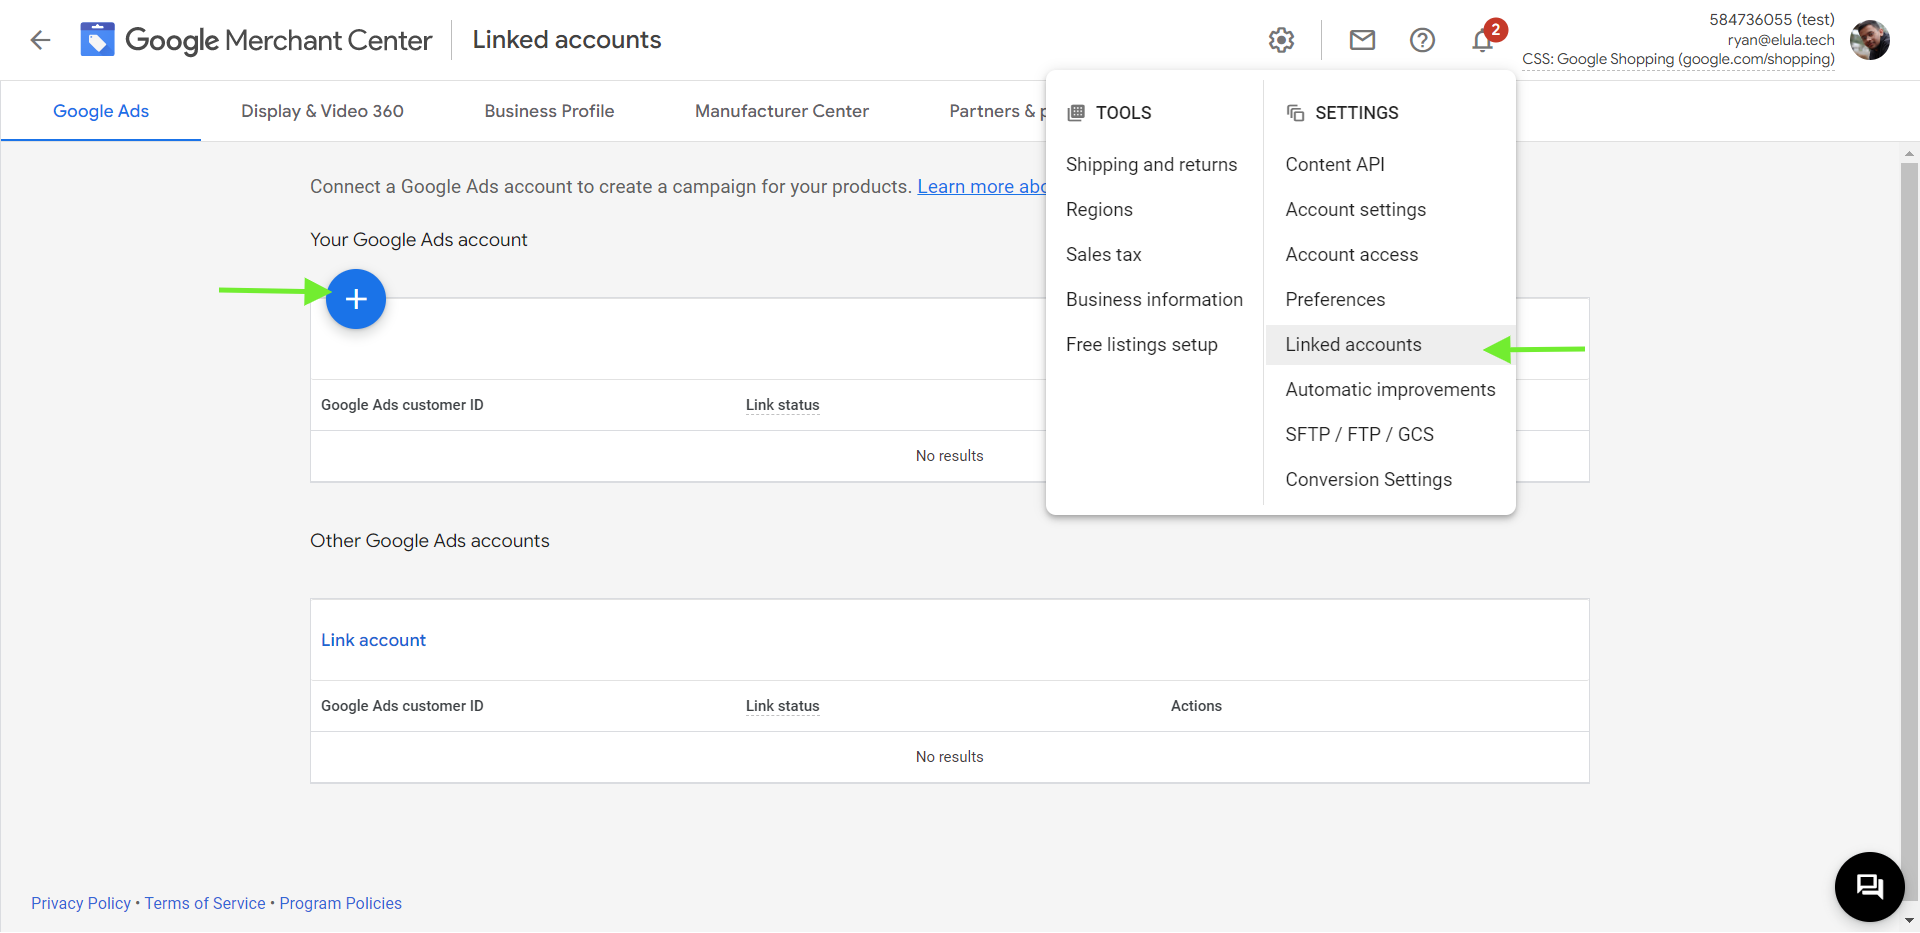
The next step is to open a Google Ads account and connect it to your current merchant center account. Select the settings icon on top and click Linked Accounts, then select the “+” icon under the Google Ads tab. Once notified to create a Google Ads account, you must click Create.
Now connect the Google Ads account using your Gmail account. To move on to the next stage, you might have to sign back into your Merchant Center account.
Step 6: Creating a Google Merchant Feed for your WooCommerce Store
Right now, you need to concentrate on the Product Feed because your Google Shopping Ads account is prepared.
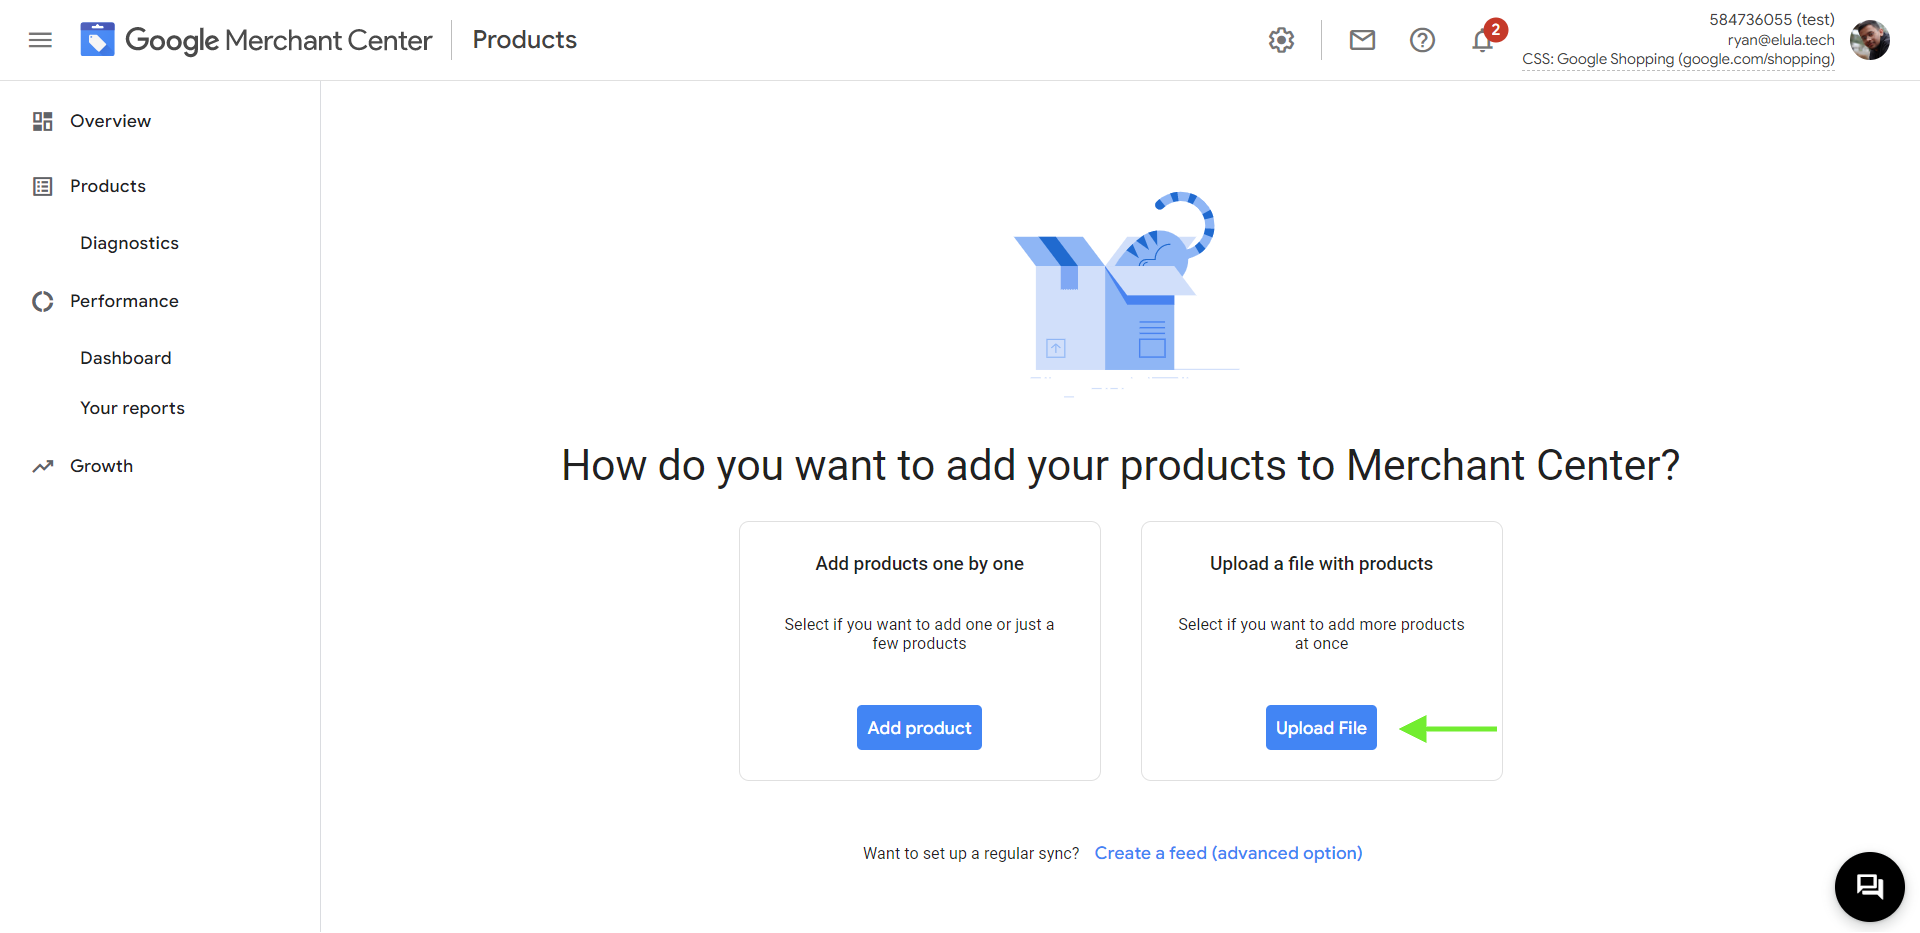
Select Products from the menu on the left. Now upload the product feed for your WooCommerce store by clicking Upload File under “Upload a file with products”. This is the last step and can be completed once we create our feed.
We will go through a few details about the plugin and how to create a feed to add to our recently created Google Merchant Center account.
A little About The Plugin
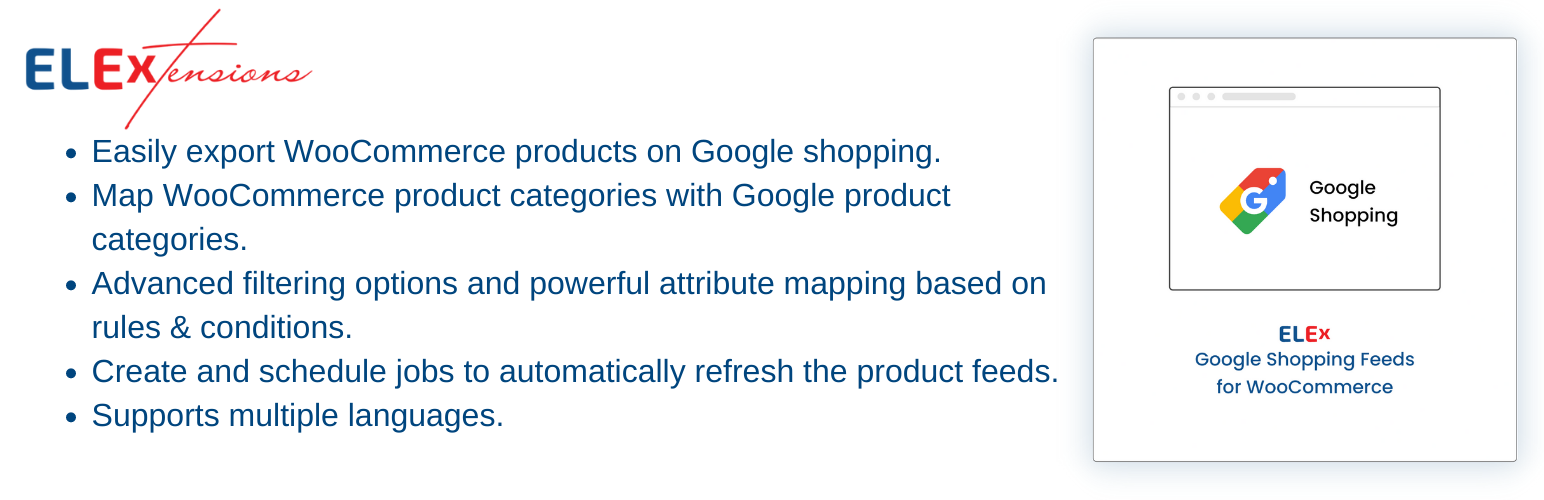
To create your WooCommerce store product feed, we’ll make use of the ELEX WooCommerce Google Shopping plugin. Following the incorporation of this plugin into your online store, adding your products to Google Shopping will be simple. A Google product feed may be readily built and supplied to Google Merchant Center as an XML, CSV, or TSV file along with a lot more benefits such as:
- The simple establishment of a feed of several WooCommerce products with accurate category and attributes mapping is made possible by this plugin.
- You may enhance sales by uploading the product feed you created with this plugin, which may help you get more visitors to your website.
- You may generate an endless number of streams based on your needs, and you can even schedule them.
- The plugin has multi-lingual support with languages such as English, Russian, Spanish, French, and German.
- It is simple to edit, copy, download, stop, remove, or renew a live broadcast.
- You may also make updates and changes to the XML, CSV, and TSV files you currently have.
Plugin Dashboard
By heading to WordPress Dashboard > Plugins > Add New > Install Now after downloading the plugin, you may install and activate it just like any other plugin.
Click Activate Plugin after the installation is finished.
You may access the plugin now that it is activated by heading to WordPress Dashboard > Google Shopping Feed.
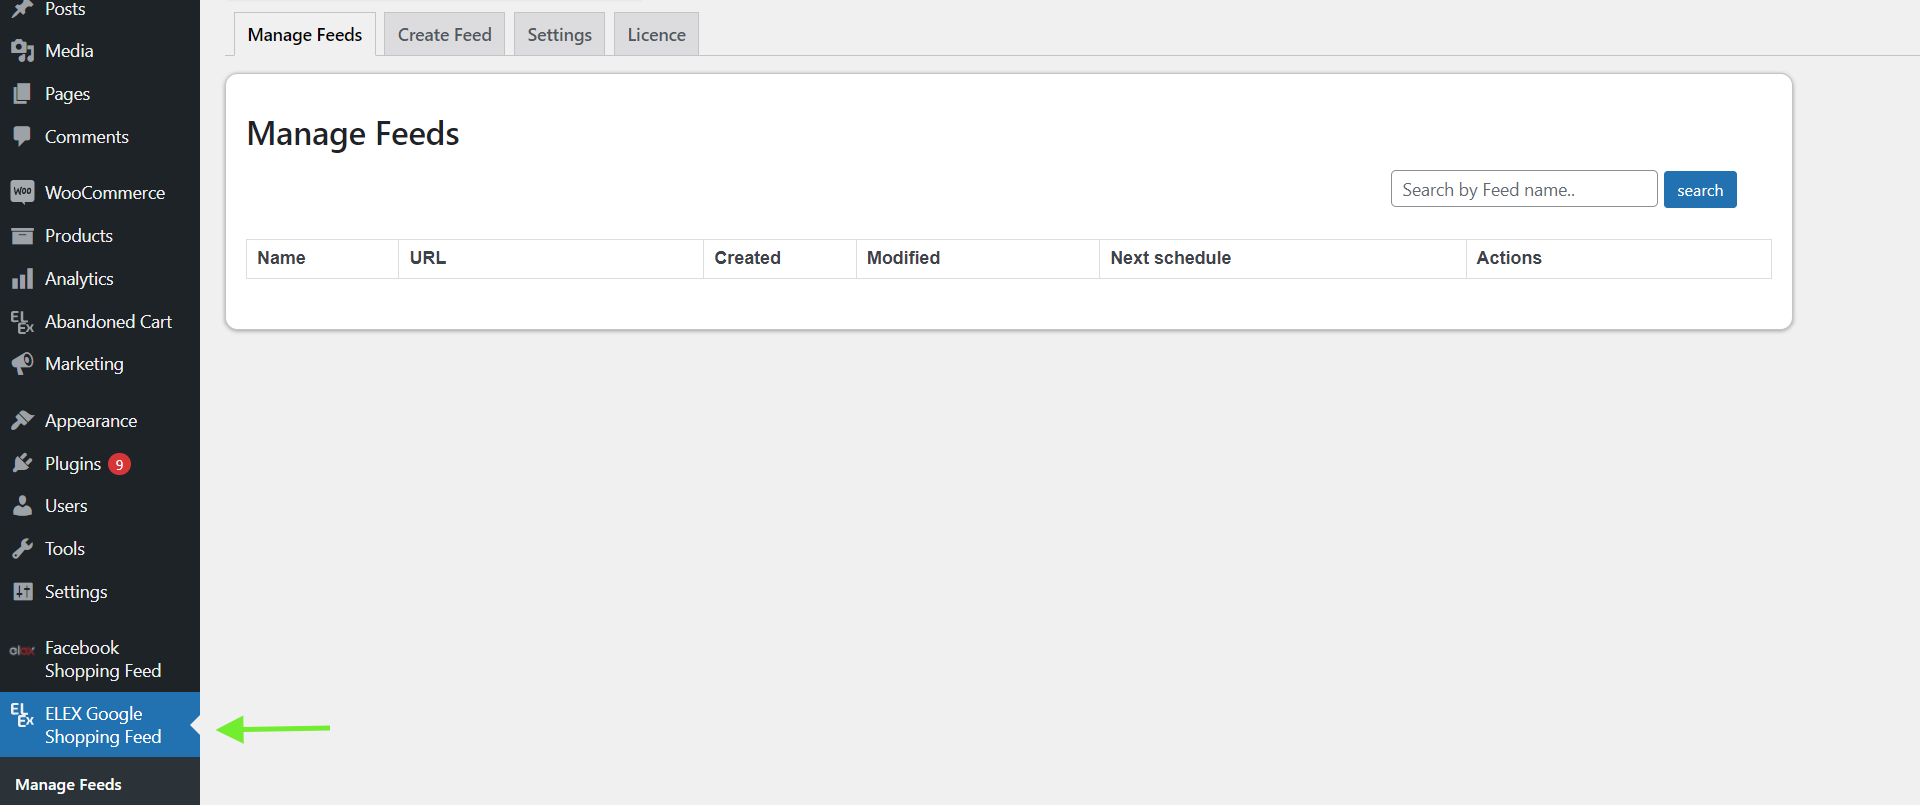
Upon entering the plugin dashboard, you will see the Manage Feed page has a few sub-tabs. We’ll go through each one individually.
Start Tab
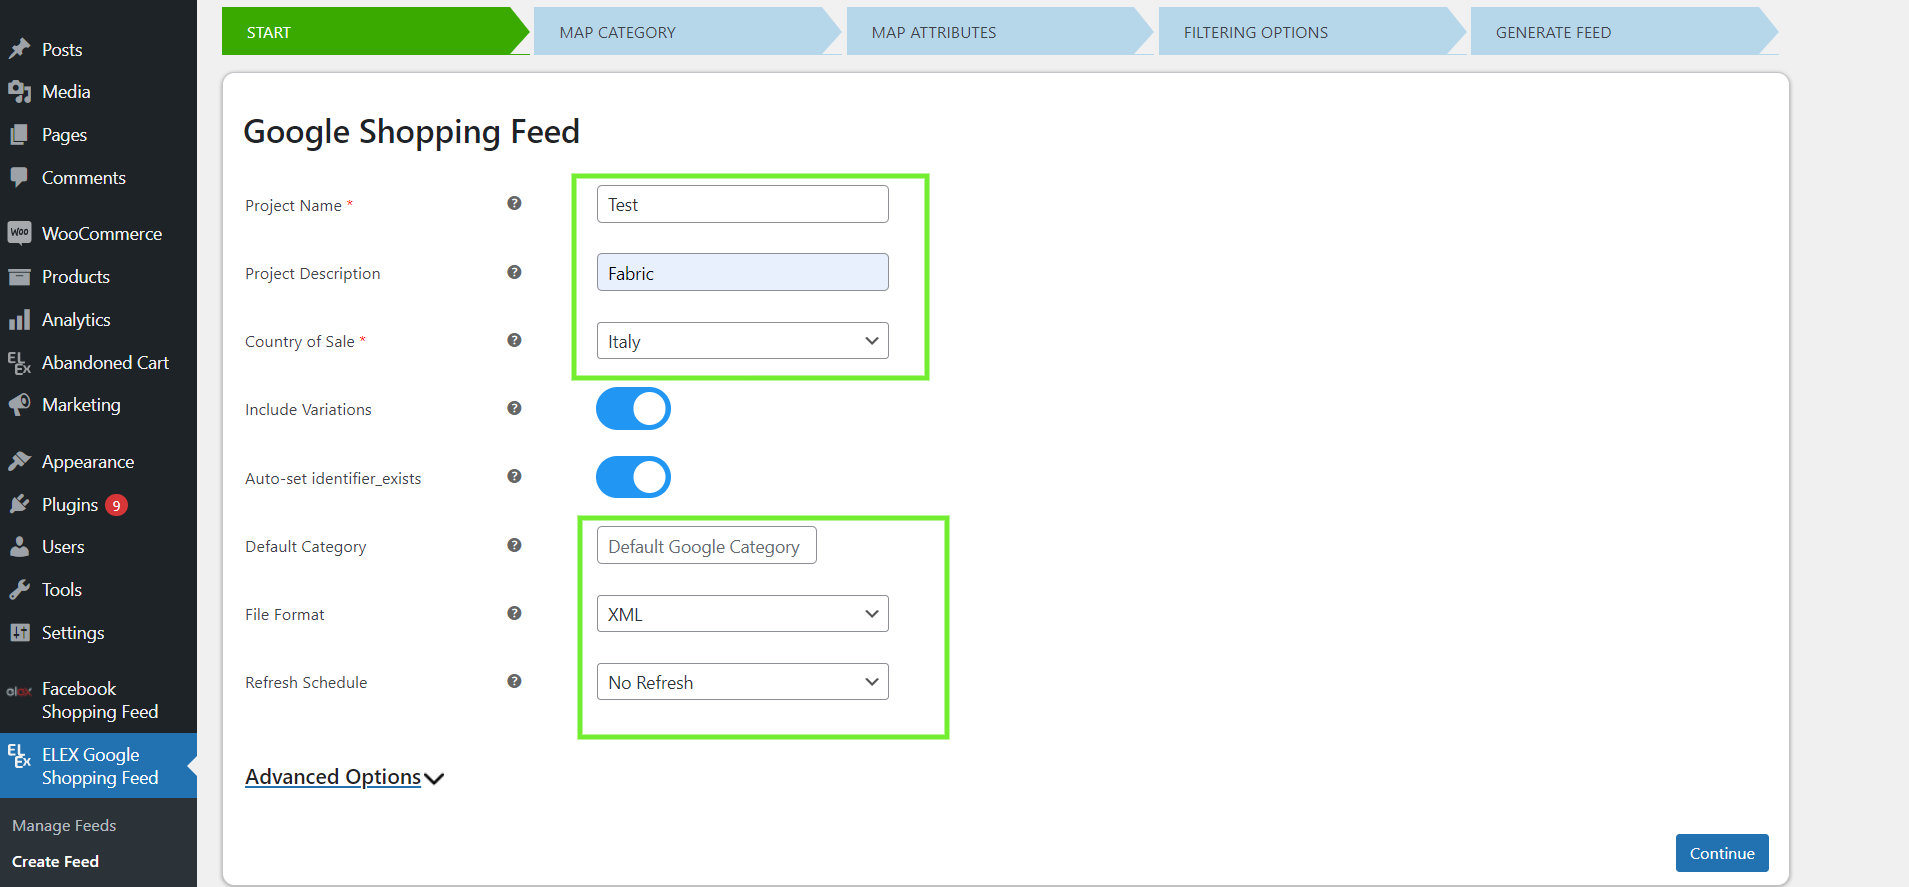
For your feed, you may provide a project name here. Describe the project in more detail by including details about the particular feed you are generating. Select your preferred selling nation from the list of options.
You can activate the Include Variations option if you want to include changing items in the Google feed. If your products don’t have a standout product identification, enable Auto-Set Identifier.
Choose a default Google category based on the products you want to feature on Google Shopping. Choose the TSV file format that is compatible with Google Merchant Center for efficiency.
A Refresh Schedule can be set to run every day, every week, or every month. Choose the option for a daily refresh, then choose a time. After finishing, click Continue.
Map Categories Tab
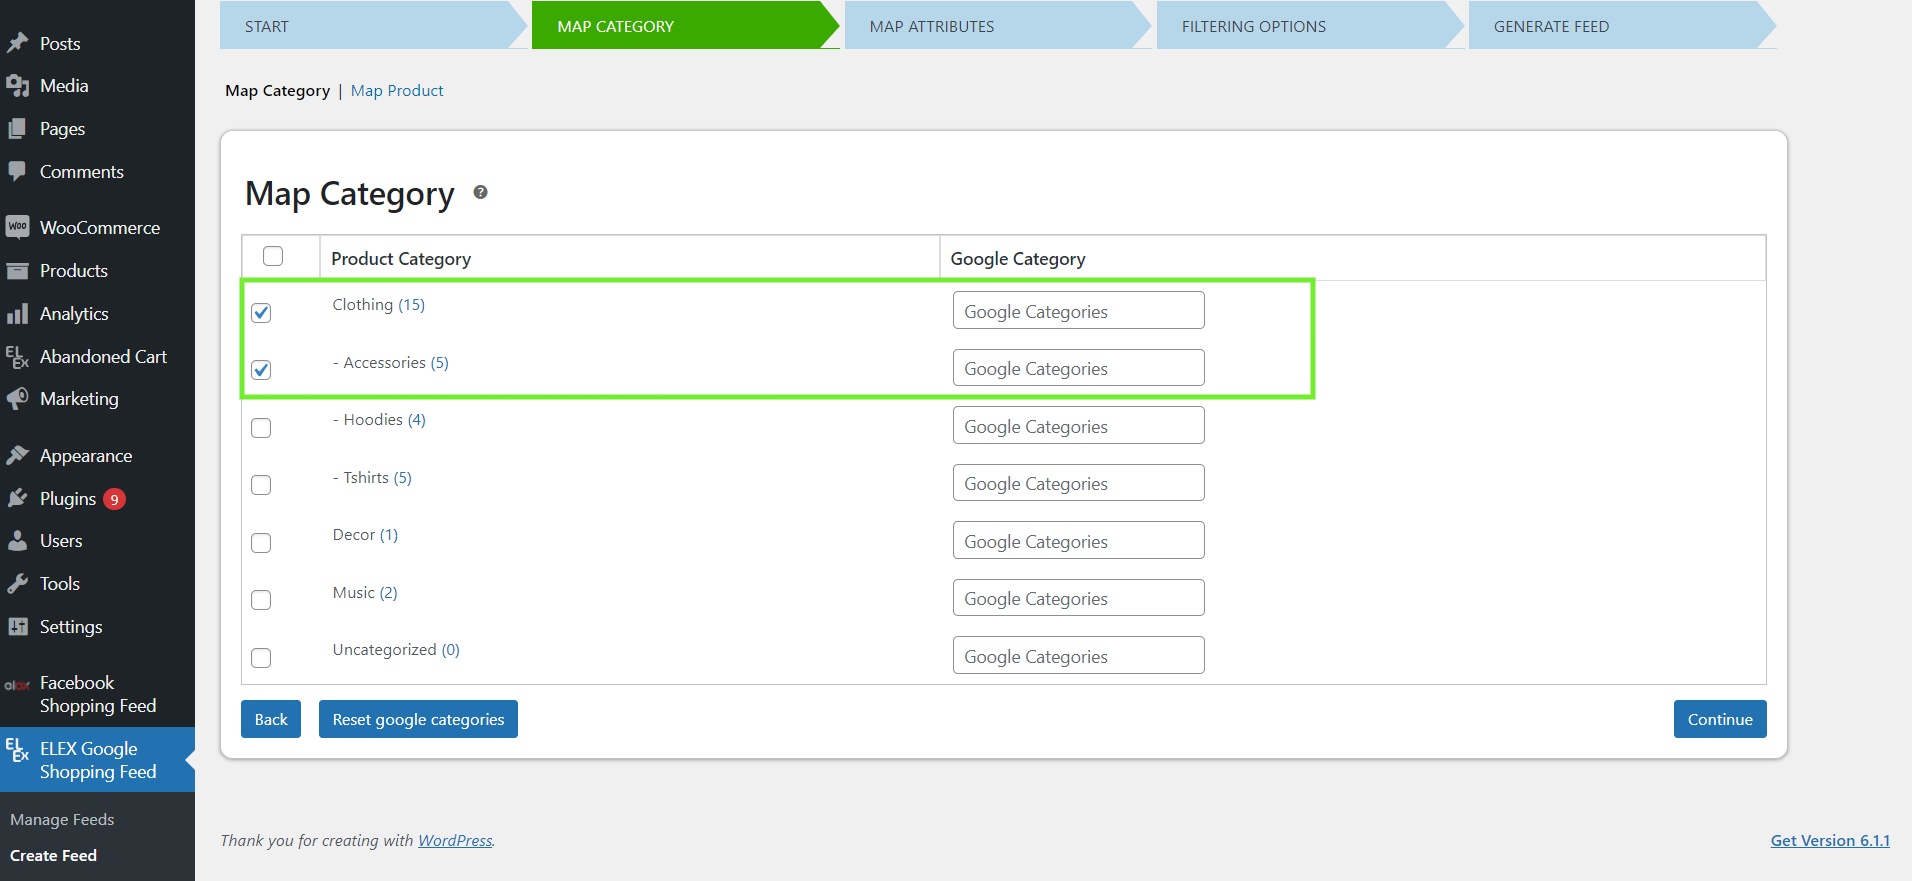
The Map Category feature will automatically connect the WooCommerce product categories to Google categories. You may easily add and map any number of product categories with the use of the readily available Google product categories.
You may also use the Individual product mapping to list it on Google Shopping. Select Map Product from the drop-down menu.
The name of the product category that needs to be mapped to Google Categories and the Google Categories you wish to map to the appropriate items can both be entered in the text box. Click Save & Continue when you are finished.
Map Attributes Tab
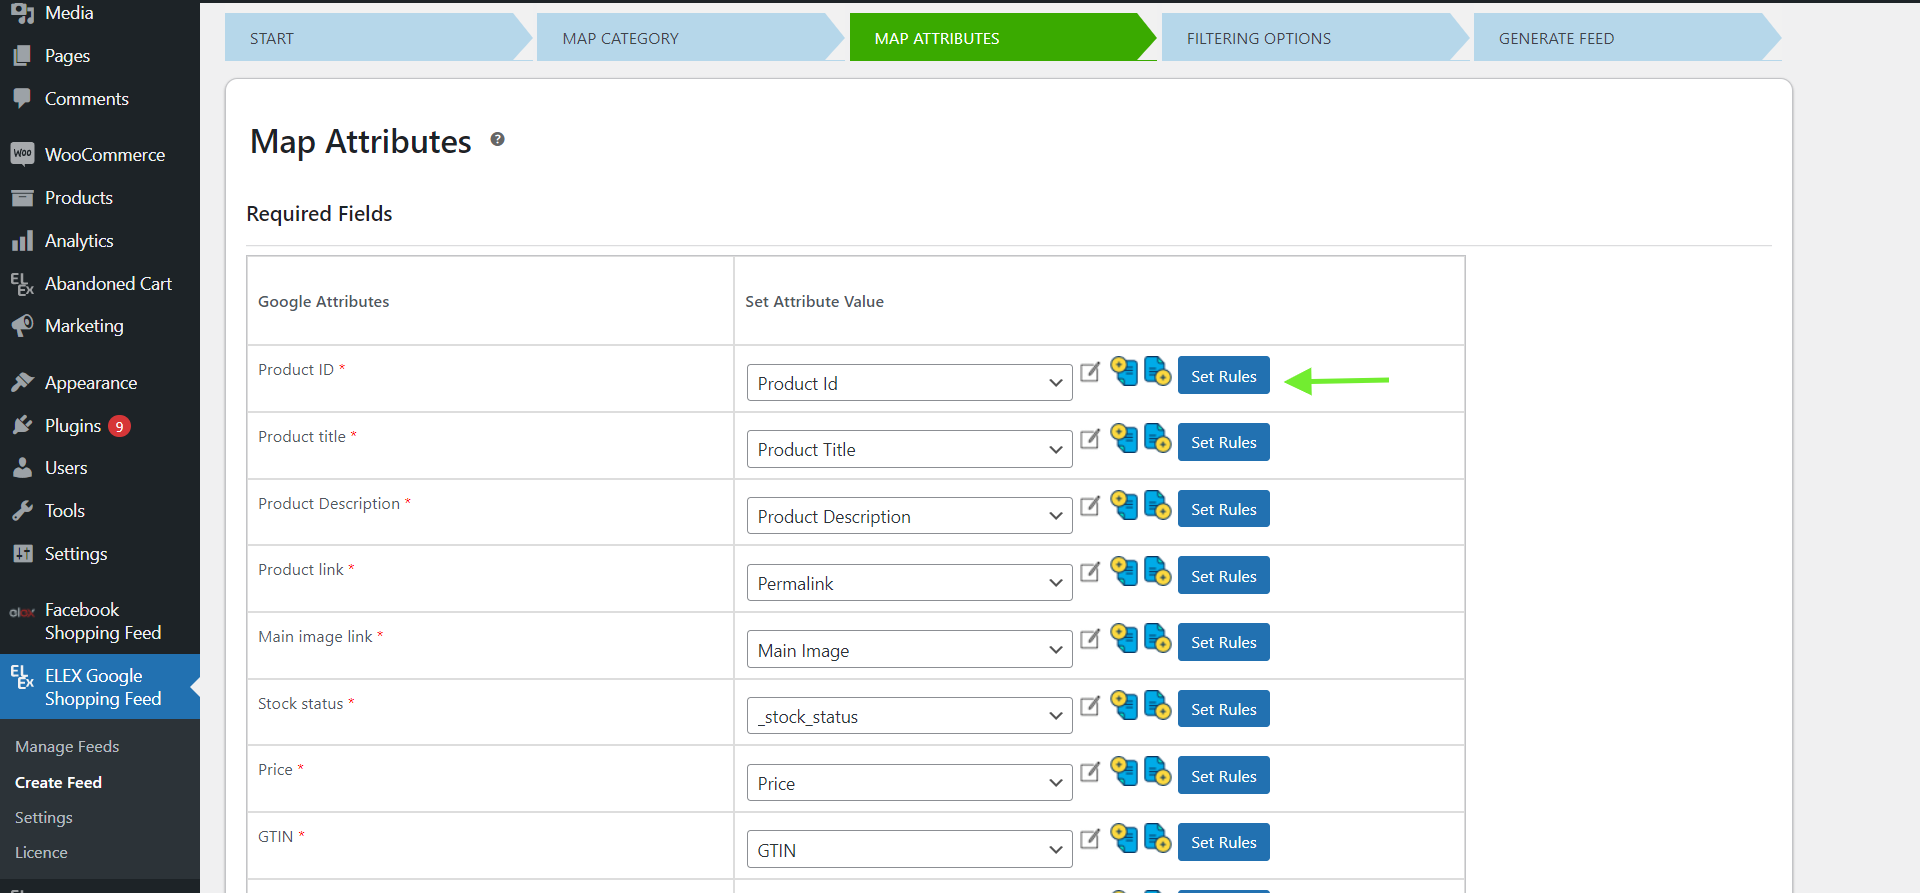
The set attribute values in the Map Attributes section will be automatically mapped to the Google attributes. Choose from the available pre-set attribute values or insert your own.
Using the customization options for product attributes, you may change how your product data shows on your product feed. The plugin allows you to add conditions as well as change objects. Additionally, optional characteristics can have values added by using the Add Field button.
If you don’t know the product’s stock level, you may set the Stock status condition to if the stock level is less than a certain minimum amount, then to mention that fact in the product description for customers to be alerted. Once done, click Continue.
Filtering Options Tab
Two possibilities for filtering are Stock Quantity and Sold Quantity. Select if a value is Greater Than, Equal To, or Less Than. The sold quantity may be handled using the same process. Check the Featured Products box if you only want the products that are featured to appear in your Google catalog feed.
You can exclude a product from the catalog feed if you don’t want to include it there. Click the Generate Feed button when you’re done.
Selecting View Feed from the menu after the feed generation is complete will allow you to download the TSV file to your PC.
Manage Feeds Tab
Even though you can manage your product feed from the Google Merchant Center, the plugin offers the option to do so from your plugin dashboard as well.
Feeds can be scheduled along with the ability to see the date of the upcoming product feed. You may also use the action buttons to, among other things, edit, copy, stop, refresh, download, or view reports.
Now that the product feed is created, you may go ahead and upload it to the Google Merchant Center as discussed previously.
Conclusion
We hope the task of linking your WooCommerce store to Google Merchant Center has become much easier after reading this post. The faster your store is linked to Google, the faster your revenue can grow. It provides you with a sizable chance to increase sales through product advertising.
You may now have your Google Product feeds appear in the search results. In this way, your products will show up on the Google shopping page. Customers may easily browse the goods here and make direct purchases from your online store. You may also keep an eye on the progress and performance of your product on Google Merchant Center.

