Every little detail counts when it comes to building a successful eCommerce business. The “Add to Cart” button is a critical component that is sometimes missed. This tiny button is crucial in converting visitors into customers.
You may have noticed that the default “Add to Cart” button text does not always correspond with the rest of your site’s branding or style. The good news is that you can alter these buttons using a plugin or by manually editing some code in WooCommerce.
In this guide, we will walk you through the process of customizing your WooCommerce “Add to Cart” button text using two methods. Let’s get started!
Why Customize Your “Add to Cart” Button?
You may be wondering why it is so crucial to customize the “Add to Cart” button. The fact is that the default “”Add to Cart” text on your button may be insufficient to motivate visitors to take action.
You can instill a feeling of urgency, highlight your unique selling points, or just make it more aesthetically appealing by changing the button’s text. These minor adjustments may have a major influence on your conversion rates, leading to increased sales.
Understanding The Importance Of Button Text In Driving Conversions
The text on your “Add to Cart” button is important since it has a direct impact on the visitor’s decision-making process. Visitors may hesitate or even abandon their purchase if the text is bland.
By creating captivating and convincing button text, you may instill a sense of trust, urgency, or exclusivity in visitors, motivating them to make a purchase.
In order to create effective button text that generates conversions, you must first identify your target audience and what messaging will resonate with them.
Choosing The Right Button Text For Your eCommerce Store
Now that you know the importance of customizing the “Add to Cart” button, let’s discuss how to choose the right button text for your eCommerce store. The ideal button text will vary depending on your target audience, product offerings, and overall brand messaging. Here are some tips to help you choose the perfect button text:
Be clear and concise
Your button text should be straightforward and easy to understand. Avoid using complex or ambiguous language that might confuse visitors.
Use action-oriented language (CTA)
Start your button text with action verbs like “Buy Now,” “”Add to Cart”, or “Shop Now” to prompt visitors to take action.
Consider A/B testing
If you’re unsure which button text will work best, consider running A/B tests with different variations to see which one generates the highest conversion rate.
Method 1: Customizing Your WooCommerce “Add to Cart” Button Using A Plugin
Now that we have gone through the basics, let’s dive into the process of how to do it. Follow these simple instructions to create a button that stands out and compels visitors to take action.
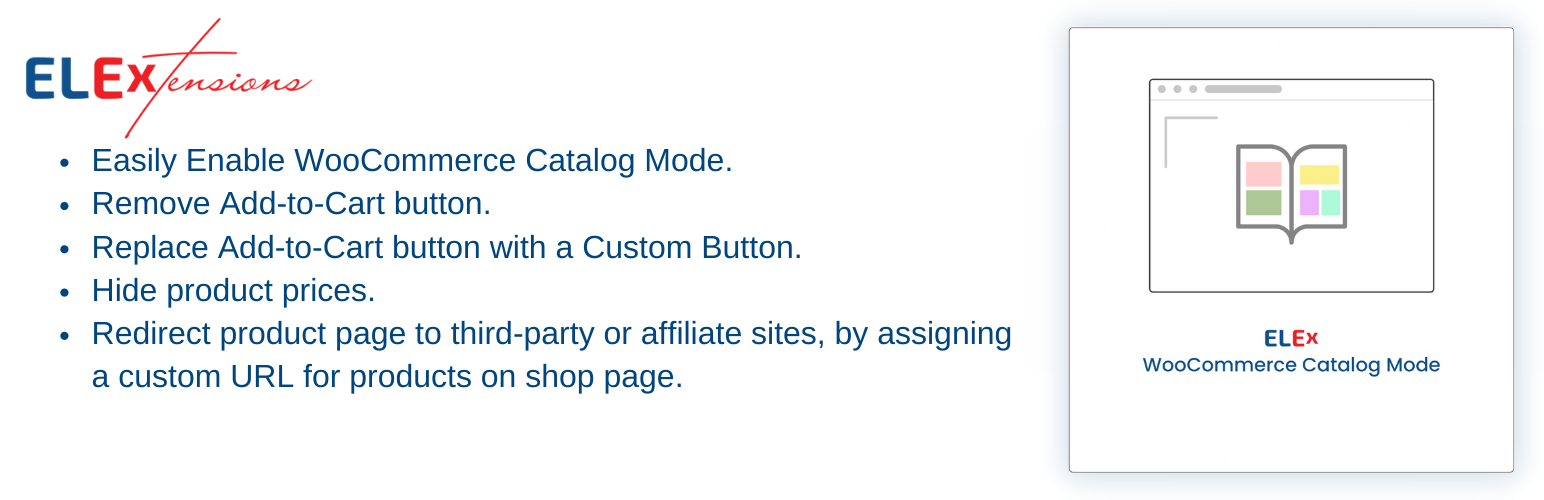
Start by installing and activating the ELEX WooCommerce Catalog Mode plugin on your WordPress website. The plugin is ideal for customizing the “Add to Cart” button and is completely free. The plugin is packed with features such as:
- You may disable the “Add to Cart” button on the shop page and/or product page.
- You can customize the “Add to Cart” button text for both the shop page and/or the product page.
- You may hide and replace the product pricing with custom text.
- You may disable the cart and checkout pages.
- You may exclude the administrator from all the settings and customizations.
- All the above settings may be applied at an individual level for each and every product.
Once the plugin is activated, you may access the settings by going to WordPress Dashboard > WooCommerce > Settings > Catalog Mode.
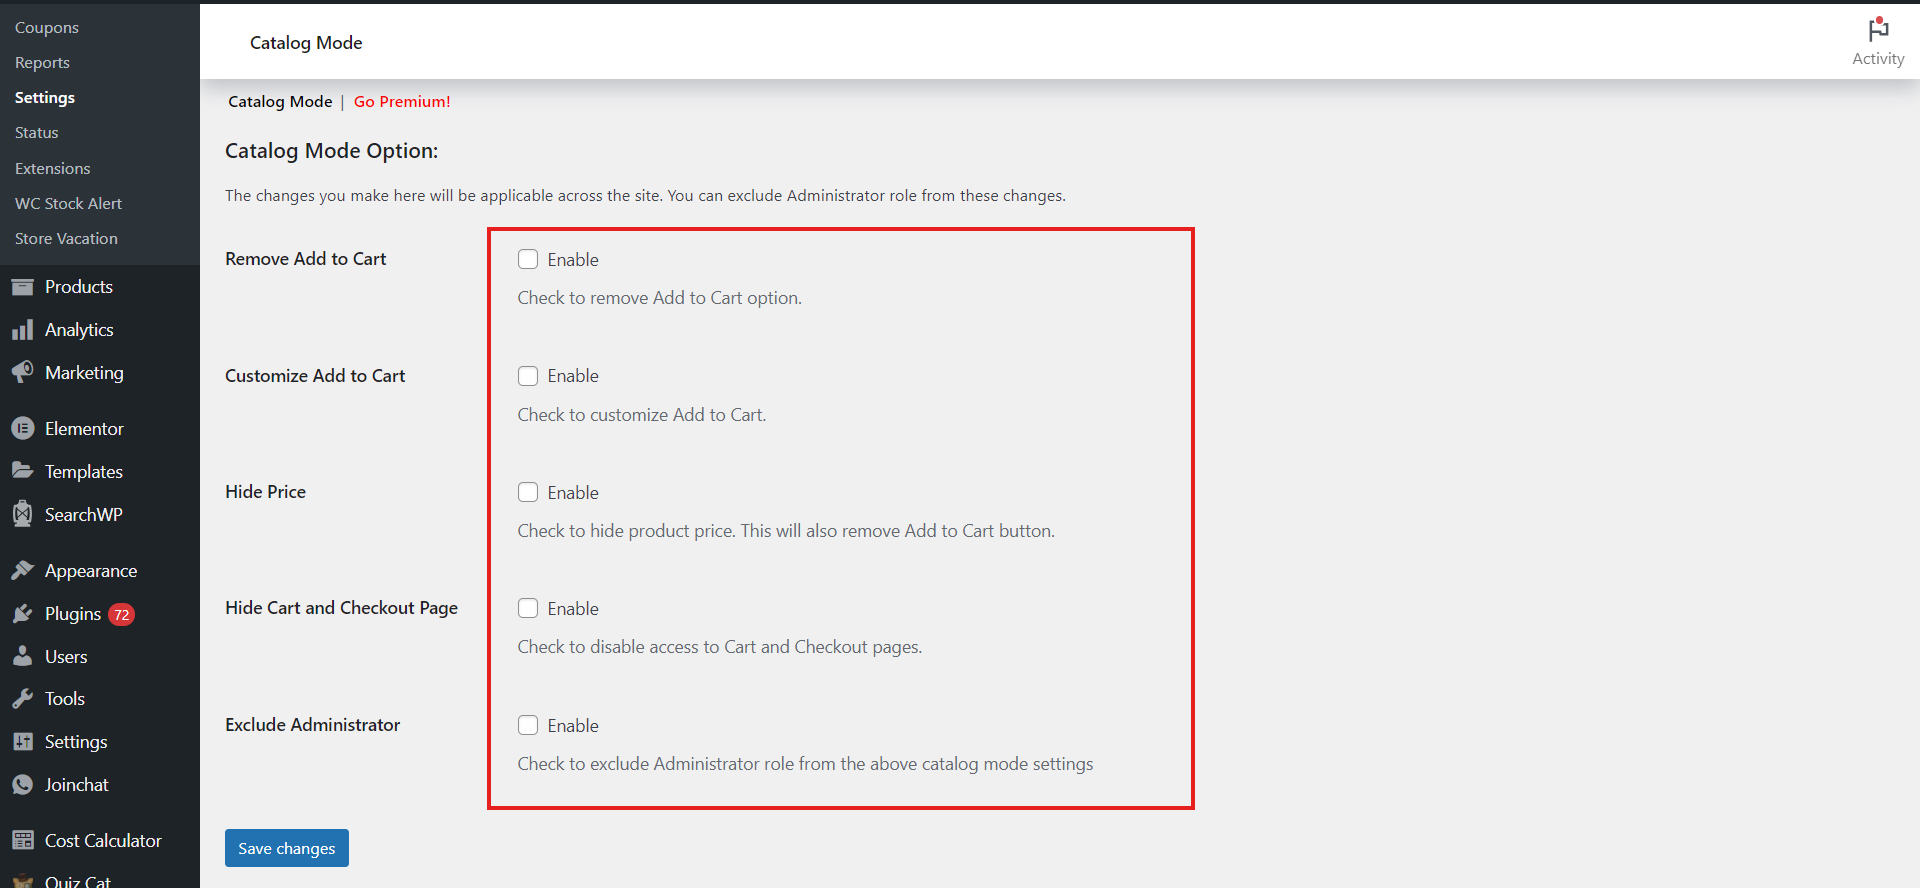
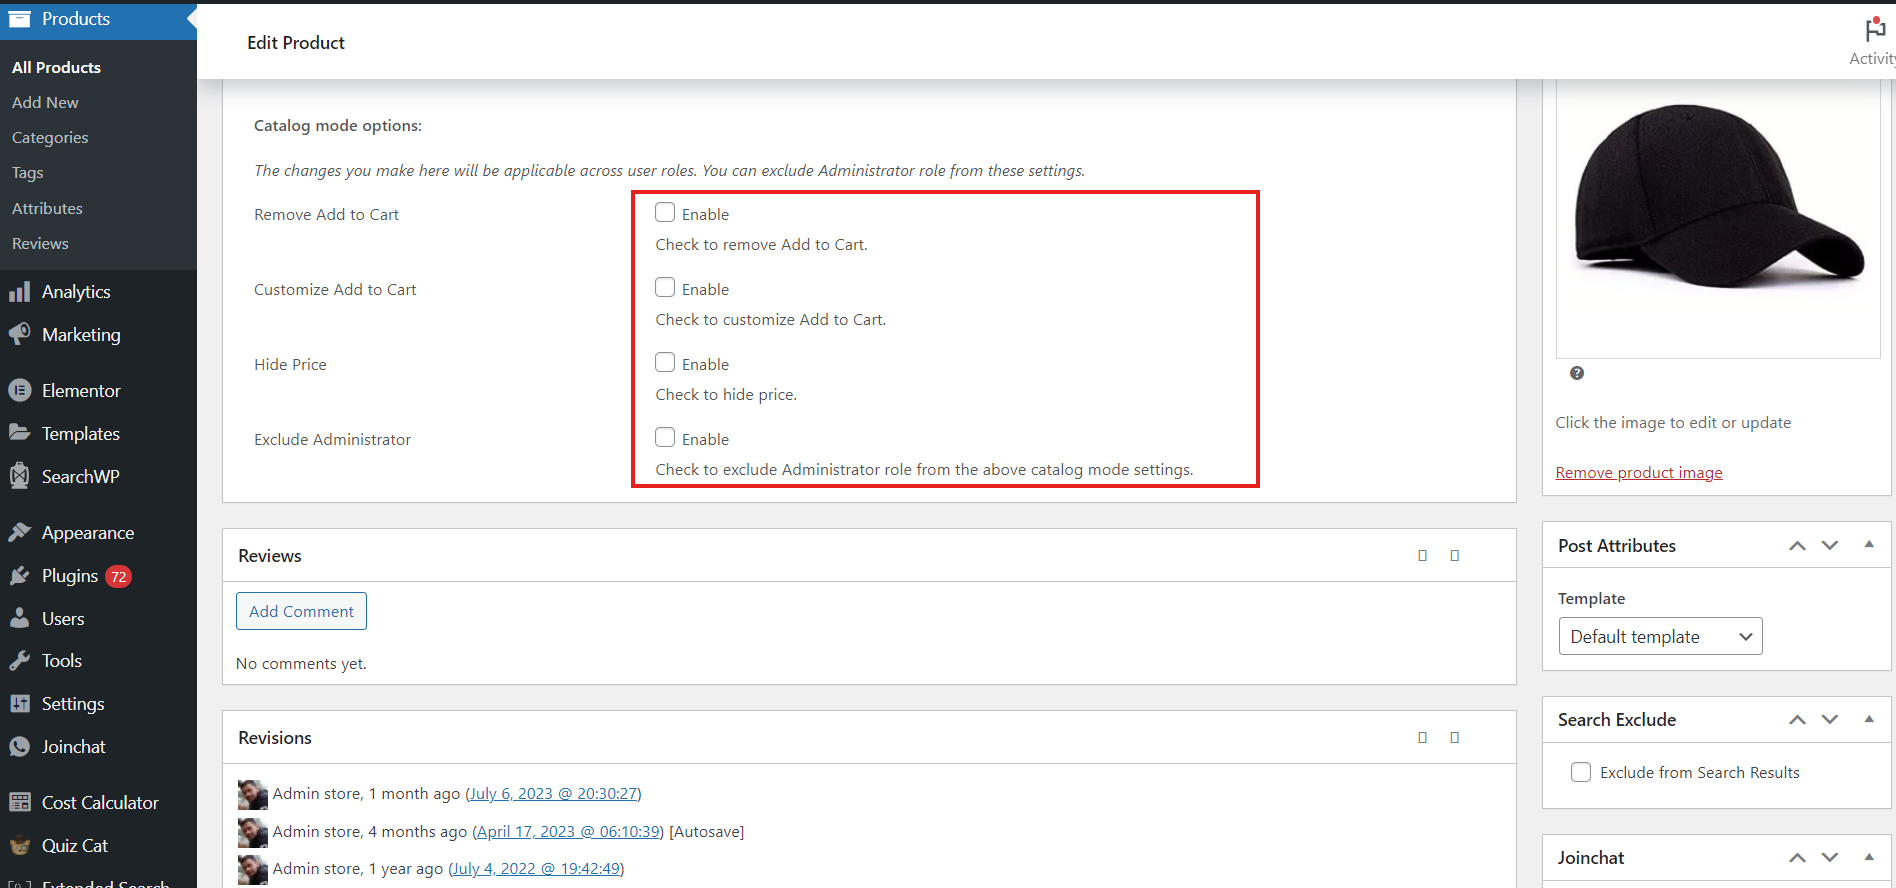
As soon as you enter the plugins’ dashboard, you will see a number of settings. We will go through each of these settings, so you have a better understanding of them.
- Remove Add to Cart: Both the product and shop pages no longer include an “Add to Cart” button.
- Customize Add to Cart: You may change the Add to Cart button text on the product and shop pages, as well as provide a unique URL.
- Hide Price: You can choose to hide the standard price (when the sale price is applied) or replace it with a custom text message.
- Hide Cart and Checkout Page: The Cart and Checkout Pages will be disabled for all user roles.
- Exclude Administrator: If you do not want the catalog mode settings to be applied to site administrators, you may quickly and easily exclude them using this option.
Keep in mind, we will not need all the above settings in order to customize the “Add to Cart” button text. For the sake of this article, we will stick to the necessary settings.
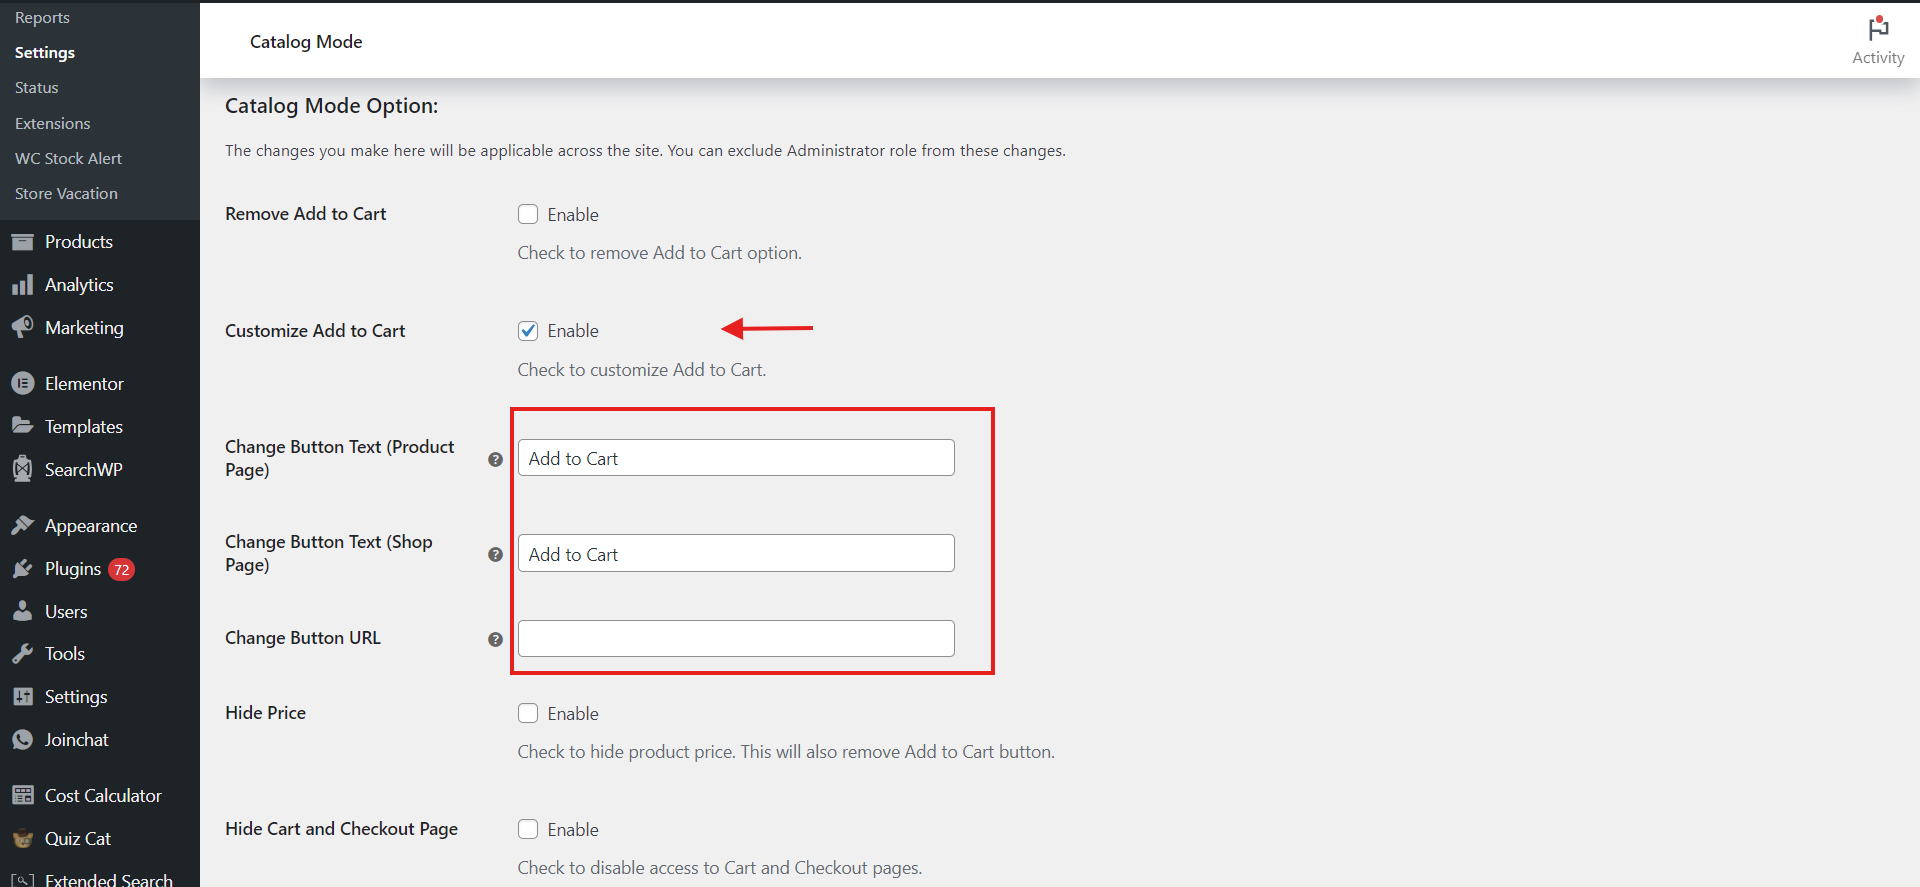
Go ahead and enable the Customize Add to Cart option. Once this setting is enabled, it will display 3 sub-options:
- Change Button Text (Product Page): Enter a custom button text in this field if you wish to change the “Add to Cart” text on the entire product page.
- Change Button Text (Shop Page): Enter a custom button text in this field if you wish to change the “Add to Cart” text on the entire shop page.
- Change Button URL: Enter a custom URL in this field if you wish to redirect the “Add to Cart” button to a specific page. (If you leave this field empty, the button will redirect to the default page)
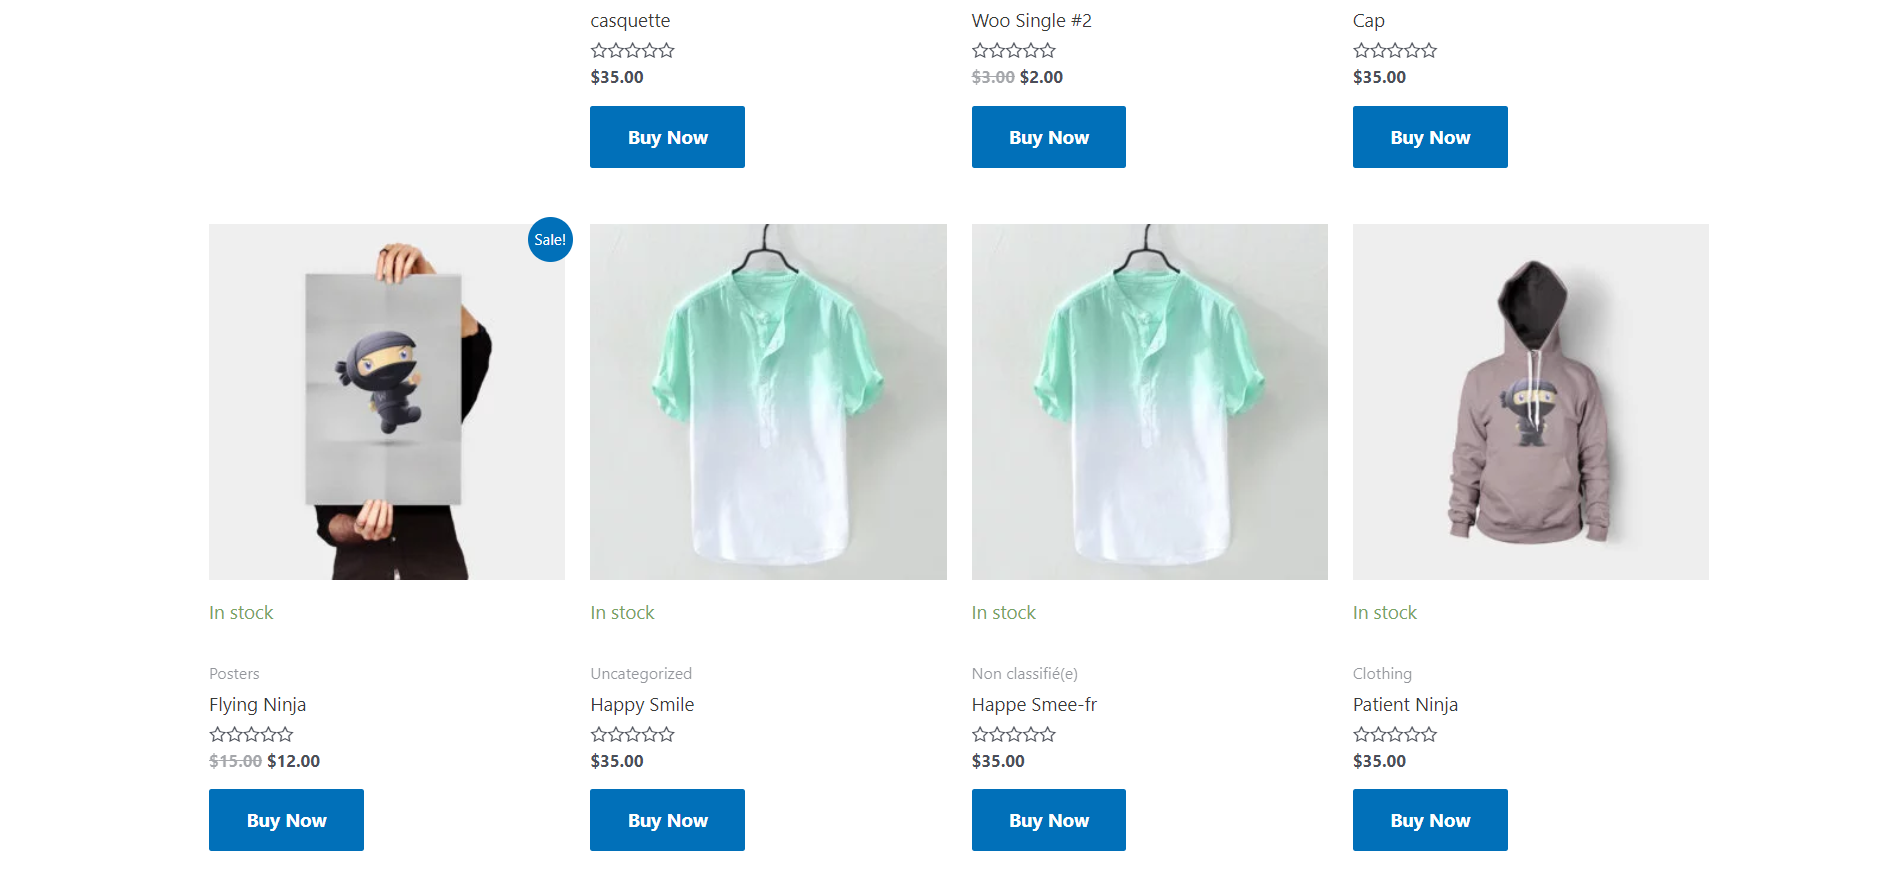
For the sake of demonstration, we have changed the “Add to Cart” button text to “Buy Now”. The below screenshot showcases the custom button text on the shop page.
Do you wish to apply the above settings to a specific product? We got you! Head over to WordPress Dashboard > Products > All Products and click Edit under the product you wish to customize.
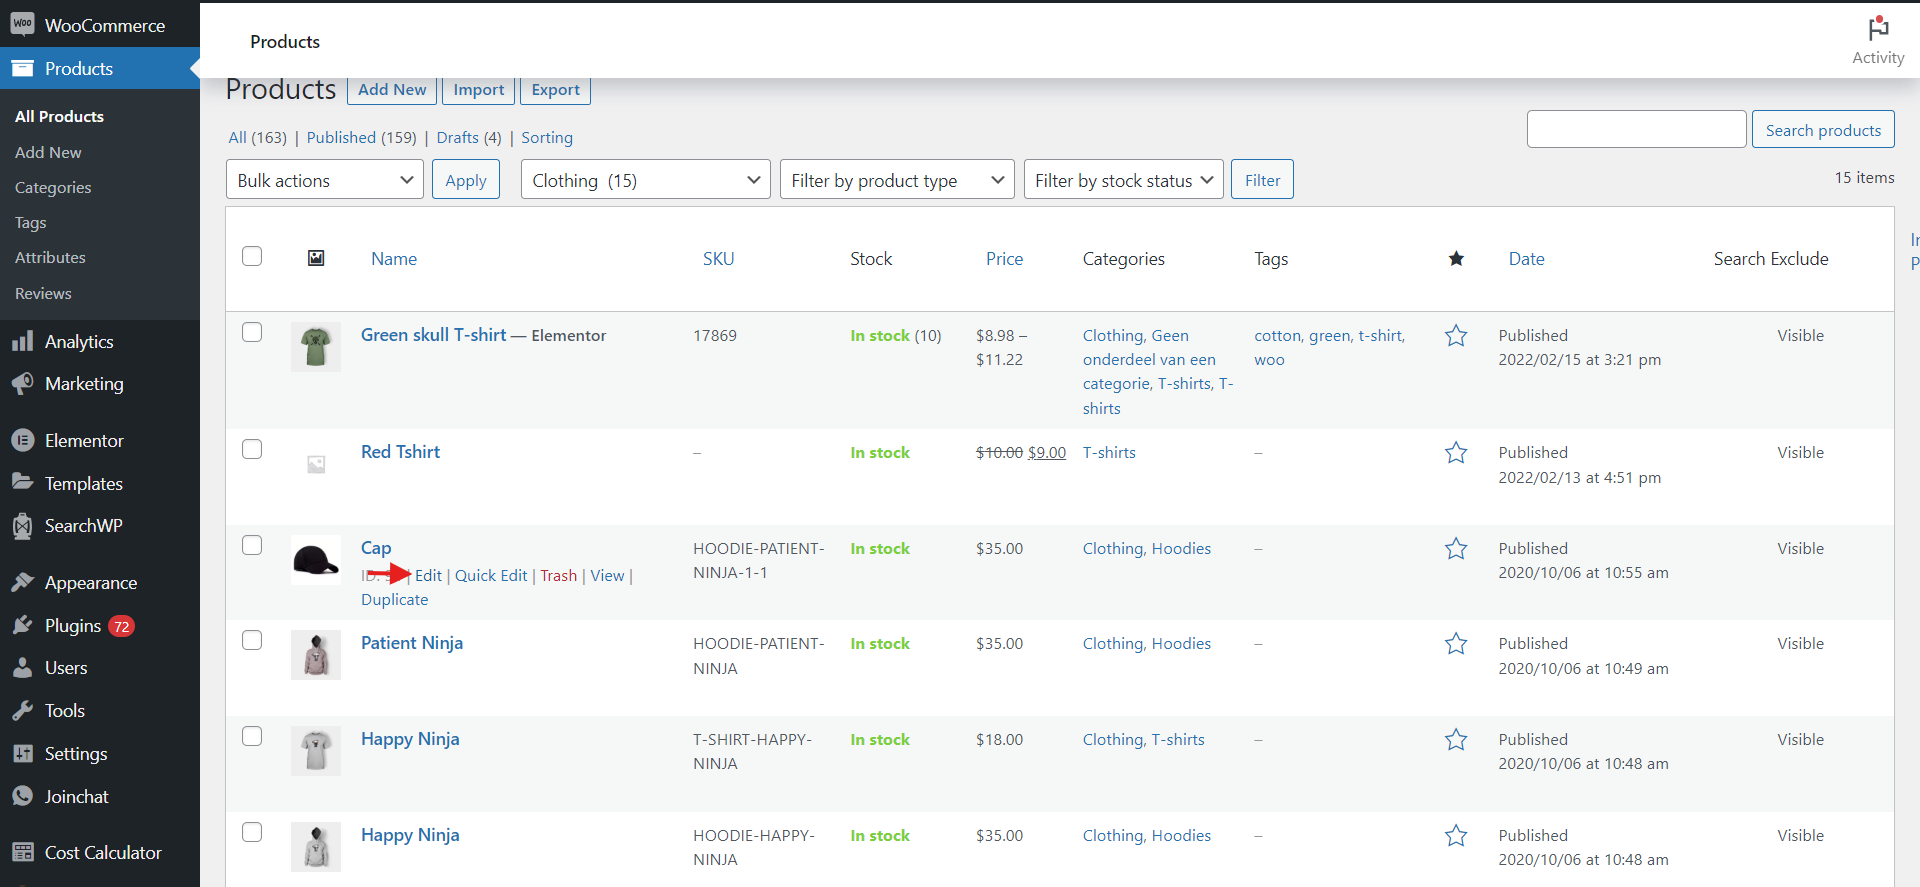
Scroll down to the product data meta box and click on Catalog Mode. This will open up the same settings as before, but will only be applied to this specific product. Go ahead and customize the settings as per your need. Once you are done customizing, click Update.
Method 2: Customizing Your WooCommerce “Add to Cart” Button Using Code
In this section, we will delve into the process of customizing the “Add to Cart” button text using a custom code inserted into your WordPress theme. Keep in mind that while inserting a code is not the most difficult procedure, it does necessitate some caution because doing it wrong might result in issues with your theme.
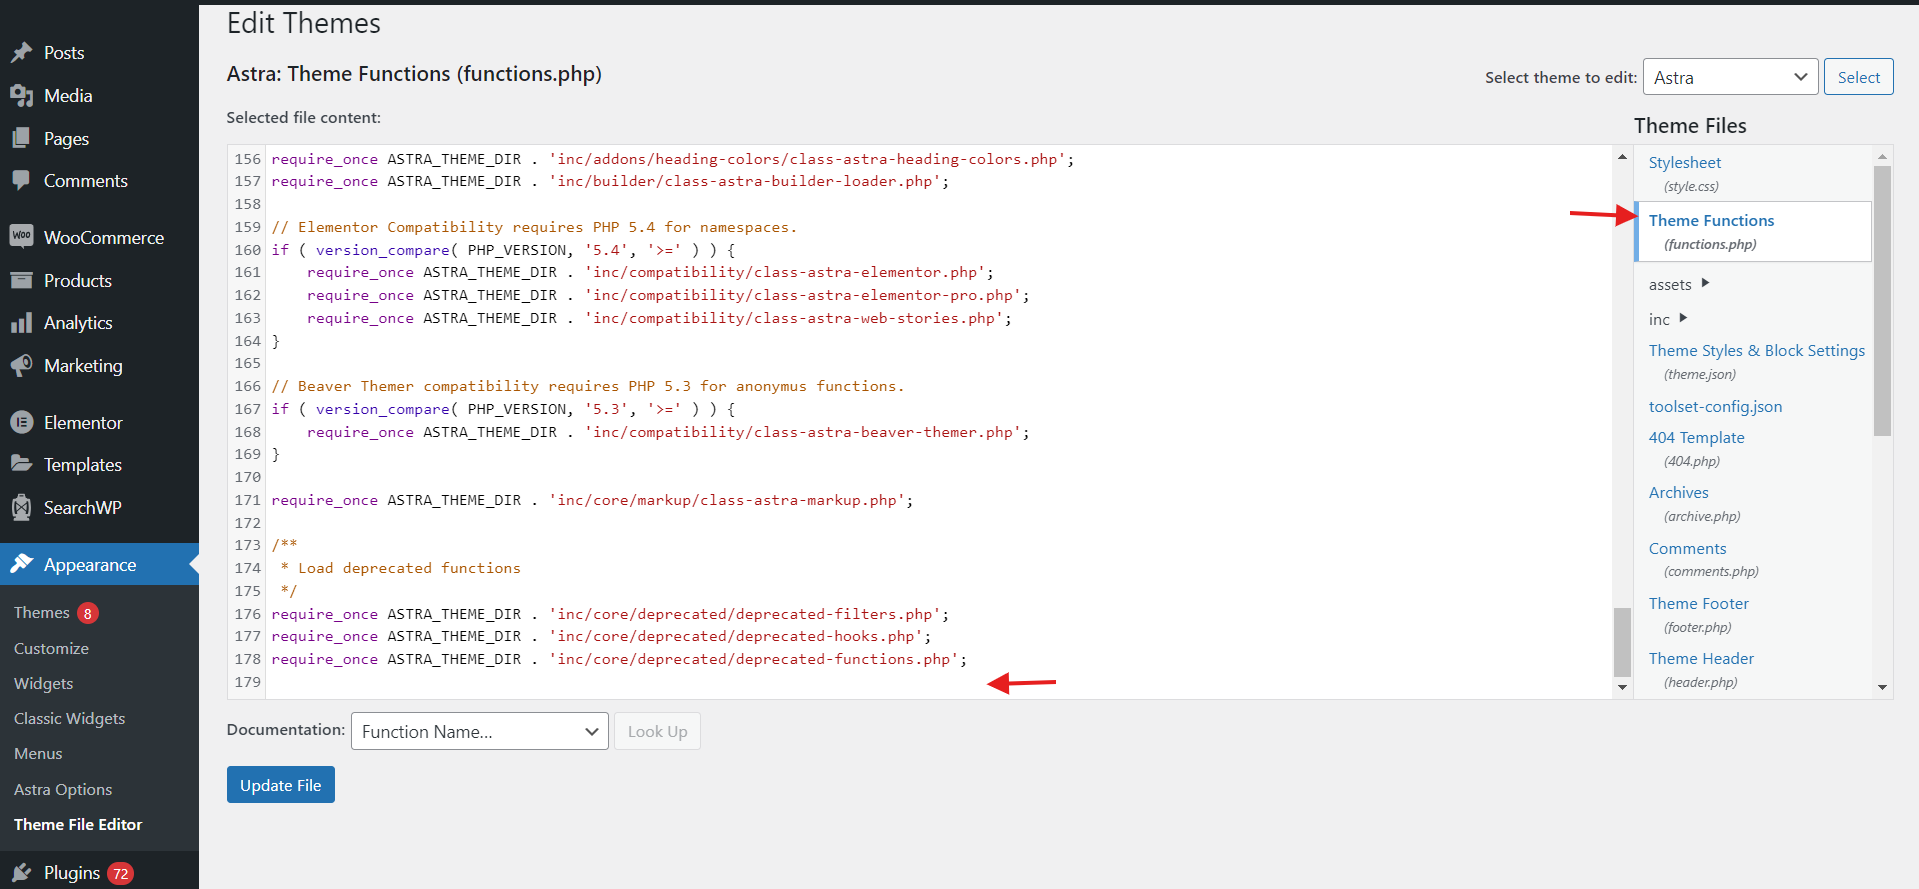
Before we show the code, head over to WordPress Dashboard > Appearance > Theme Editor and click on Theme Functions under Theme Files. Now go ahead and paste any one of the below codes at the end of the functions.php file.
Code 1: Change the “Add to Cart” button text on single product page
// Change add to cart text on single product page
add_filter( ‘woocommerce_product_single_add_to_cart_text’, ‘woocommerce_add_to_cart_button_text_single’ );
function woocommerce_add_to_cart_button_text_single() {
return __( ‘Add to Cart Button Text’, ‘woocommerce’ );
}
Code 2: Change the “Add to Cart” button text on product archives page (Shop page)
// Change add to cart text on product archives page
add_filter( ‘woocommerce_product_add_to_cart_text’, ‘woocommerce_add_to_cart_button_text_archives’ );
function woocommerce_add_to_cart_button_text_archives() {
return __( ‘Add to Cart Button Text’, ‘woocommerce’ );
}
In order to customize the button text, just change the “Add to Cart Button Text” in the above codes to your custom text.
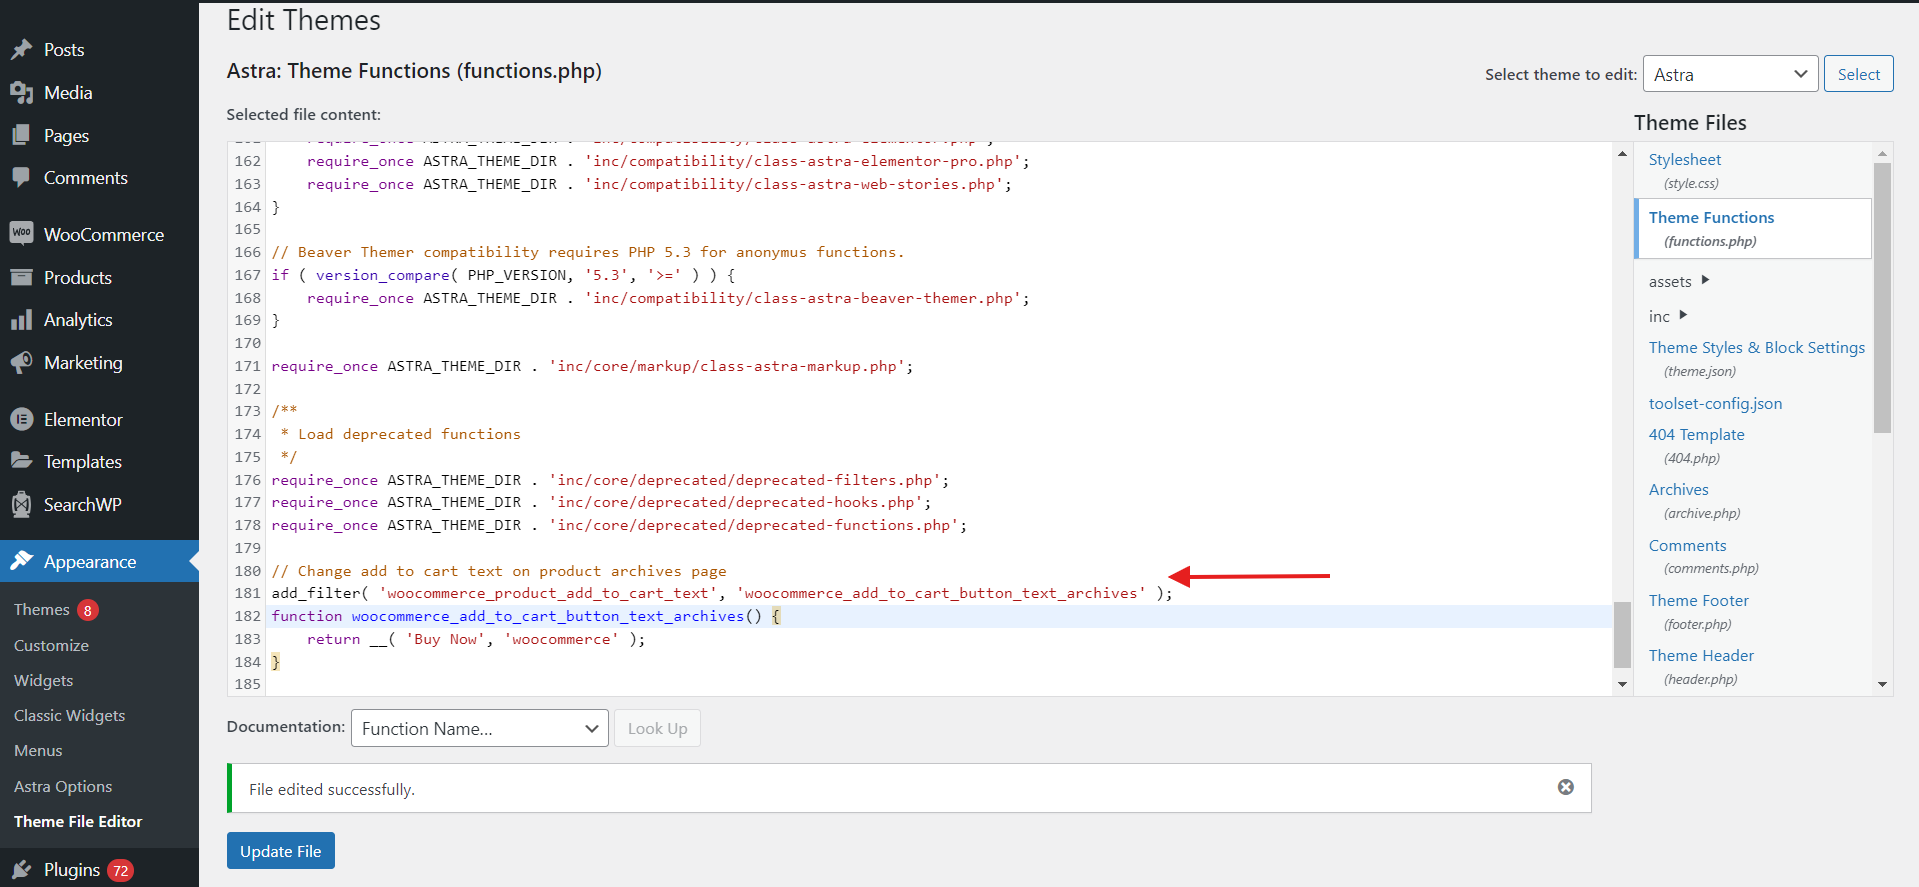
As you can see, we have changed the text to “Buy Now” on the archives (shop) page.

Best Practices For Optimizing Your “Add to Cart” Button
Now that you have customized your “Add to Cart” button and chosen the perfect button text, let’s explore some best practices for optimizing its performance:
Make it prominent
Ensure that your “Add to Cart” button stands out on your product pages. Use contrasting colors, larger font sizes, or even add animations to draw attention to it.
Keep it above the fold
Place your “Add to Cart” button above the fold, where it is immediately visible without the need to scroll. This ensures that visitors can easily find and click on it.
Create a mobile-friendly design
With the increasing popularity of mobile shopping, it’s crucial to make sure your “Add to Cart” button is easily accessible and clickable on mobile devices. Optimize your button design for mobile users.
Provide clear product information
Make sure your product pages provide all the necessary information that visitors need to make an informed purchasing decision. This includes clear product descriptions, high-quality images, and any relevant pricing or shipping details.
Use social proof
Incorporate social proof elements, such as customer reviews or testimonials, near your “Add to Cart” button. This can help build trust and credibility, further encouraging visitors to make a purchase.
Testing And Measuring The Impact Of Your Button Text Changes
After customizing your “Add to Cart” button, it’s important to test and measure the impact of your changes. A/B testing is an effective method to compare different button texts and determine which one performs best.
Monitor your conversion rates, click-through rates, and overall sales to see if your customizations are driving positive results. Don’t be afraid to make adjustments and continue experimenting until you find the winning combination.
Pros And Cons Of Customizing The “Add to Cart” Button Text
Customizing the “Add to Cart” button text on an e-commerce website can have both pros and cons.
Pros
- Customizing the button text allows you to create a more personalized and engaging shopping experience for your customers.
- Instead of a generic “Add to Cart” text, you can use persuasive phrases that encourage users to take action, such as “Buy Now” or “Add to Bag”.
- This can increase the visibility of the CTA’s and enhance user engagement on the page.
- By making the button stand out, clear, and easy to find, you can improve the overall conversion rate on your website
Cons
- One concern is that by deviating from the standard text, customers may become confused or hesitant about the purchasing process.
- If the text is not clear or if it deviates too much from what users are accustomed to, it could lead to a decrease in conversions.
Customizing the “”Add to Cart” button text can be beneficial in terms of increasing engagement, capturing attention, and improving conversions on an eCommerce website. However, it is crucial to carefully consider the wording and design of the button to avoid any potential confusion or negative impact on user experience.
Conclusion
In conclusion, customizing your WooCommerce “Add to Cart” button is a simple yet powerful way to maximize conversions and boost sales in your e-commerce store. By carefully choosing the right button text, optimizing its design, and testing different variations, you can create a compelling call to action that motivates visitors to make a purchase.
Take the time to analyze your target audience, understand their needs, and craft button text that resonates with them. With the right customization and optimization, your “Add to Cart” button can become a powerful tool for driving conversions and growing your business.
Personally, I believe that the ELEX WooCommerce Catalog Mode plugin is the best option for this task since it eliminates the risks associated with modifying the “Add to Cart” button text that is present when using custom code.
We hope this post has helped you customize the “Add to Cart” button text on your WooCommerce store!

