What can we help you with?
How to display strike out price for WooCommerce Variable products? (Code Snippet)
When you apply a discount to simple products, by default, WooCommerce shows the sale price with regular price stricken out. This characteristic is not provided for variable products. With the help of the given code snippet, you can now display strikeout price for variable products. The code snippet is not only limited to ELEX plugins but can be used on any WordPress store running WooCommerce.
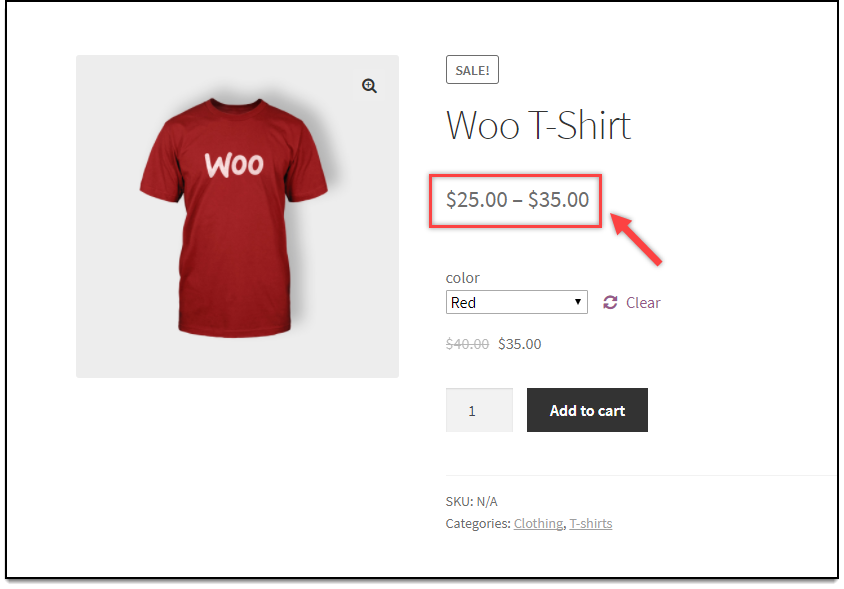
Consider we have a product, having two color variations, Black and Red, and are priced $30 and $40 respectively. When a sale price of $25 and $35 are added respectively for the variations, the product will be displayed in the store as shown in the screenshot below.

Code snippet to display the struck-out price for WooCommerce Variable products
add_filter('woocommerce_get_price_html', 'elex_display_striked_out_price_for_variable', 200, 2);
function elex_display_striked_out_price_for_variable($price='', $product)
{
$reg_price = '';
if(!$product->is_on_sale()){
return $price;
}
if($product->is_type( 'variable' ))
{
$variations = $product->get_children();
$reg_prices = array();
$sale_prices = array();
foreach ($variations as $value) {
$single_variation=new WC_Product_Variation($value);
array_push($reg_prices, $single_variation->get_regular_price());
array_push($sale_prices, $single_variation->get_price());
}
sort($reg_prices);
sort($sale_prices);
$min_price = $reg_prices[0];
$max_price = $reg_prices[count($reg_prices)-1];
if($min_price == $max_price)
{
$reg_price = wc_price($min_price);
}
else
{
$reg_price = wc_format_price_range($min_price, $max_price);
}
$min_price = $sale_prices[0];
$max_price = $sale_prices[count($sale_prices)-1];
if($min_price == $max_price)
{
$sale_price = wc_price($min_price);
}
else
{
$sale_price = wc_format_price_range($min_price, $max_price);
}
$suffix = $product->get_price_suffix($price);
return wc_format_sale_price($reg_price, $sale_price).$suffix;
}
return $price;
}
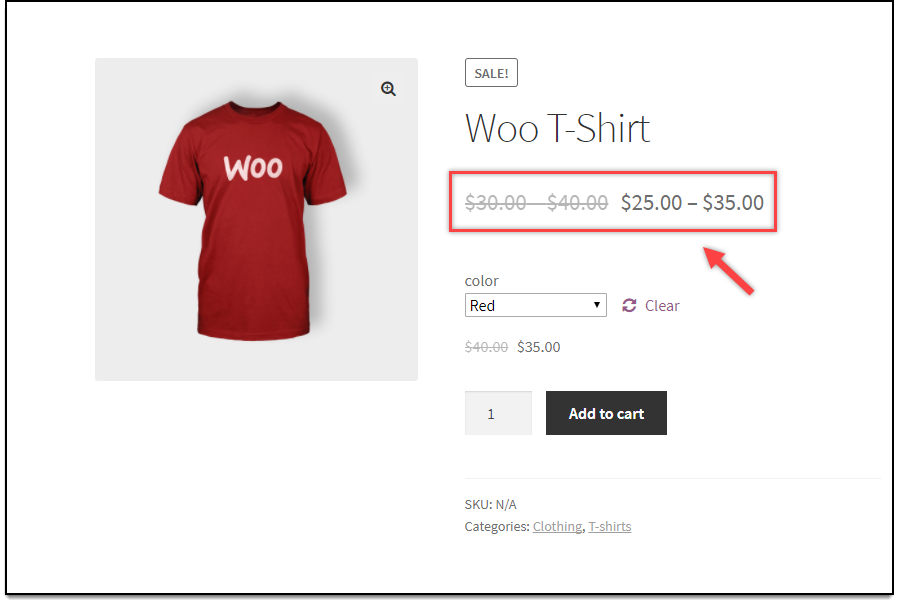
When the above code snippet is added, the regular price is stricken out as shown in below screenshot.

Note: The given code snippet can also be applied when all variations of a variable product have the same price.
Explore our blog section for more related articles.
You can also check out WooCommerce and WordPress plugins in ELEX.

24 Comments. Leave new
Hi, we are having the same TAX issues. Variable products on sale show prices without taxes. It is displayed correctly just when the user selects each specific variable. In the product page on top prices are shown without tax https://jovive.es/producto/tienda-techo-jovive-slim/ thanks
Thanks for reaching out to us. I observe that prices are visible including taxes as shown in the attached screenshot. However, I would suggest raising a support request to further check the tax concern on your website.