The ‘Request a Quote’ plugin provides customers the power to add items they are interested in into a quote basket and get a price estimation. Some request a quote plugins also allow the customer to quote their own price for approval. This helps customers get in touch with your company to find out more about your products and services.
Requesting for quotes is an essential part of eCommerce. A ‘request a quote’ button allows people to submit a request for your products or services without having to fill out a lengthy form. When someone clicks the button, they are shown a pre-populated form with the necessary fields they need to provide before submitting their request. This plugin mainly comes in handy for B2B operations as it provides you with time to evaluate the customer’s brand and quote a price.
Benefits of a ‘Request a Quote’ button on your WooCommerce store
- Increase the number of quotes for your products and services
- Build trust with potential clients by providing transparency
- Improve customer service by answering questions from potential clients
- Get more feedback from customers about their experience, which can help you improve your product and/or service
- It is useful for B2B operations, especially enabling you to compile a pricing analysis while selling customized products to your customers
- In case yours is a B2C online store, this ‘Request a Quote’ tool enables you to quote a price for the products your customers put together (group them)
Here are the steps to add a ‘Request a Quote’ button for your WooCommerce Store
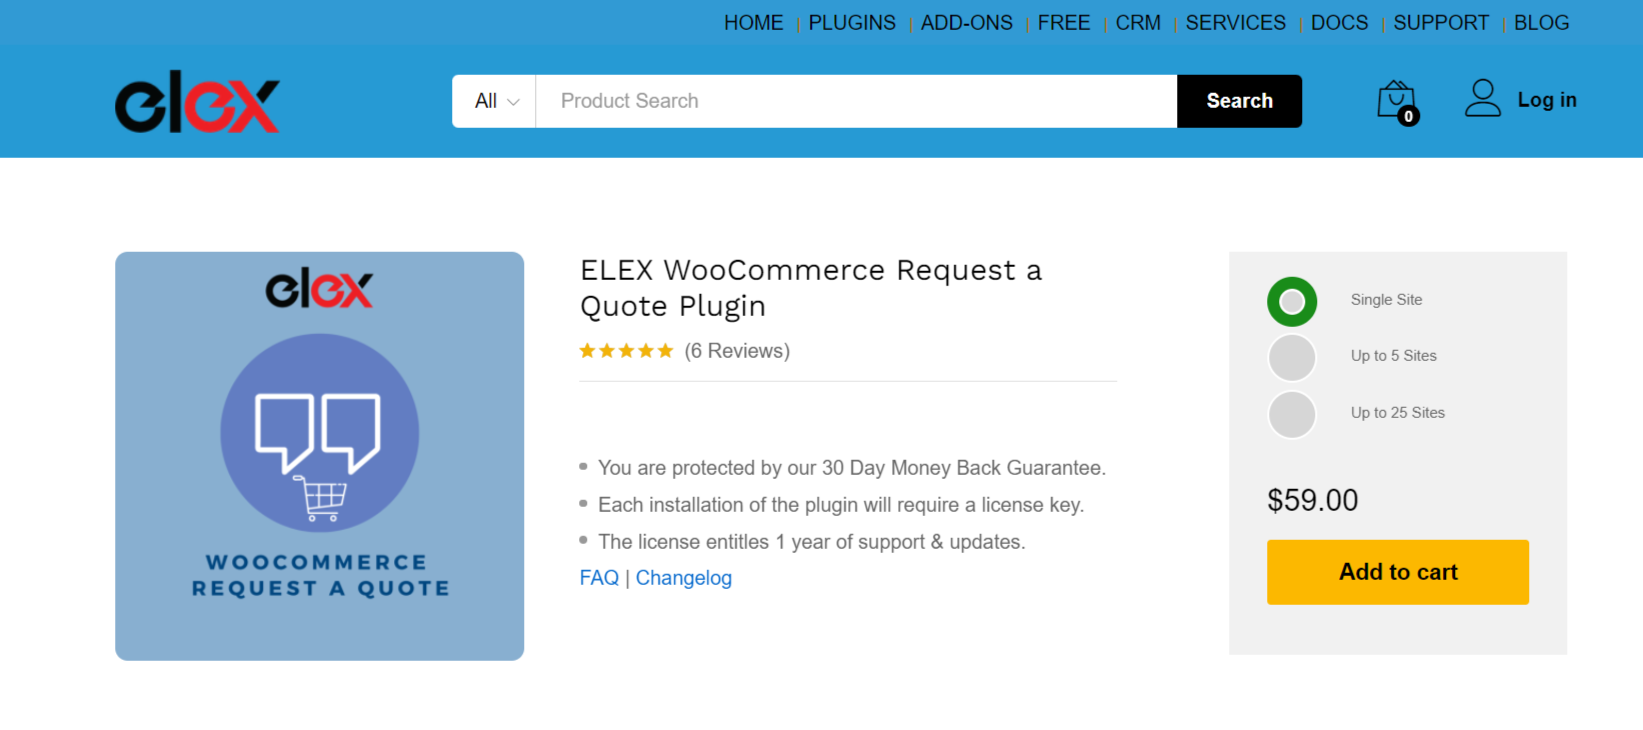
Step 1: Get a ‘Request a Quote’ Plugin
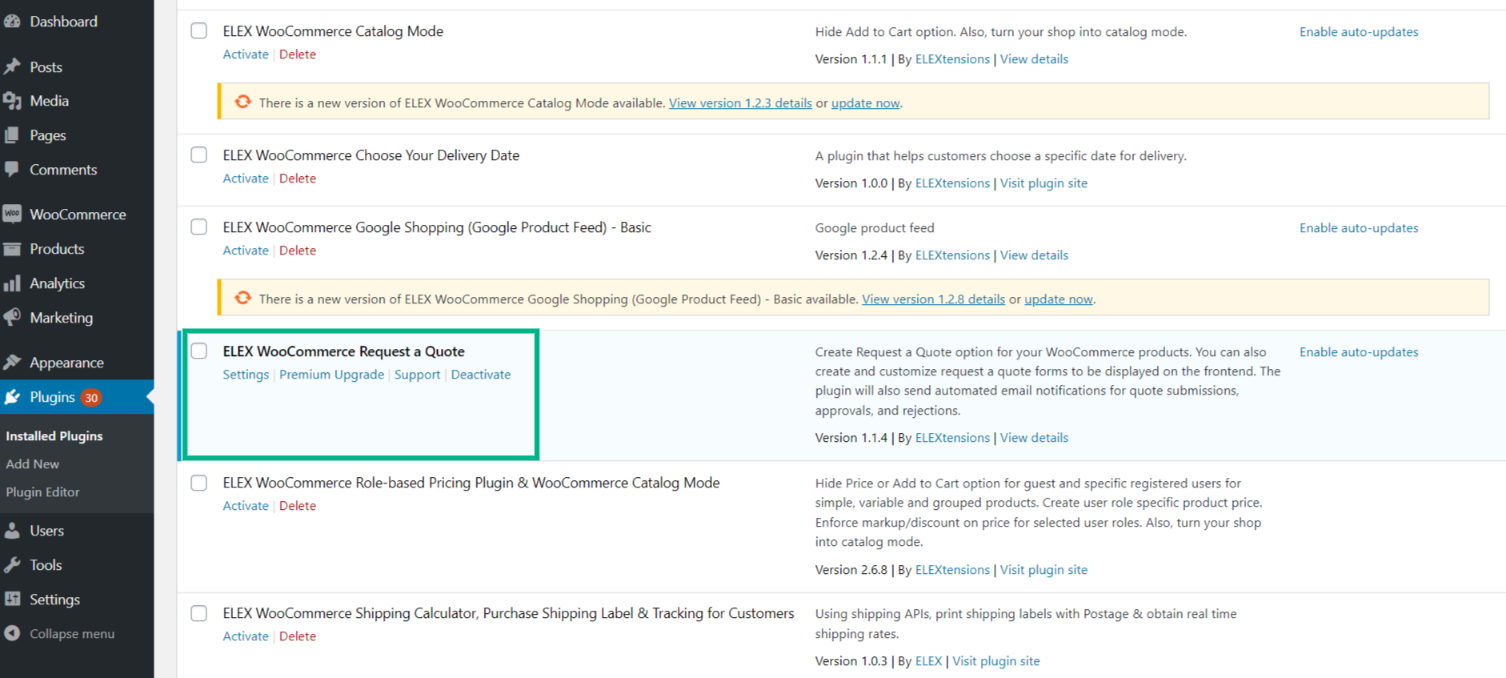
A default WooCommerce dashboard does not contain a pre-installed Request a Quote plugin. Hence, the first step is to select a ‘Request a Quote’ plugin from the multiple options available such as ELEXtensions Request a Quote plugin followed by the installation and activation of the plugin. This will help configure your WooCommerce store and its products.
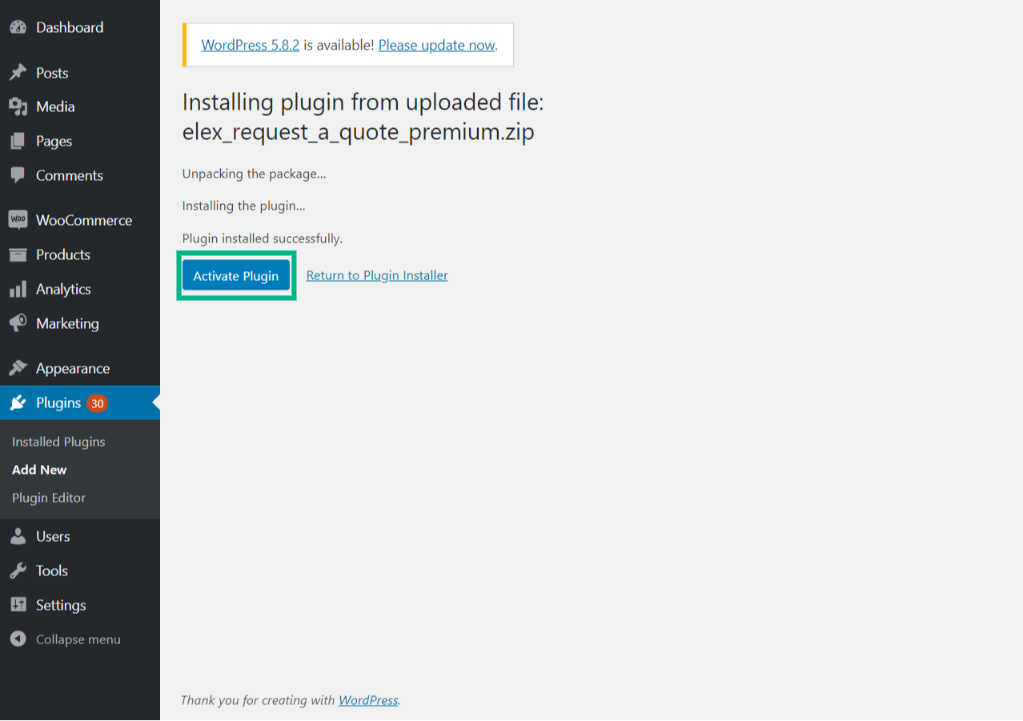
Step 2: Installing the plugin
Login to your WooCommerce/WordPress dashboard and go to the plugins section and click ‘Add New’. If you have the basic version of the plugin, deactivate it and do not worry, as all previous data will be retained.
Now, click ‘Upload Plugin’ in the top left corner of the page. Choose the file from your downloads and install it.

Now, click ‘Activate Plugin’.
Step 3: Go to the Plugin’s Settings
Once the plugin is installed, go to the plugin’s settings, wherein you can define how you want the ‘Request a Quote’ button to function for your store. You can even customize the appearance of the quote page, along with the kind of buttons used for adding products to the quotation, among other functions.
The following portrays the settings section for the ‘Request a Quote’ button.
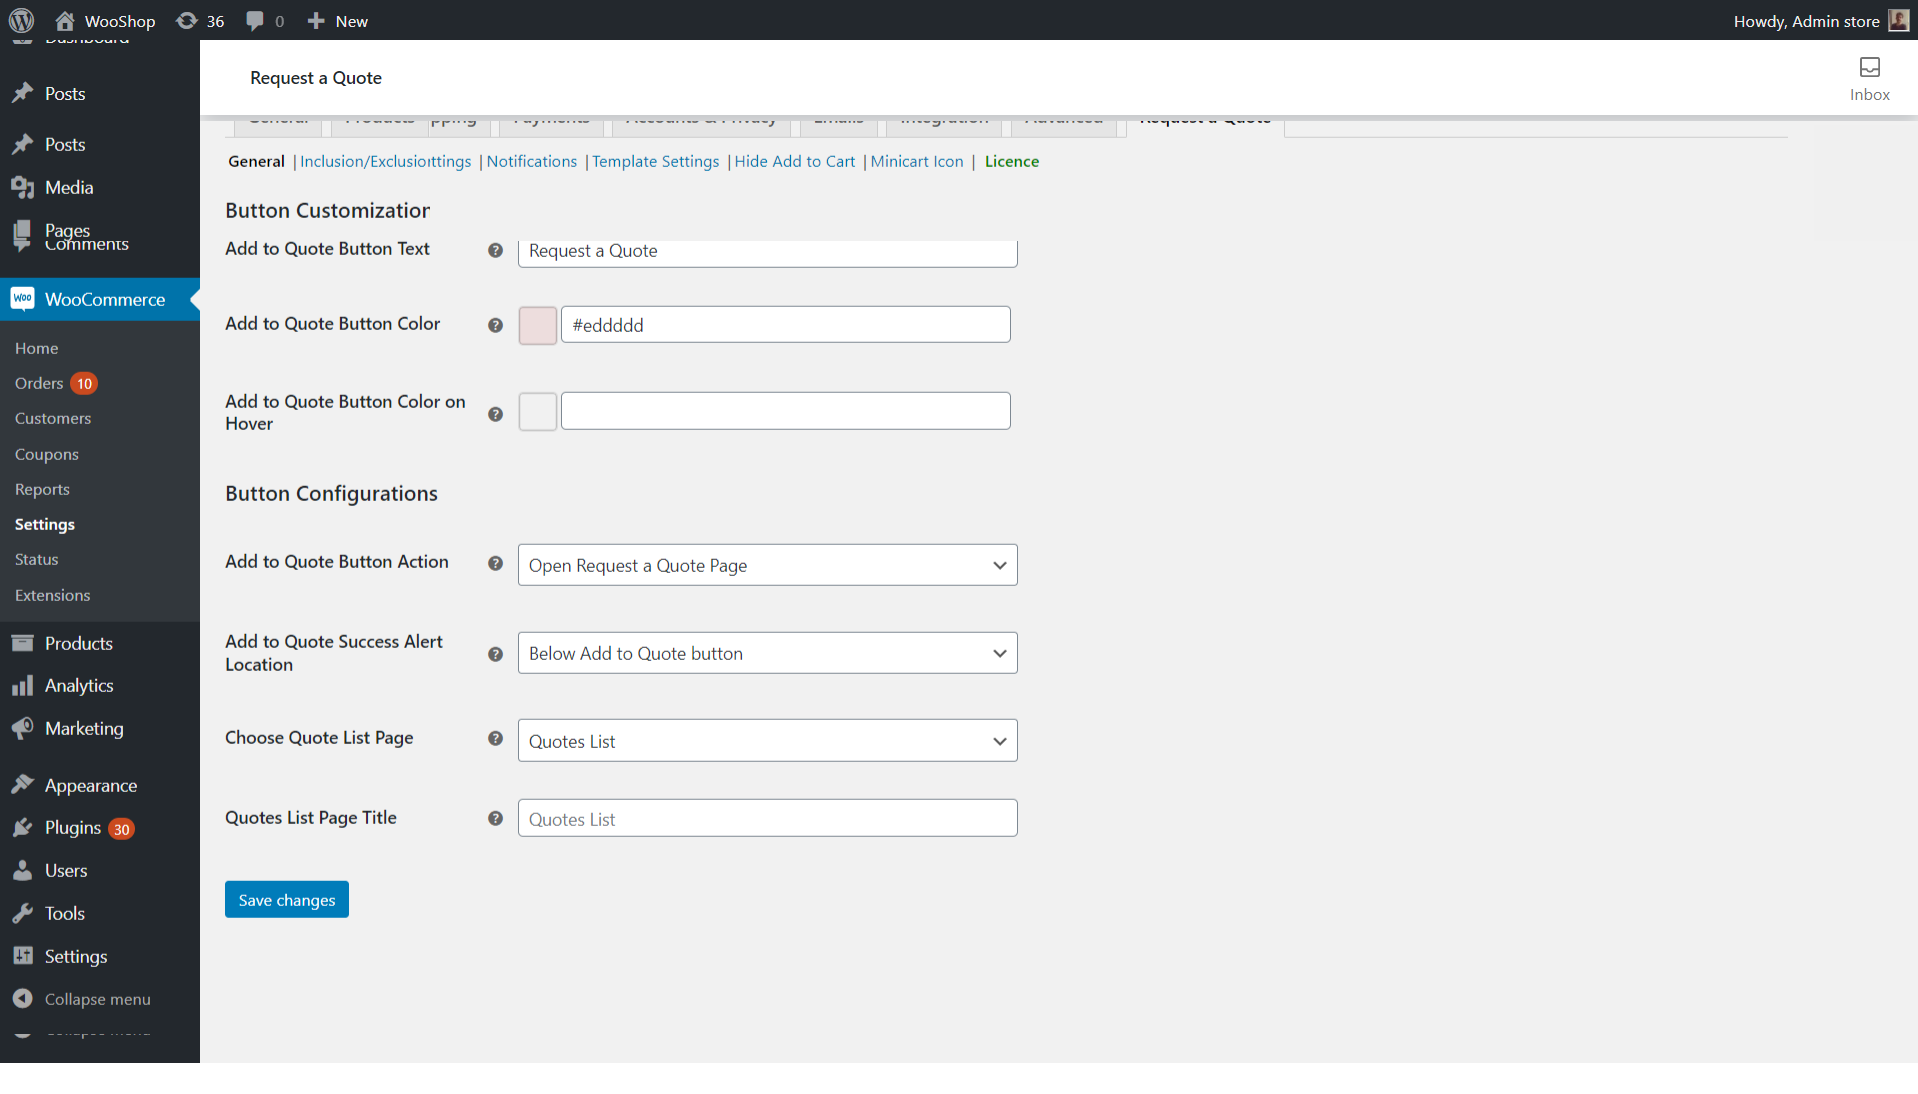
Now, click on the ‘Add to Quote Button Action’ drop down menu. You get 2 options
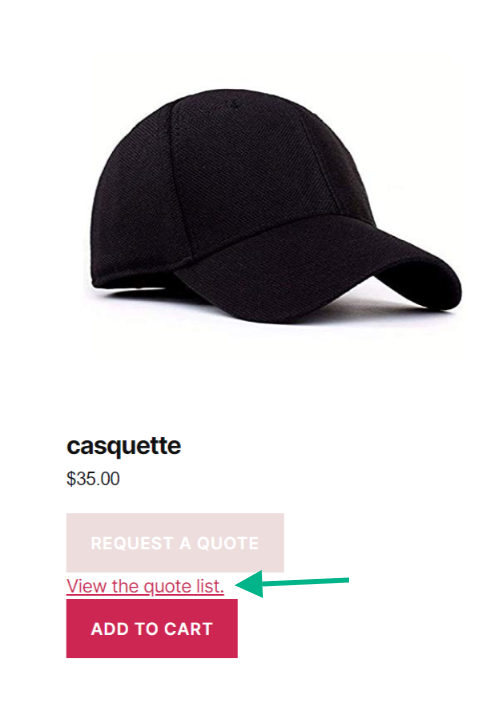
- Open Request a Quote page: When a customer clicks on the ‘Add to Quote’ button, they will see a hyperlink that says ‘View the Quote List’. This redirects and opens up the Quotation form in a new page.
- Open in a lightbox: If you have chosen this option, the customer clicking the ‘Quote List’ button will open a pop-up window with the same information as the previous option, rather than opening a new page.

Step 4: Select a Page to Apply the ‘Request a Quote’ Feature
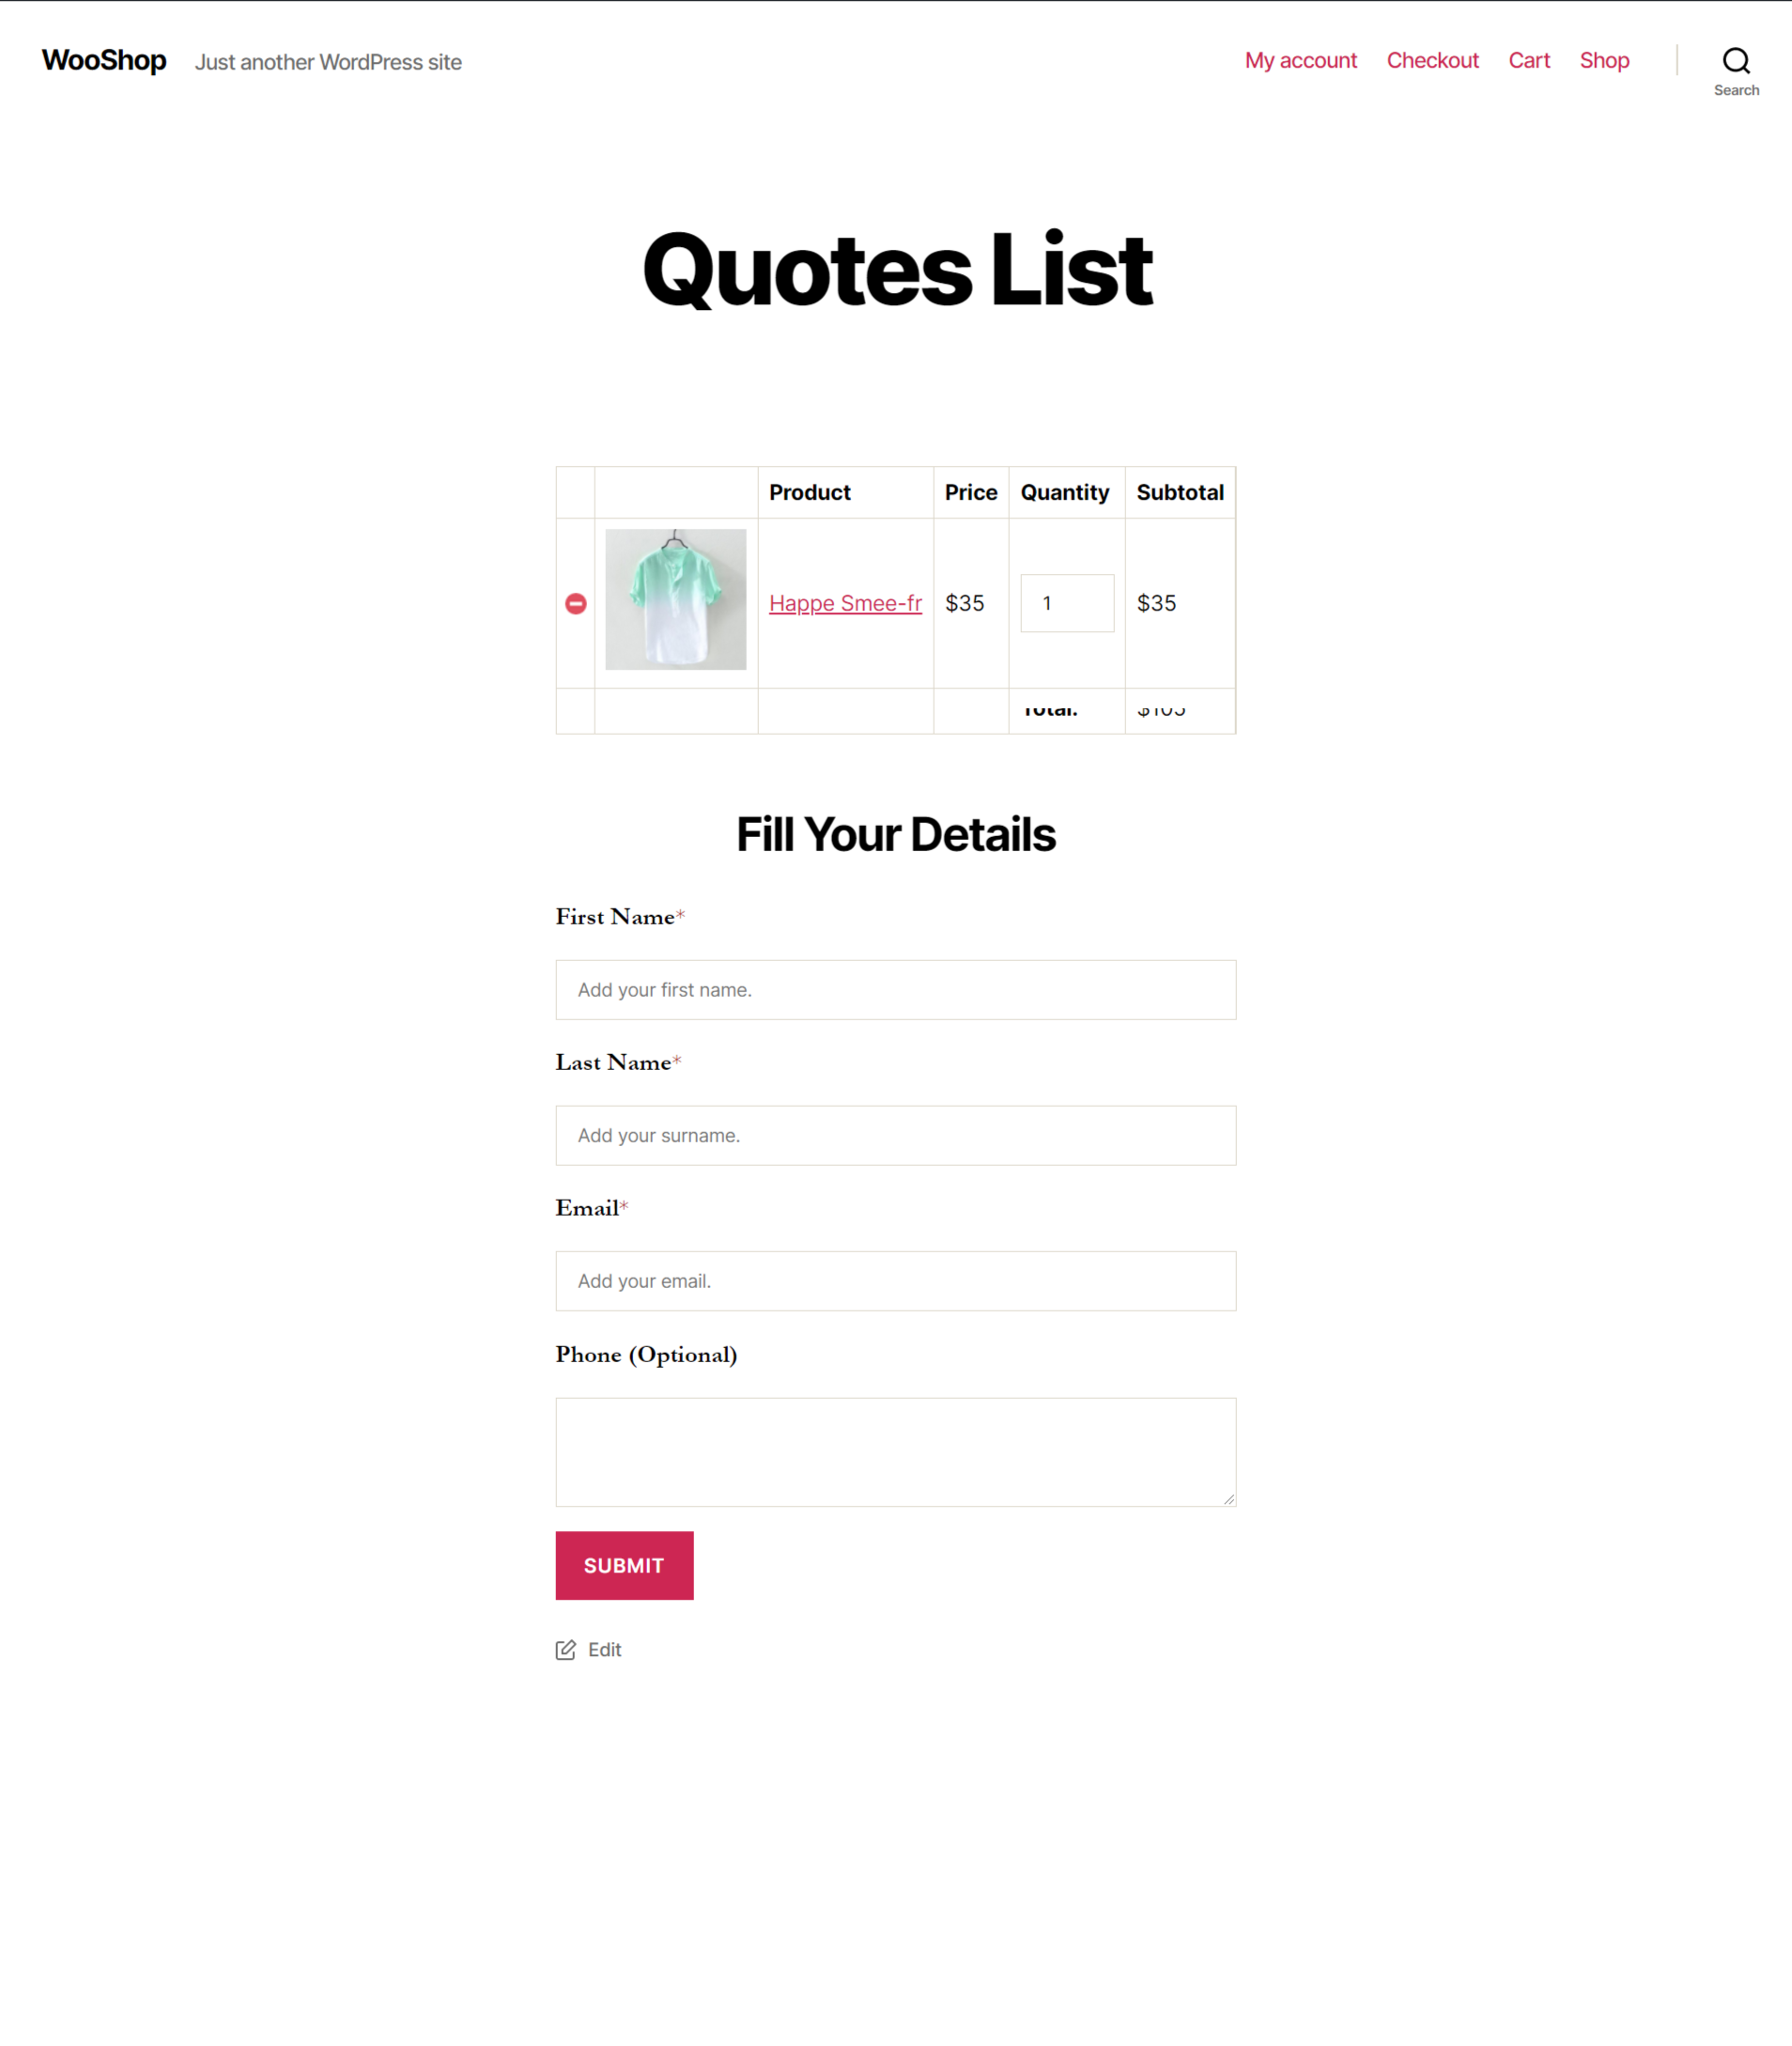
The plugin comes with the option of creating your own custom page, wherein the shortcode is provided that can be copied and pasted on the custom page. ‘Request a Quote’ page is similar to that of a shopping cart. The only exception is that it comes with a form that the customers can submit asking for a quote for the products they have selected.
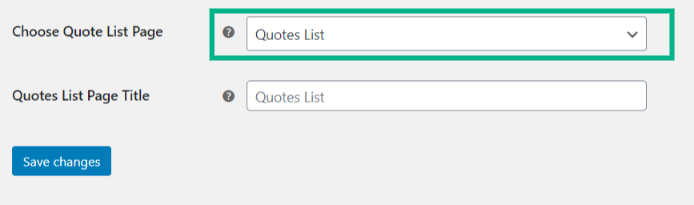
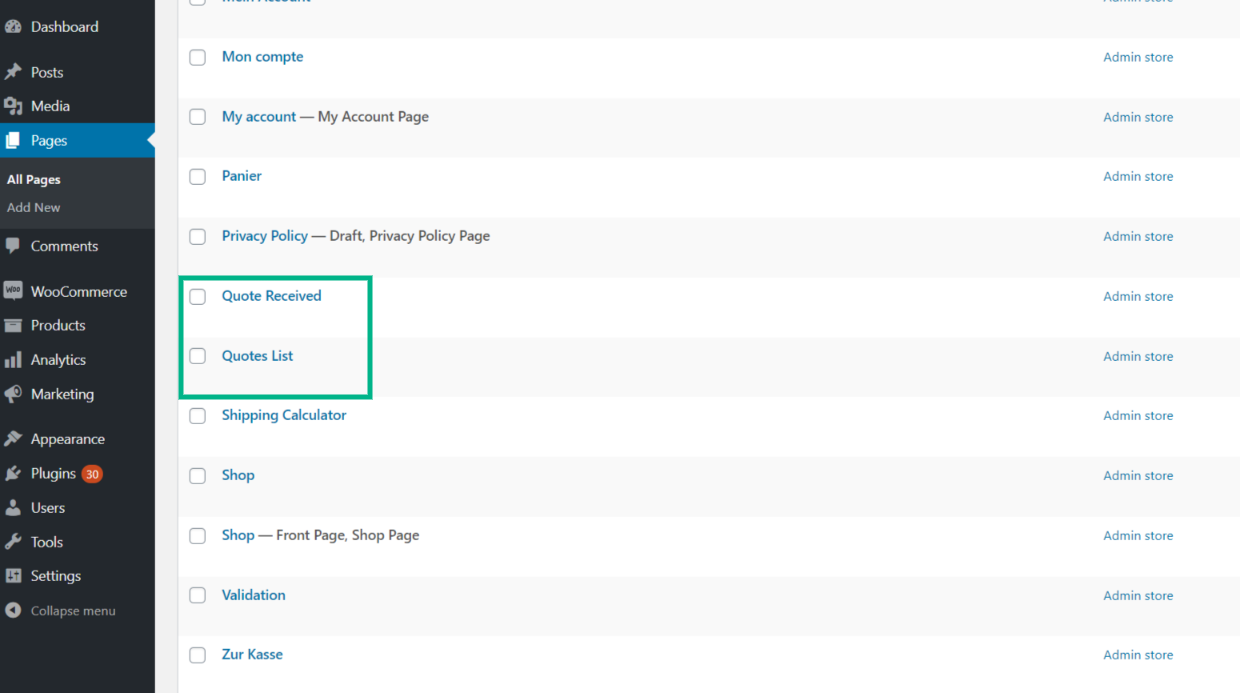
A crucial point to remember is that, if you choose any page other than the default one, you should add the shortcode “ [elex_quote_request_list] “ on that selected page.
Step 5: Include and Exclude products
The free version of the ELEXtensions ‘Request a Quote’ plugin portrays the ‘Add to Quote’ button for all the products on your WooCommerce store. To apply the ‘Add to Quote’ button for selective products, you need to procure the premium version of the plugin.

- Once you enable ‘Include Products’ only those products selected will display the ‘Add to Quote’ button.
- If you enable ‘Exclude Products’ only those products selected will not display the ‘Add to Quote’ button in contrast to all the other products on the page displaying the button.
- If you do not choose any products, categories, or tags here for both inclusion and exclusion, all products in your store will be available for requesting the quote.
Step 6: Set up the ‘Add to Quote’ Form
You can add the fields to be present in the form for the customers to fill up for requesting a quote. By default, there will be first name, last name, email, phone, and message. You can set each field to be ‘required’ by enabling it. If you do not enable it, it will be displayed as ‘optional’. And also there is an option to remove the fields.

After filling in all the required fields and adding custom ones if needed, save changes. The following preview of the form will appear.

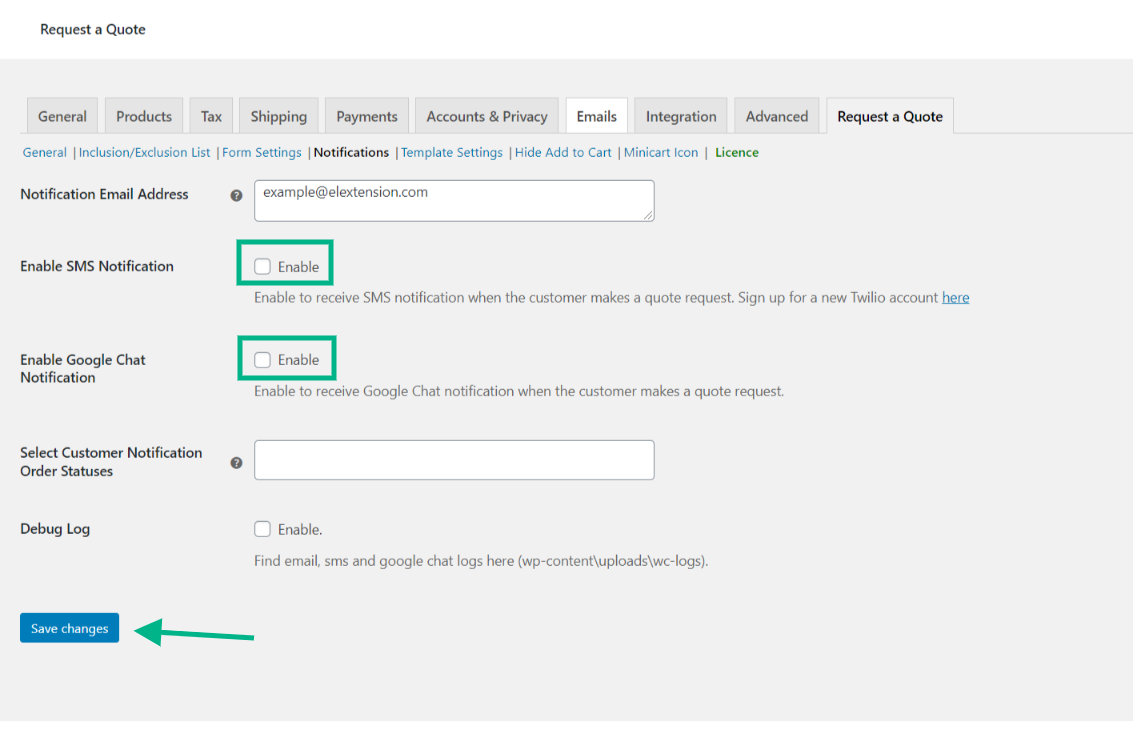
Step 7: Set up the ‘Add to Quote’ notifications
It is extremely crucial to set notifications, as it sends an email or SMS to the admin stating that a customer has requested a quote for a certain product and intern help provide swift responses to the customer and help boost sales and customer loyalty.
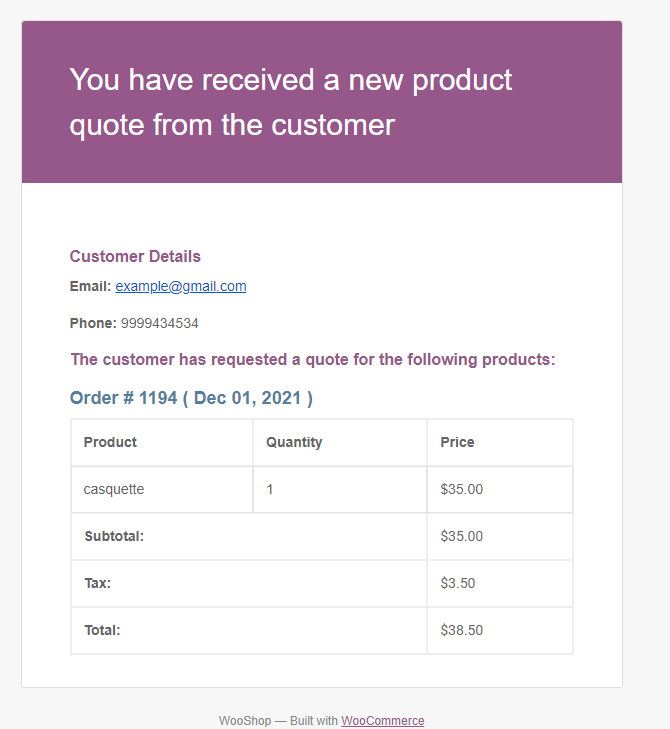
Following is an example of the notification received by an admin when a customer requests a quote for a product or service.
Step 8: Set up Template Settings
You have the option of customizing the template for your email, SMS, and Google chat notifications sent to the admin. You can change and customize the subject, heading, email body, chat body, and so on according to the requirements.
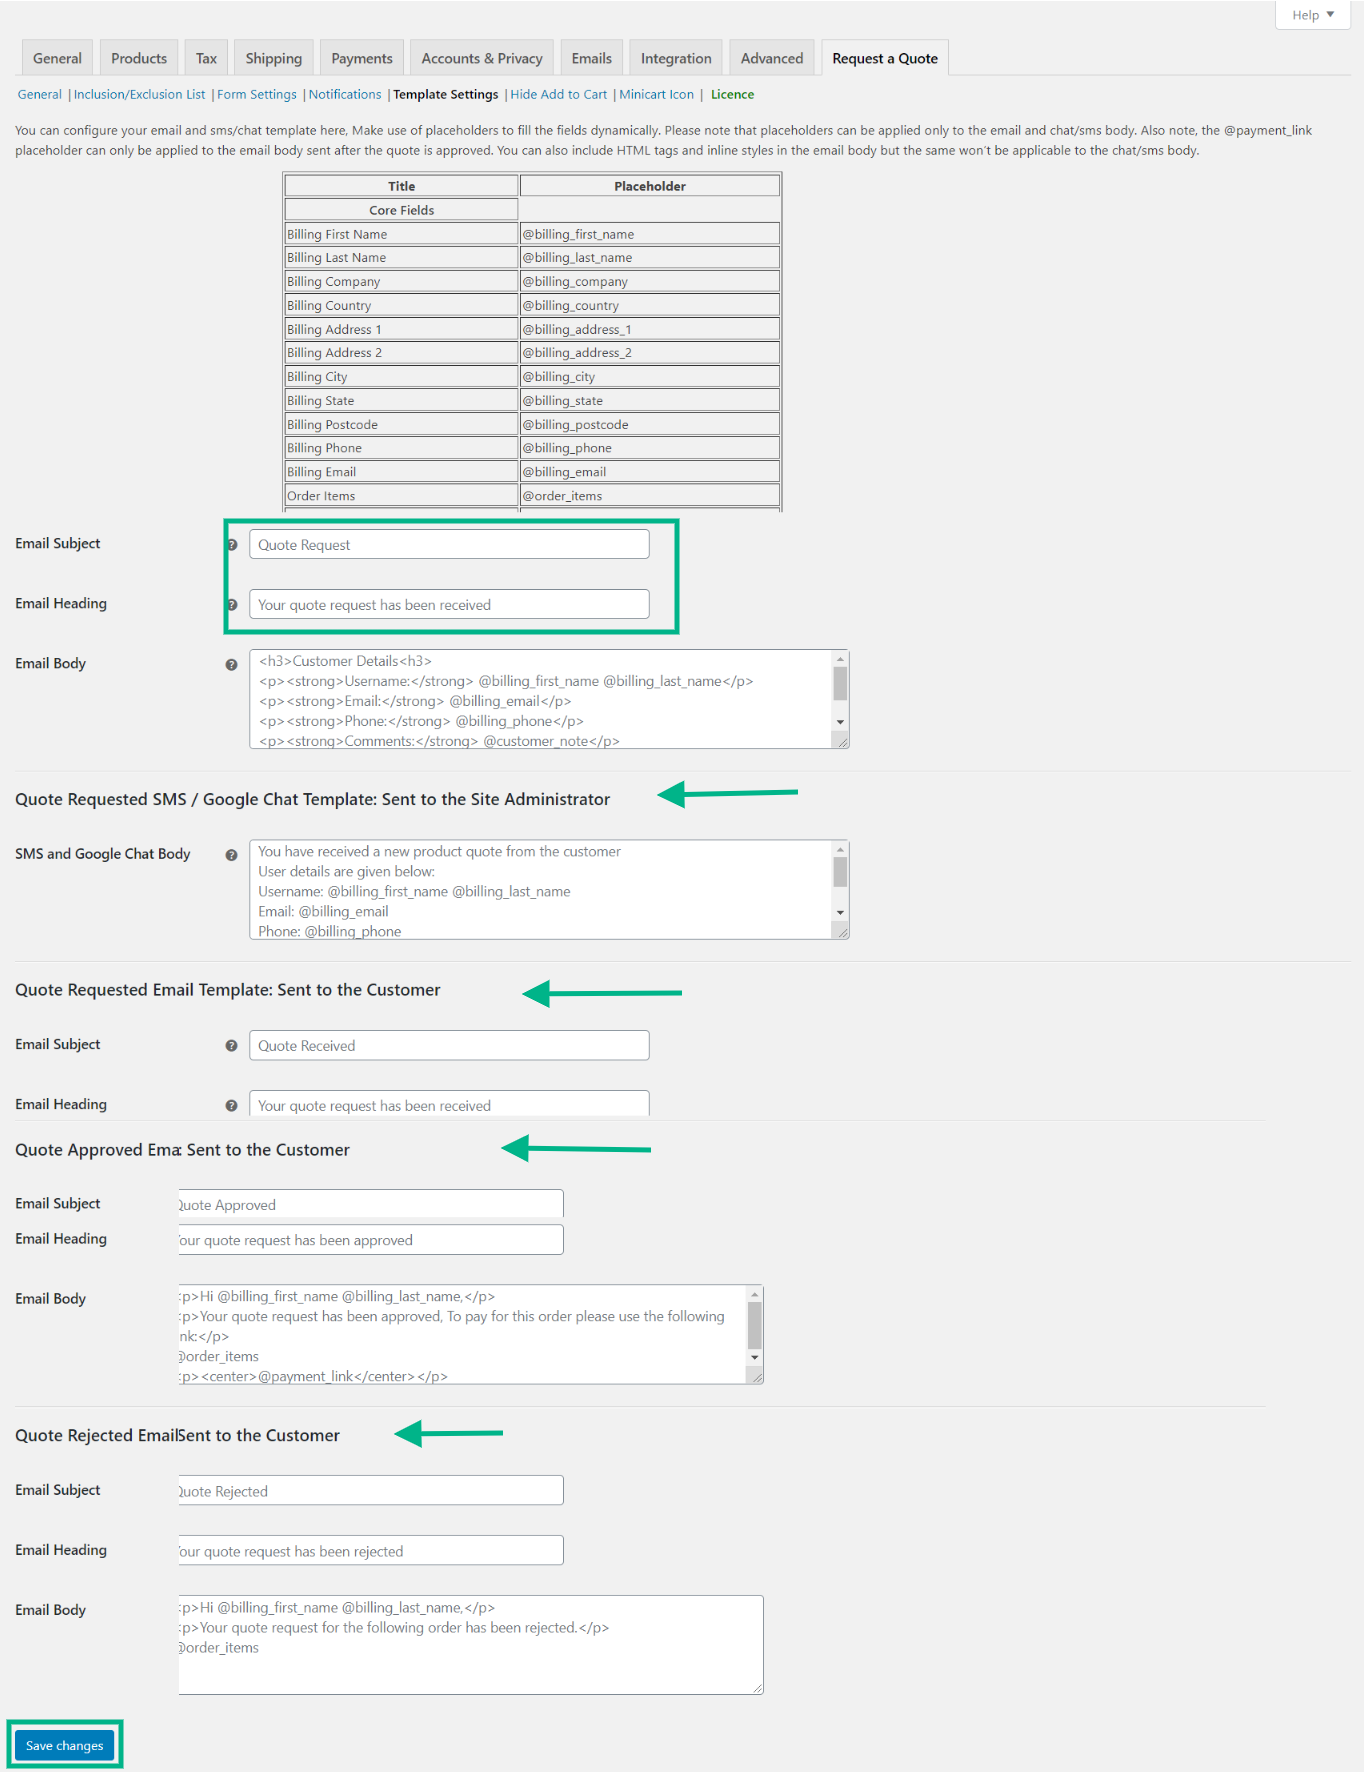
It is very easy to set up as you can find a table with titles and their placeholders on the page. You can simply type the required fields and add the placeholder to the email body. The corresponding value of placeholders will be dynamically added into the email, SMS, and Google Chat notifications.
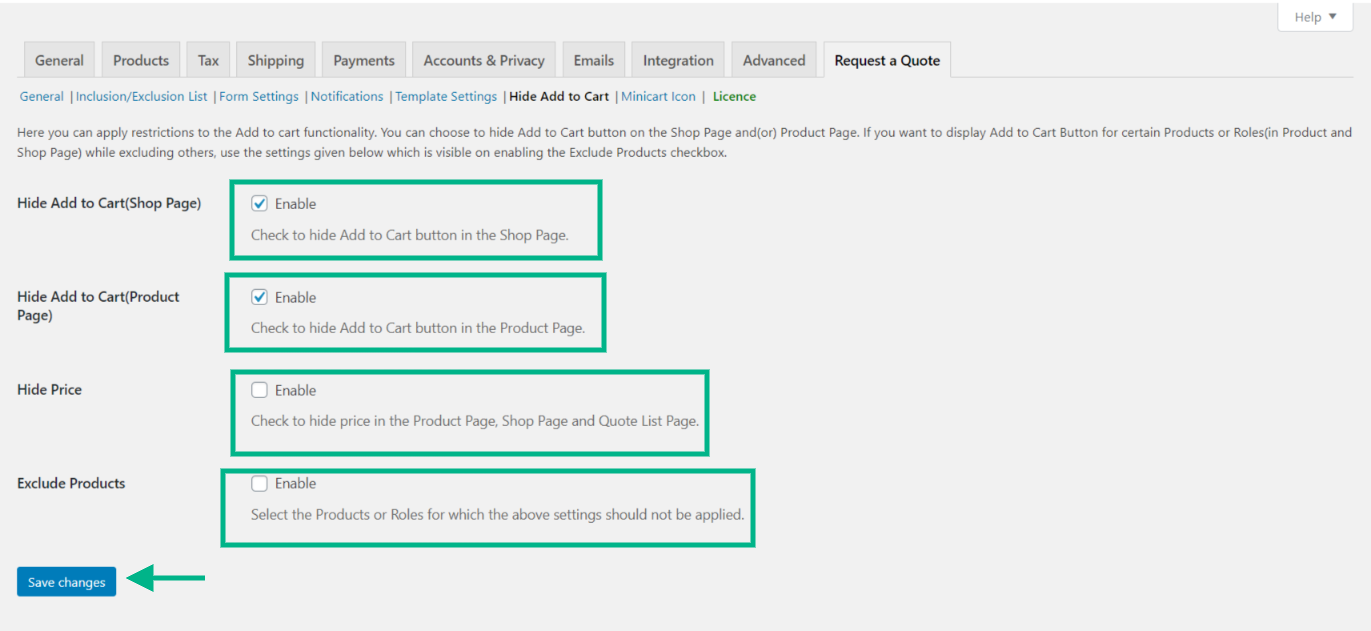
Step 9: Hide Add to Cart
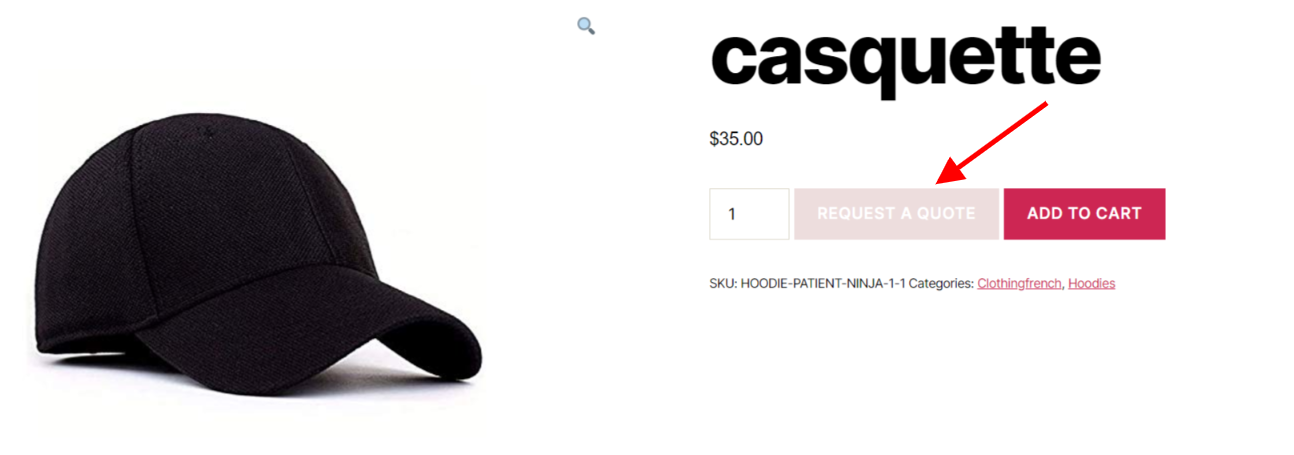
The ELEXtensions ‘Request a Quote’ plugin allows you to hide the ‘Add to Cart’ button on the shop page or product pages. You can display the ‘Add to Cart’ button for specific products based on their category, name, and tags and hide the ‘Add to Cart’ button for other products on the store page. If you want to include specific user roles for the availability of ‘Add to Cart’, select the user roles accordingly.
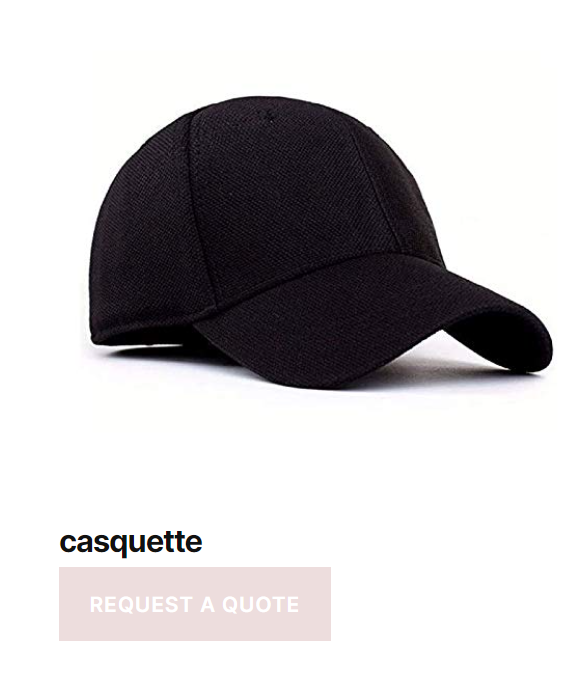
The following portrays the product page with the ‘Add to Cart’ button hidden
Step 10: Hide Add to Cart
Enable AJAX Cart: By enabling this feature, you can display a quote cart icon on the right side of the page that shows the updated list of quotes that are added to the cart, when the cursor hovers over the icon.

The following image portrays the Minicart Icon on the store page.

Conclusion:
A WooCommerce ‘Request a Quote’ button provides flexibility to businesses and opportunities to grow, as the pricing structure can be improvised as per your need. In addition to this, it helps your store sell custom products with custom packaging and provide a price depending on the material and other factors used in creating that product.

