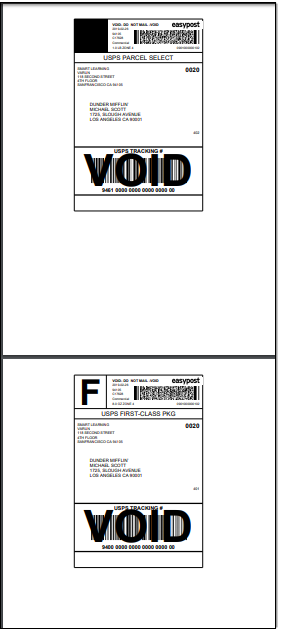
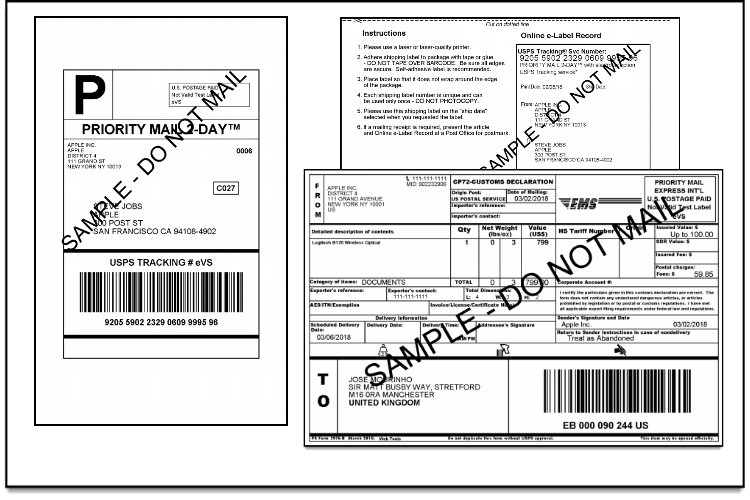
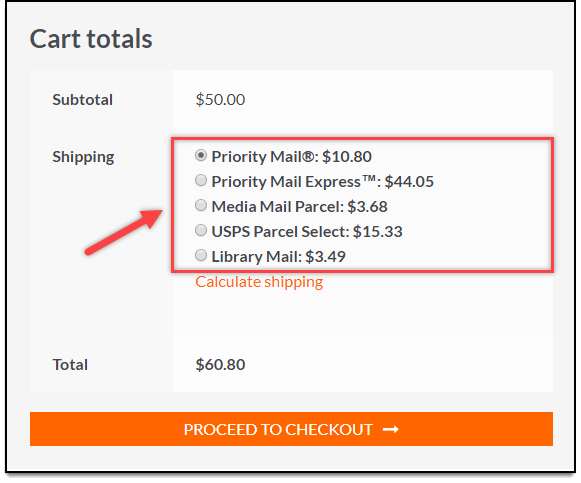
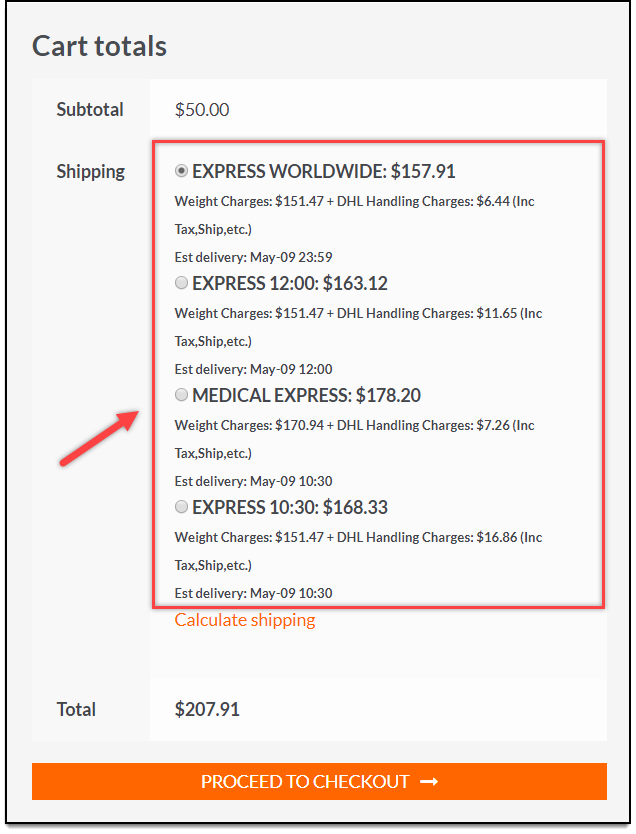
Shipping labels are an important part of the fulfillment process of an online store. If you are using a particular shipping carrier, you may need to go to their site to print labels specific to each order you receive on your store. With the default option of WooCommerce it is not possible to print shipping labels directly from your store admin. However, if you are using one of the shipping plugins of ELEX, you will be able to print the labels of the respective carrier directly from your WooCommerce store. In this article, we will explore the step by step procedure to print shipping labels on WooCommerce while using one of the ELEX shipping plugins.
How to Print Shipping Labels on WooCommerce?
The process of setting up and configuring a plugin might change for each of these plugins. However, once you receive an order on your WooCommerce store, the process of generating shipping labels and printing them is more or less in the same way. For this article, we will demonstrate how to print shipping labels on WooCommerce using ELEX EasyPost Shipping plugin. The EasyPost shipping plugin helps you integrate the services of FedEx, UPS and USPS to your WooCommerce store. More features of this plugin and our other shipping plugins and add-ons are listed later in this article. Let’s first try and understand how to print shipping labels on WooCommerce first.
Step 1: Generate Packages
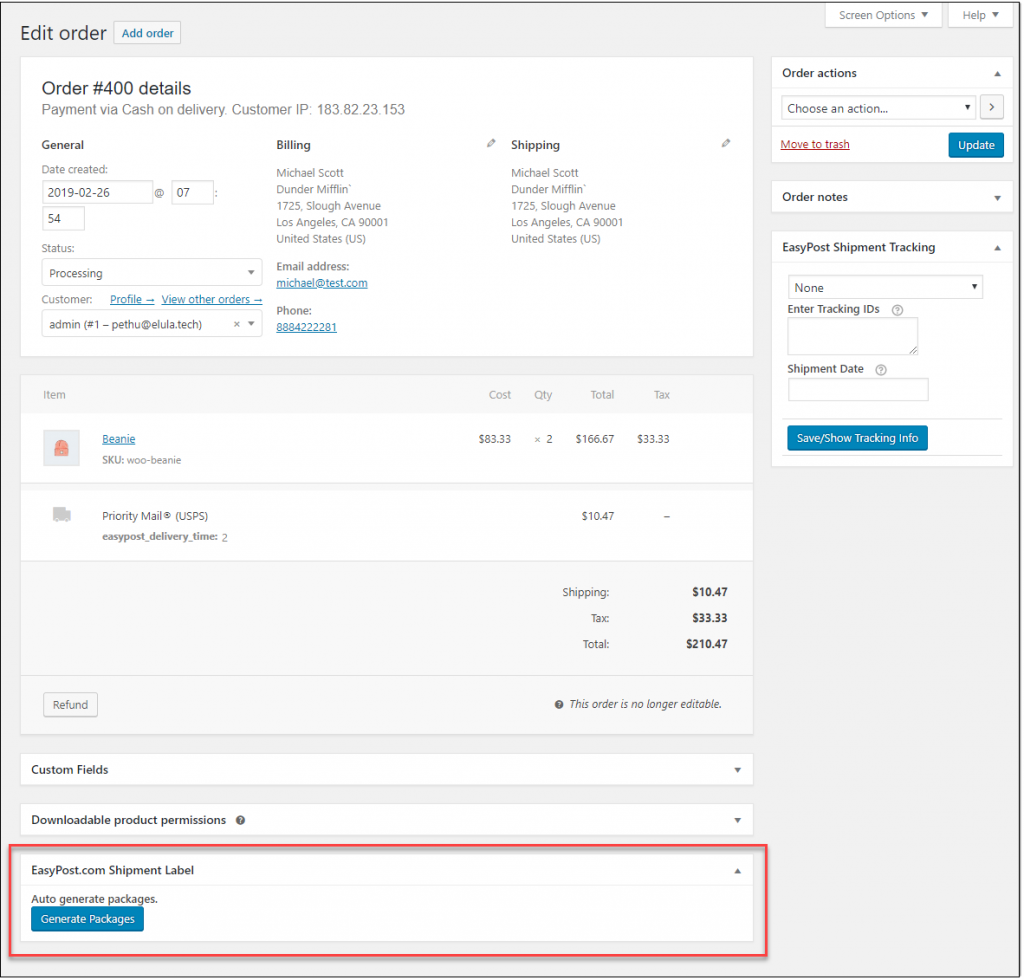
Once you receive an order on your WooCommerce store, the first step you need to do before printing labels will be to generate packages. The plugin will automatically generate packages based on the parcel packing setting on your store. Most ELEX plugins have three options to choose from for parcel packing. These are:
- Pack items individually
- Pack into boxes based on weight and dimensions.
- Weight based packing.
Depending on the store strategy, you must already chosen a parcel packing method. So after receiving the order, you can open the order details page of that specific order and click Generate packages button.
Step 2: Create Shipment
Now, you will see the plugin has automatically generated the packages based on the configuration you have chosen in the settings page.
Here, you can do multiple things based on the specific requirement of the order. if you want to choose another shipping service to send the package with, choose the option from the Select Preferred Service drop-down.
You can also add another package if required, by clicking the Add Package button.
If you want to change the parcel packing method itself, you can go to the plugin settings page and choose a new parcel packing method. Once the settings are changed, you can click the Regenerate Packages button on the top right of EasyPost metabox.
If the settings are alright for the order, you can click the create shipment button to continue with the process to print shipping labels on WooCommerce.
Step 3: Print Labels
When you click the Create Shipment button, you can see the shipment is created by the plugin. You will find a tracking code as well, which you can provide your customers for hassle-free tracking of their orders. The tracking code will be available to customers on their My Account section. If you have enabled order completion email on your email settings, the plugin will automatically include the tracking code into the order completion emails sent to your customers.
If you think the shipment created is not right, you can cancel the shipment by clicking the Cancel Shipment button as well.
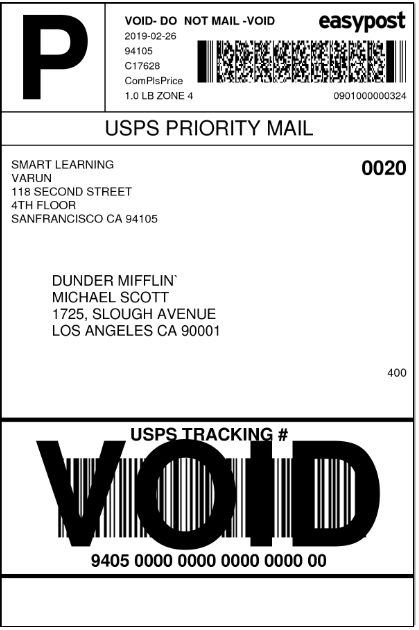
You can click the Print label button if all aspects of the label are correct.
The label will open in a new tab on your browser window. If you are connected to a printer, you can directly print the label. You can also choose to download the label to print it later.
Bulk print shipping labels on WooCommerce
Now, printing labels this way won’t be a lot of trouble if you are talking only about a few orders. But when there are a large number of orders on your WooCommerce store, opening and printing labels for each order might take quite a bit of time. If there is an option to bulk print shipping labels on WooCommerce, it will be quite helpful to speed up your fulfillment process. More importantly, your store’s operational efficiency will increase and consequently, the customer experience on your store too will increase.
For most of the shipping plugins, you can find a bulk printing labels add-on in the Add-ons page of ELEX website. For this example, we will demonstrate how you can bulk print shipping labels on WooCommerce using the EasyPost Bulk Label Printing add-on. Please note, you can use this bulk label printing add-on only with ELEX EasyPost Shipping plugin.
For the add-on to work, you need to have a developer account with iLovePDF API. With a free account, you can print up to 250 PDF documents. One bulk printing operation will generate a single PDF with multiple labels in it. Based on your requirements, you can print shipping labels in different batches. For example, you can print all the shipping labels on a day, or even for a time period by specifying dates. If you want to specify a few order ids for which you want to print shipping labels on WooCommerce, the plugin provides an option for that too.
Now, let’s see how you can bulk print shipping labels on WooCommerce using the EasyPost shipping plugin and Bulk Label printing add-on. You need to enter the Project Key and Secret Key you get from your developer account on iLovePDF in the respective fields for the add-on to work. Also, remember to choose the file format as PDF in the label printing settings.
Step 1: Choose how you want to filter orders
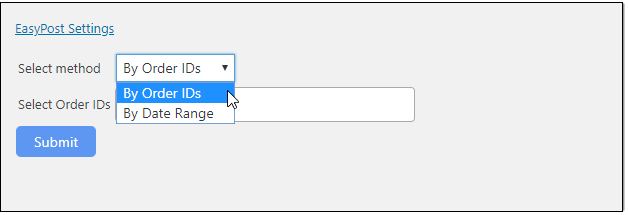
Firstly, you need to select the method by which you want to filter orders. You can choose from:
- By Order IDs
- By Date Range
When you click on the field for order ids, a drop-down will be displayed with all the order IDs on your store. You can select the required order ids that you want to print labels.
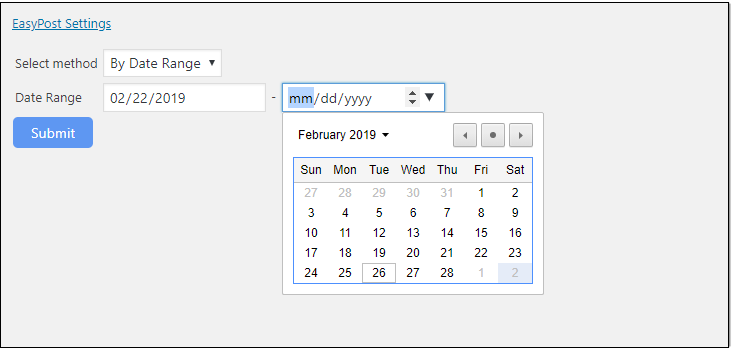
If you want to select the order by date range, choose the option for it and specify a date range.
Step 2: Download the PDF for multiple labels
Once you select the order IDs, it will display the orders in a list. You can download the PDF file with multiple shipping labels.
Step 3: Print Labels in Bulk
Now, the labels of the orders you selected will open in a new tab on your browser as a single PDF.
You can adjust your printer settings to print multiple labels on one sheet, if required. More details on printing multiple labels on a single sticker sheet can be found here.
ELEX Plugins to help you print shipping labels on WooCommerce
You will find multiple shipping plugins on the ELEX website that will help you integrate popular shipping carriers to your WooCommerce store. These plugins will help you print shipping labels on WooCommerce as well display shipping services and rates on your cart and checkout pages. Here is a quick reminder of the features of our shipping plugins:
ELEX WooCommerce USPS Shipping Plugin with Print Label
If you are an eVS customer of USPS, you can use this plugin to display shipping services and rates on your cart and checkout pages. The plugin also helps to print shipping details right from the order details page of WooCommerce. It also provides automatic box packing options so that you can easily choose the right packing based on the weight and dimensions of your products. The plugin also helps you make price adjustments to the real time returned by USPS. You can also make use of USPS flat rate boxes using this plugin. To make international shipping smooth, the plugin provides an option to create eVS scan forms.
ELEX Stamps.com Shipping Plugin with USPS Postage for WooCommerce
If you are not an eVS customer of USPS, you can use this plugin which integrates Stamps.com API to access USPS rates on your store. Apart from helping you print shipping labels on WooCommerce, this plugin helps you display international and domestic USPS services on your store. You can make price adjustments to the available rates using this plugin. It also helps you with box packing, which you can configure based on the weight and dimensions of your products. Furthermore, you can provide tracking information to customers by automatically including it in the order completion email.
If you want to bulk print shipping labels on WooCommerce, use Stamps.com USPS Bulk Label Printing Add-On along with this plugin. The add-on helps you filter orders by order id or date range.
ELEX EasyPost (FedEx, UPS & USPS) Shipping & Label Printing Plugin for WooCommerce
If your store strategy requires you to integrate multiple shipping carriers on your store, this plugin is the ideal choice for you. Through EasyPost API, it helps you access FedEx, UPS and USPS services on your store. You need to have an EasyPost account as well as accounts with respective carriers to be able to use this plugin. You can display a range of available domestic and international shipping services of FedEx, UPS and USPS using this plugin. It also lets you print shipping labels and provide tracking information to customers.
With the help of this plugin, you can provide Estimated delivery date of each service, and also can make price adjustments to each service according to your needs. For bulk label printing, you can use the EasyPost Bulk Label printing add-on to print multiple labels on a single PDF file.
ELEX WooCommerce DHL Express / eCommerce / Paket Shipping Plugin with Print Label
You can integrate DHL Express, DHL Paket and DHL eCommerce using this plugin. However, please note you can display only the services and rates of DHL express on the cart and checkout pages. The plugin also helps you print shipping labels of all three services and helps you provide tracking information to customers. Moreover, this plugin helps you print return labels, commercial invoices and archive air waybills from your WooCommerce store admin. Just like the above mentioned plugins, this one too have options for price adjustments parcel packing options. In addition you can use it to send a pick up request to DHL while you create a shipping label.
For bulk print shipping labels on WooCommerce, you can use the DHL Bulk label printing add-on along with this plugin.
ELEX WooCommerce Australia Post Shipping Plugin with Print Label & Tracking
If you have an account with Australia Post for your shipping needs, you can choose this plugin to integrate it to your WooCommerce store. The plugin helps you integrate eParcel as well as StarTrack accounts according to your requirement. You can display real time rates on the cart and checkout pages, as well as print shipping labels right from the order details page. It offers an option to choose the parcel packing method, as well as helps you make price adjustments to available rates. The plugin helps you generate delivery manifests according to your requirements as well.
To bulk print shipping labels on WooCommerce, you can use the Australia Post Bulk Label Printing add-on alongside this plugin.
Hope you got a basic idea on how to print shipping labels on WooCommerce through this article. For better understanding you can checkout our documentation. If you have any queries regarding any of our plugins, please contact our support team.
Further Reading:

