What can we help you with?
Styling Dynamic Pricing and Discounts plugin for WooCommerce with XStore theme
ELEX Dynamic Pricing and Discounts, as the name suggests is primarily used to provide offers and discounts from time to time on the products of your online store. And when it comes to giving offers, it becomes all the more important to make sure that your offers are well conveyed to your customers.
Just having information on the offers is not enough, it’s important to elegantly display the offers in order to make them look impressive to your customers.
In this article, I am using the XStore theme to customize the look and feel of the plugin. We shall discuss three areas of customization which are quite relevant to Dynamic Pricing and Discounts.
1. Shop Page customization
2. Customizing the Pricing table.
3. Customizing the “Sale” badge.
Shop Page customization
Among all the available, elegantly beautiful demos, we choose to import the “Kids” demo.
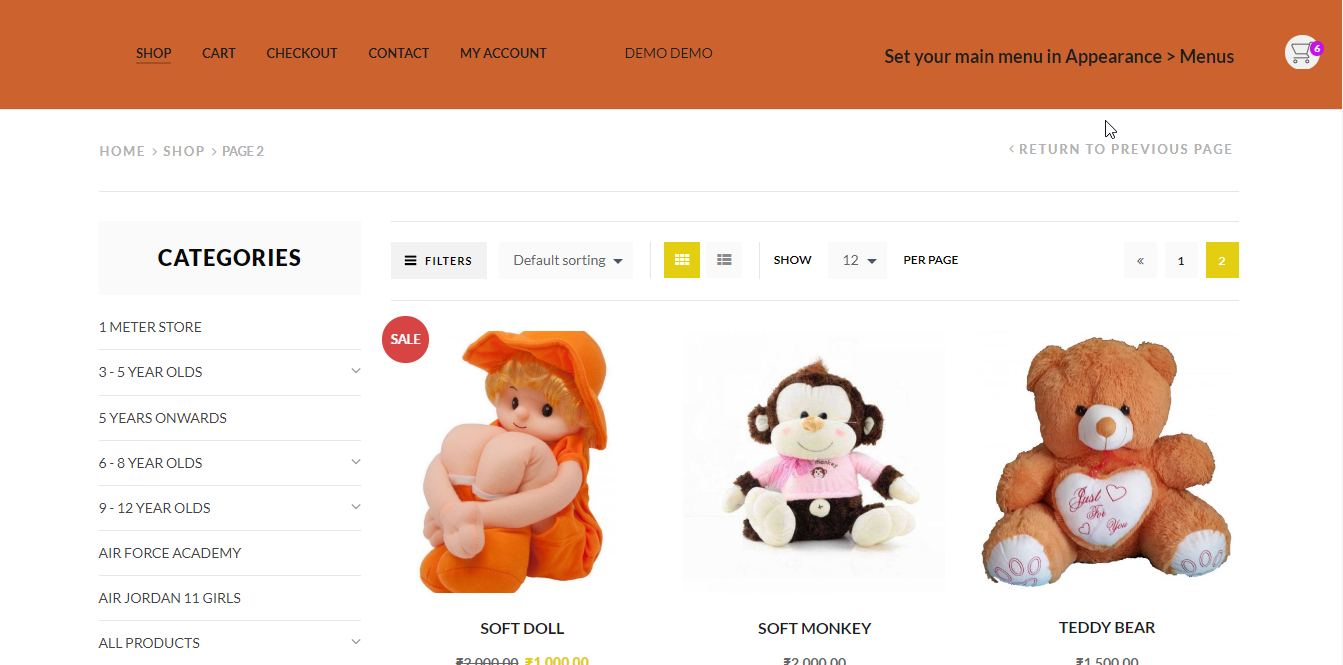
Let’s take a look at the how the discounted products would appear in the “Shop” page –
You can even choose to enable “Catalog Mode” in the theme which would hide all the “Add to Cart” buttons.
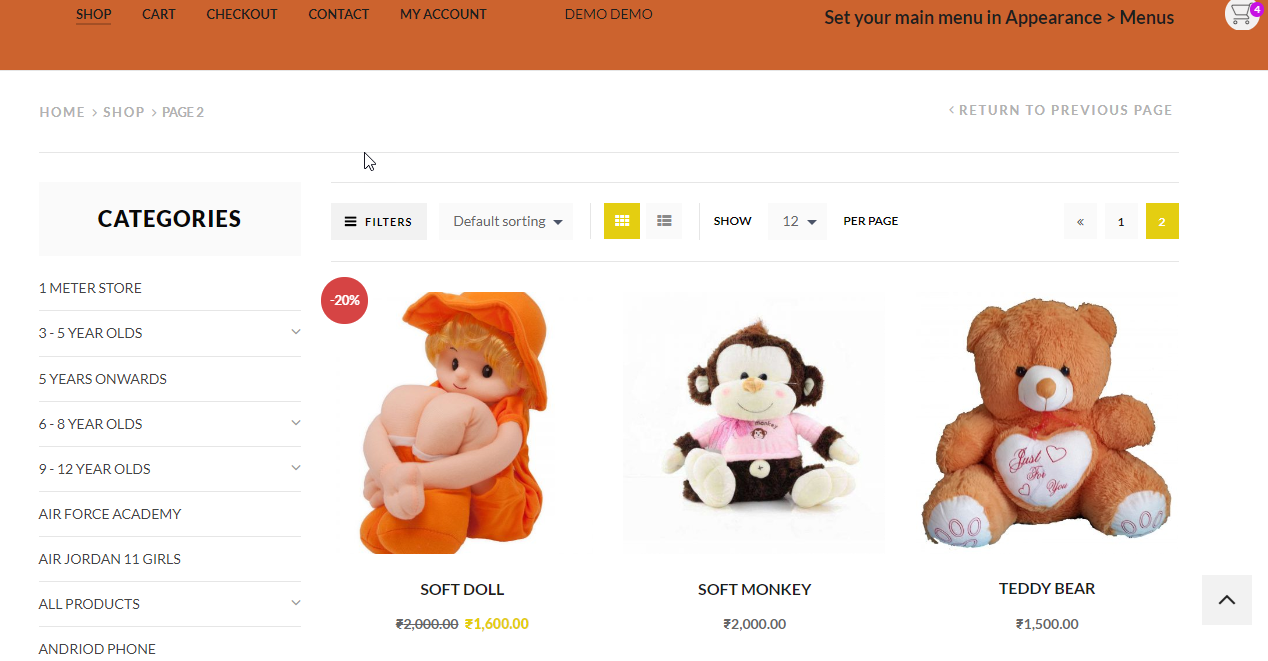
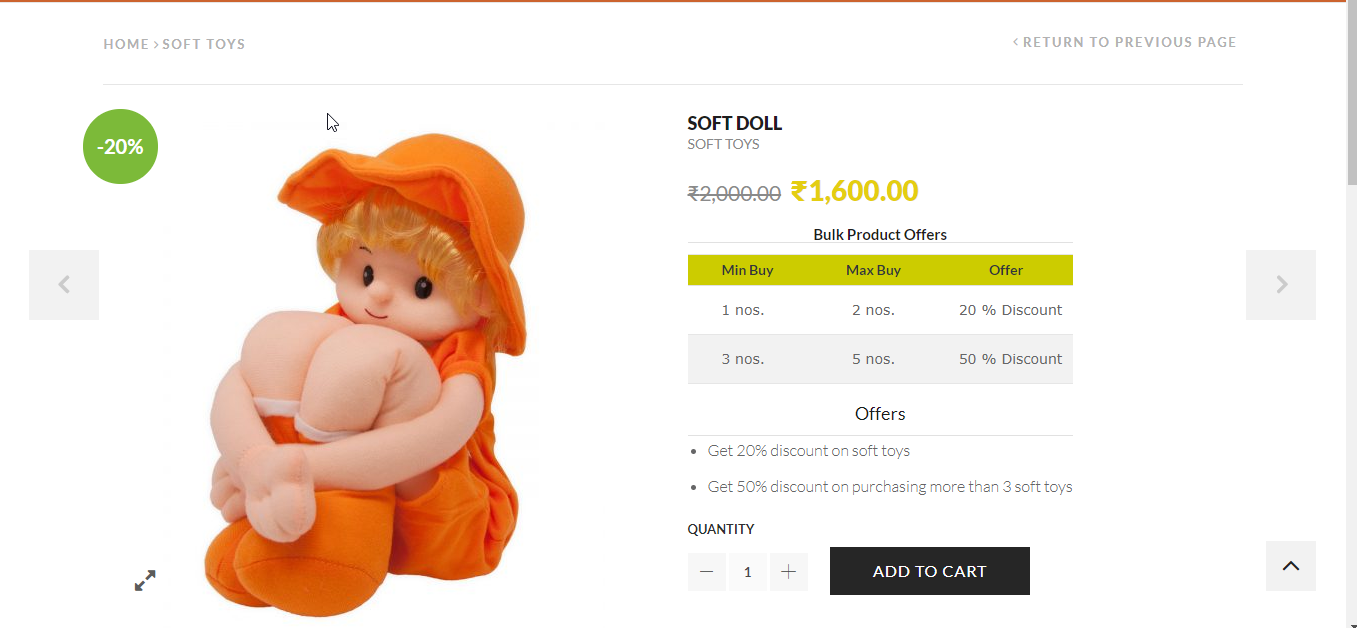
With customization options available in the theme settings, you can change the text of the Sale tag. Sometimes, you might want to highlight the discount percentage –
Customizing the Pricing table
Pricing table is one of the most important features of a Dynamic Pricing plugin. The default look of the table is a plain one but, the good news is that you can customize it.
Though the default look should go with any theme design. Yet, you might want to give it a specific look as per the color and design pattern followed on your site. You would definitely not want to leave an important element bereft of the store style.
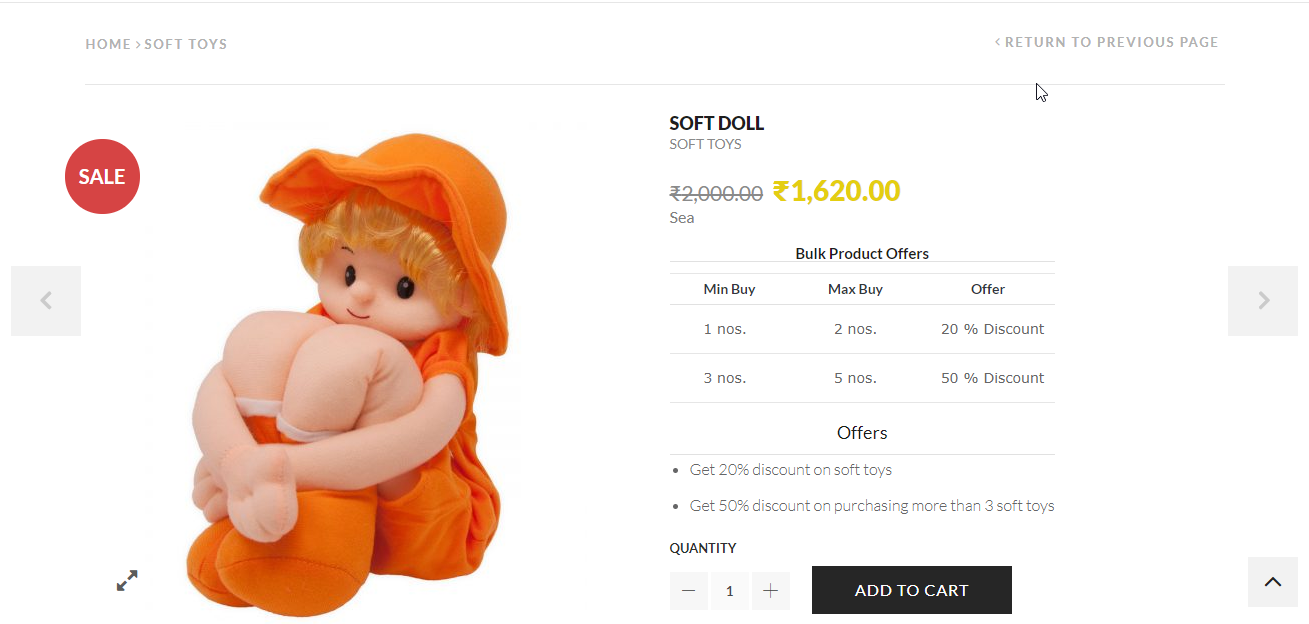
The default look of the pricing table –
Now, in order to add some CSS to your product page, you can make use of the WP Bakery Page Builder, which comes along with the XStore theme.
With the following CSS code –
table {

border-collapse: collapse;

width: 100%;

}

th, td {

text-align: left;

padding: 8px;

}

tr:nth-child(even){background-color: #f2f2f2}

.xa_sp_table_head2_cell {

background-color: #CCCC00;

color: white;

}
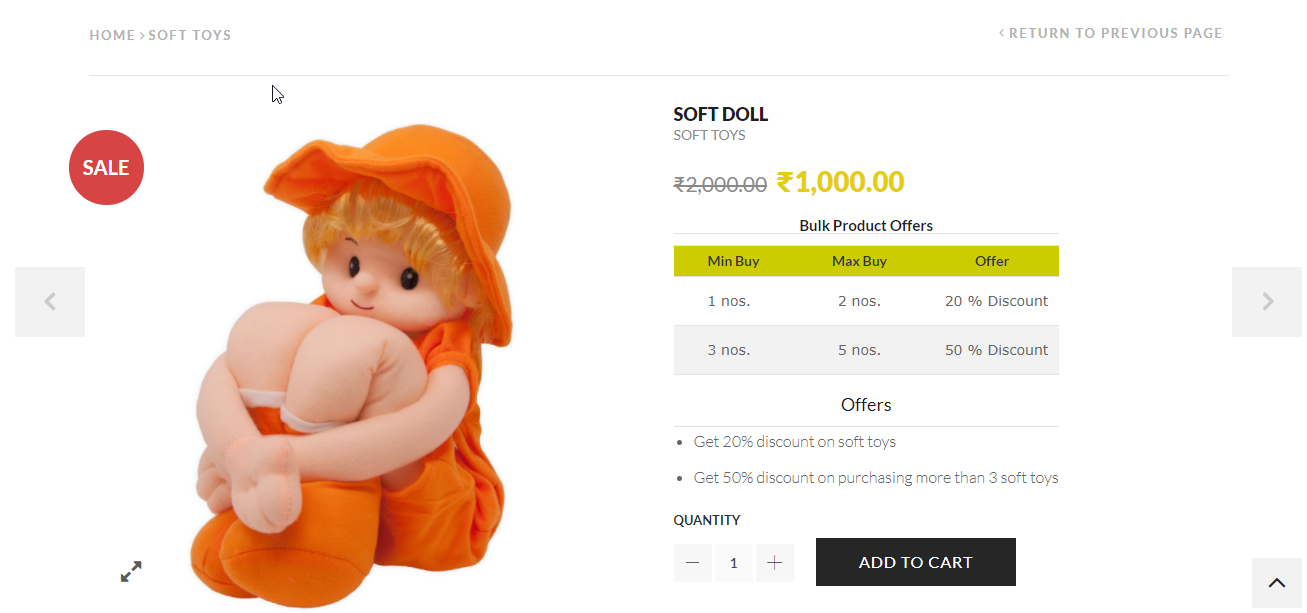
You can achieve this result –
Similarly, you can add any other style to the pricing table.
Customizing the “Sale” badge
Next, we come to the customization of the “Sale” badge. The “Sale” badge is an important feature as it is responsible for highlighting the discounts you have provided for your products. You might want to highlight the discount percentage. It’s easy to achieve in XStore from Customization -> ecommerce -> shop
That’s just not all, you can further customize the “Offers” which displays the information about the discounts.
Hope this article takes you one step further in choosing the right plugin and theme for your store.

