What can we help you with?
How to set up WooCommerce Multi-Vendor Add-On with ELEX WooCommerce DHL Express Plugin with Print Label and Dokan?
This article is intended to explain how you can configure the Multi-vendor marketplace, using the WooCommerce Multi-Vendor Add-On plugin, WooCommerce DHL Express Plugin with Print Label, and Dokan Multi-Vendor Marketplace plugin.
Overview
The Multi-Vendor Add-on transforms your WooCommerce online store into a powerful, robust, and feature-rich online marketplace shopping center. With this add-on, multiple independent vendors can sell their products via a centralized product catalog and facilitate you to ship through EasyPost, Stamps.cm, or DHL. From the customers’ perspective, they can buy products from multiple vendors in a single order.
Pre-requisites
Here to configure Multi vendor marketplace with Dokan using the WooCommerce DHL shipping plugin, you need to configure the following plugins on your WooCommerce store.
Note: Apart from Dokan, you can also make use of the following multi vendor plugins like:
You can use any one of these Shipping plugins which are also compatible with the multi-vendor add-on plugin on your WooCommerce store.
- ELEX WooCommerce DHL Express / eCommerce / Paket Shipping Plugin with Print Label.
- ELEX WooCommerce EasyPost Shipping Plugin
- ELEX Stamps.com Shipping Plugin with USPS Postage for WooCommerce
For more details, you may visit the step-by-step tutorial to set up WooCommerce Multi-Vendor Add-On for ELEX Shipping Plugins.
Now let us take a look at the step-by-step guide to configure the Multi-vendor marketplace, using the WooCommerce Multi-Vendor Add-On plugin, WooCommerce DHL Express Plugin with Print Label, and Dokan Multi-Vendor Marketplace plugin
Step 1: Install and configure DHL plugin
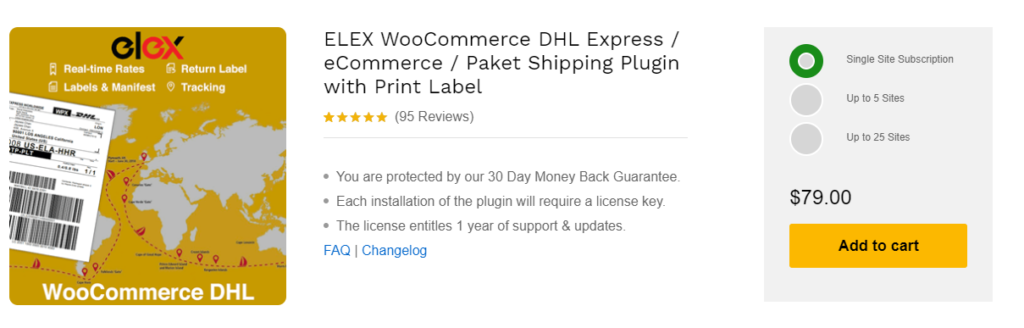
Firstly to obtain the live shipping rates from DHL, you need to install the DHL plugin on your WooCommerce store. To know more about the same you can go check out ELEX WooCommerce DHL Express / eCommerce / Paket Shipping Plugin with Print Label.
Read the article for setting up DHL Express to understand the plugin, in detail. Or check out the product documentation section for more related articles.
Step 2: Install and configure the Dokan Multi-Vendor plugin

In order to configure the multi vendor store, you need to install a multi vendor plugin like Dokan on your WooCommerce store. Dokan offers a very simplified front end and easy to install and use interface that makes it popular. Firstly we need to install the Dokan plugin by downloading the plugin to your WooCommerce store.
Once the plugin is installed you are navigated to various settings that are required to configure the multi vendor store.
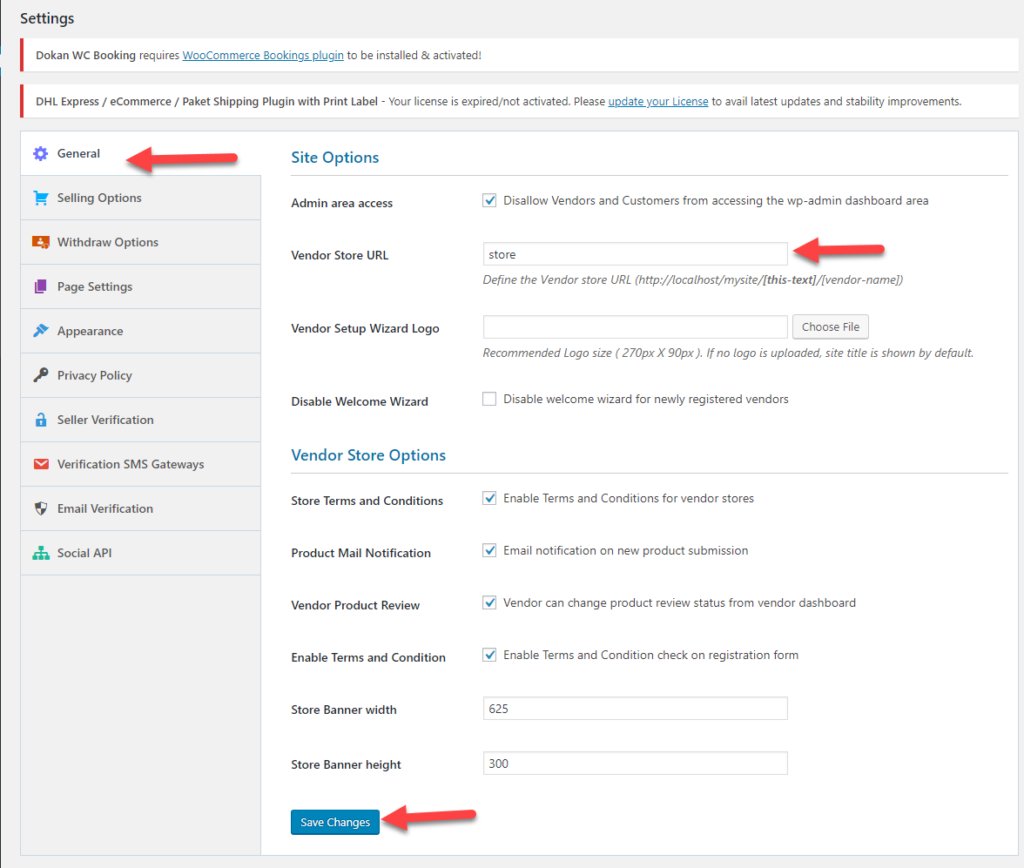
You can enter the details and proceed to create the multi vendor store. Read more details about setting up Multi-vendor store using Dokan here.
Step 3: Install Multi-Vendor AddOn for ELEX Shipping Plugins and Configure
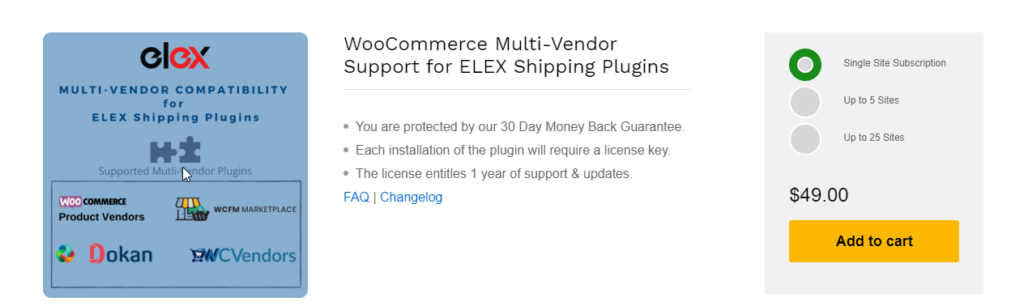
The WooCommerce Multi-Vendor Add-On for ELEX Shipping Plugins makes the multi-vendor environment work effortlessly for accessing real-time rates and printing shipping labels. It will help you sho real-time shipping rates for each vendor separately a well as to generate shipping labels.
Once you have installed and activated the multi vendor add-on plugin, you can access the plugin settings in two ways:
Go to Dashboard > Plugins > Installed Plugins > WooCommerce Multi-Vendor Add-On for ELEX Shipping Plugins > Settings (or)
Dashboard > WooCommerce > Settings > Multi-vendor Addon.
The plugin settings are as shown in the screenshot below.
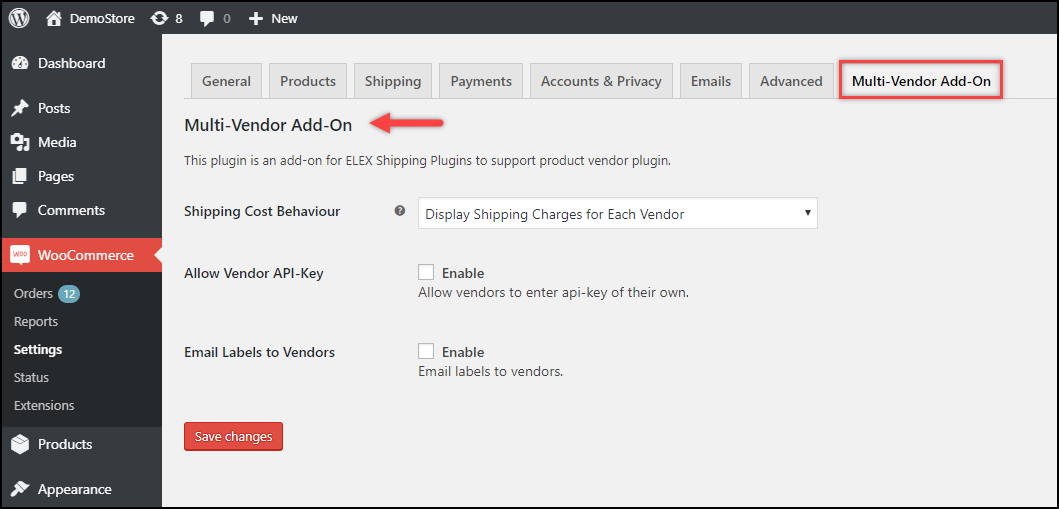
To show shipping rates on the cart page, the plugin provides the following options:
- Display Shipping Charges for Each vendor – This allows to sum up the amount of all the items from the vendors and shipping cost of each item. Here the total cost will be shown to the customer in the cart and checkout page. However, the item will be picked and sent from respective vendors to the customers. Also, the delivery date depends on the vendor.
- Display Shipping Charges for Each Vendor: Using this setting, you can separate the items according to each vendor, and show the total cost of shipping vendor-wise on the cart page. The rates are calculated from the vendor’s address to the customer’s shipping address.
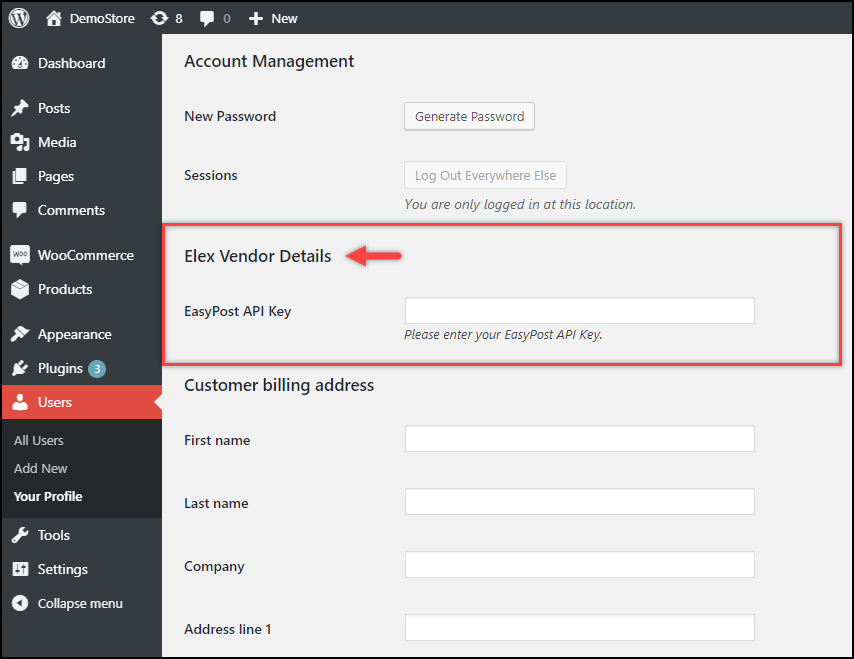
- Allow Vendor API-Key: Here you can choose to accept the shipping carrier API keys from the respective vendor. When unchecked the store owner needs to provide the API key for the shipping plugin on their respective user profile page.
For example, if you are using EasyPost shipping plugins, then the vendor can enter the EasyPost shipping API in the Vendor Profile.
- Email Labels to Vendors: On enabling this, the vendors also get to receive the shipping labels via email whenever the store owner creates a label for shipping.
Once done Click Save changes after selecting the desired option.
Step 4: Adding Vendors using Dokan
In order to add multiple vendors, you can make use of the various multi vendor marketplace plugins that help you do it with ease. The plugin supports the multi vendor marketplace plugins in WooCommerce like WooCommerce Product Vendors, Dokan Multi-Vendor Plugin, or WC Vendors and WCFM.
Here we show how to add a multi vendor to your WooCommerce store using Dokan.
Once the plugin Dokan is installed and set up on your WooCommerce store, you can easily let a vendor register through the accounts page.
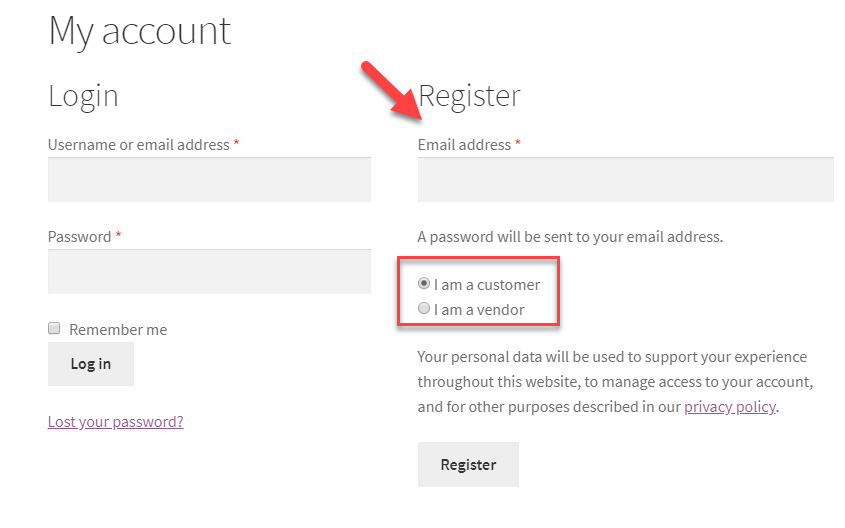
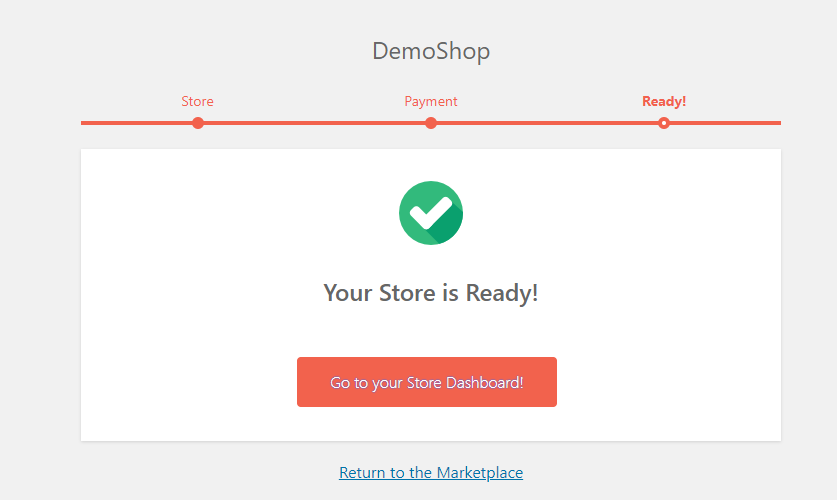
Once the Vendor enters the details, they are guided through certain steps to create a store.
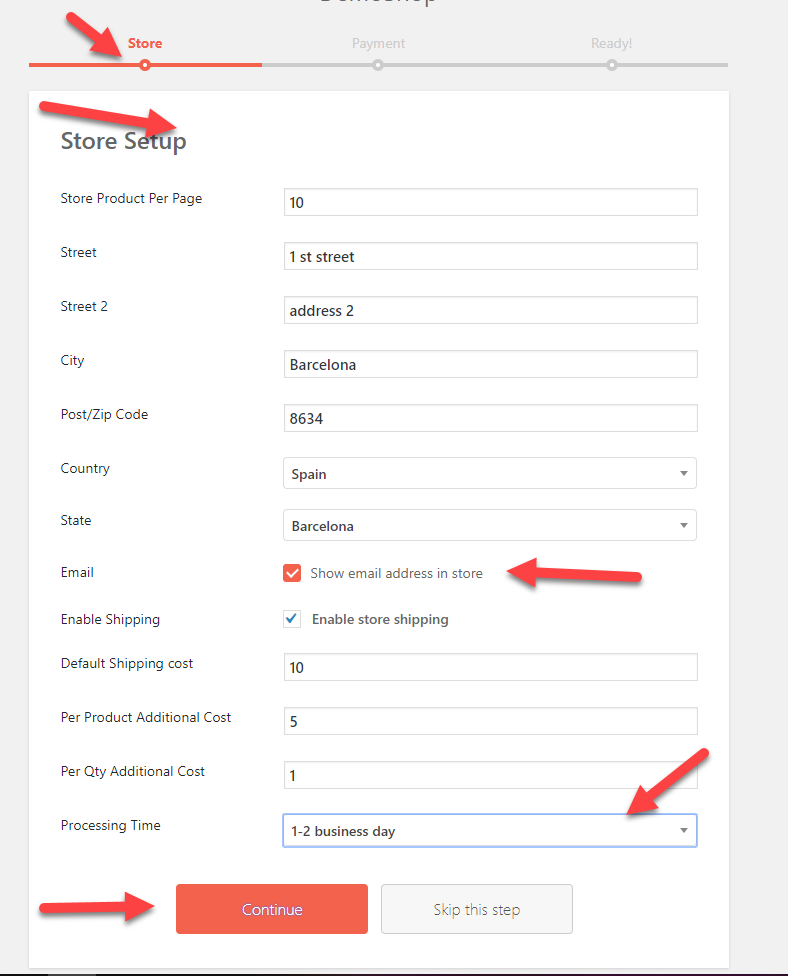
The vendor can also set the payment options for the store by providing the necessary details.
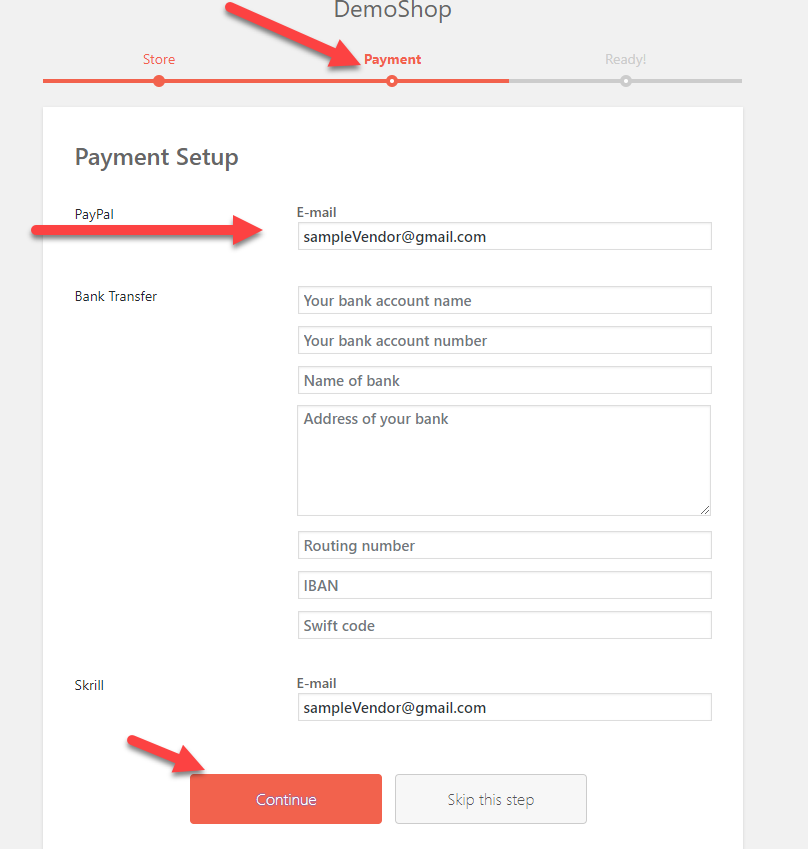
Finally, the store gets ready.
Now once the Vendor is done creating the store, before the Vendor can go ahead with the store settings like adding the products etc, the admin of the marketplace needs to approve the vendor.
To do that the admin needs to choose the vendor from Dokan>> Vendors and then enable the status of the vendor.
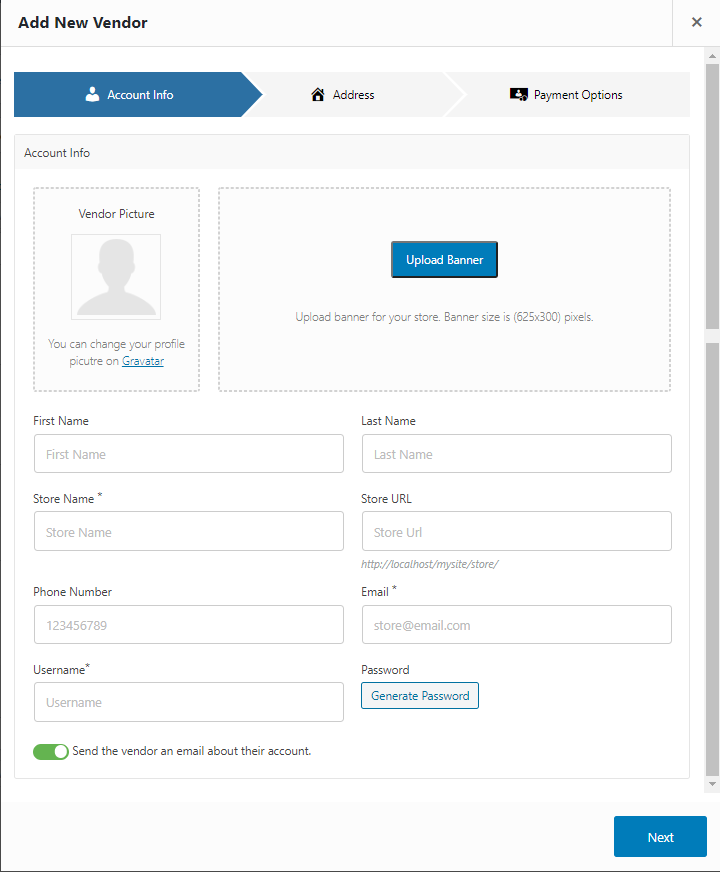
You can also add vendors from the dashboard from Dokan >.> Vendors >> Add New, wherein you get to see the following screen, wherein the vendor detail, the address, and the payment details can be entered for creating. After this, the Vendor can set up the store with their respective products to sell on the marketplace.
You can create several vendor accounts in the same way. The created vendors can log in, and add products to the WooCommerce store.
Step 5: Enabling Multi-Vendor Shipping option using ELEX WooCommerce DHL Express plugin
Go to Dashboard > WooCommerce > Settings > Shipping > DHL Express.
In the General tab, enable the Real-time rates setting to access DHL rates, and enable Multi-Vendor Shipper Address setting to override shipper address set in multi-vendor plugin settings with the DHL Shipper Address specified in the DHL plugin, as shown in the screenshot below.

Remember that the enable multi-vendor shipper address appears in the DHL plugin, only when the Multi-vendor add-on is enabled on your WooCommerce store.
To know more about other features of the ELEX WooCommerce DHL Express plugin, refer to this article.
Demonstration
Now since the shipping plugin and the multivendor add-on is ready to be used. Remember that each Vendor sells from a different location and has different options to deliver the packages.
- Case 1: Display Consolidated Shipping Charges
Consider we have two products from two different vendors in the cart. When you want to display the shipping charges in a consolidated manner, then we choose the option in the multi-vendor add-on plugin. Once done you can see the cart page has the shipping charges in a consolidated manner.
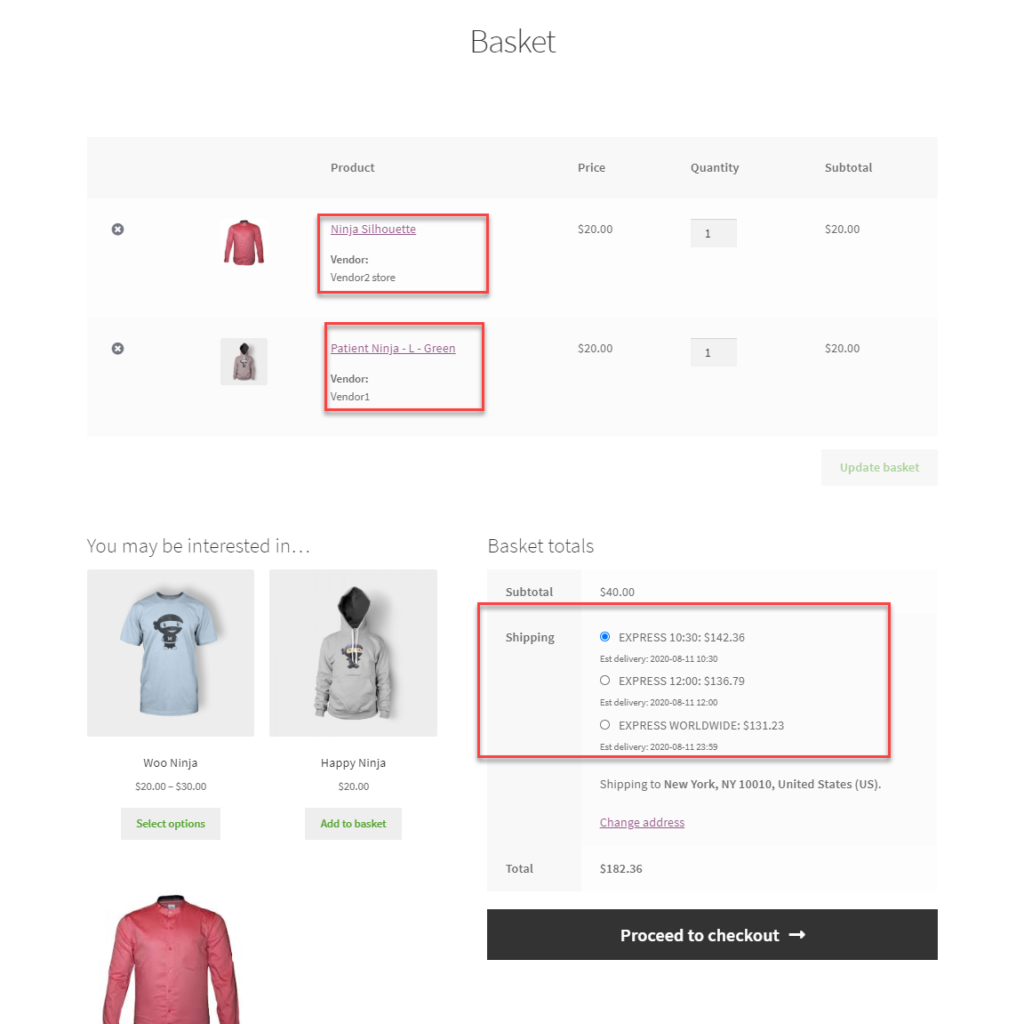
- Case 2: Display Shipping Charges for Each Vendor
In here, when we choose to display the shipping charges for each vendor as a separate one, you get the cart page like this:
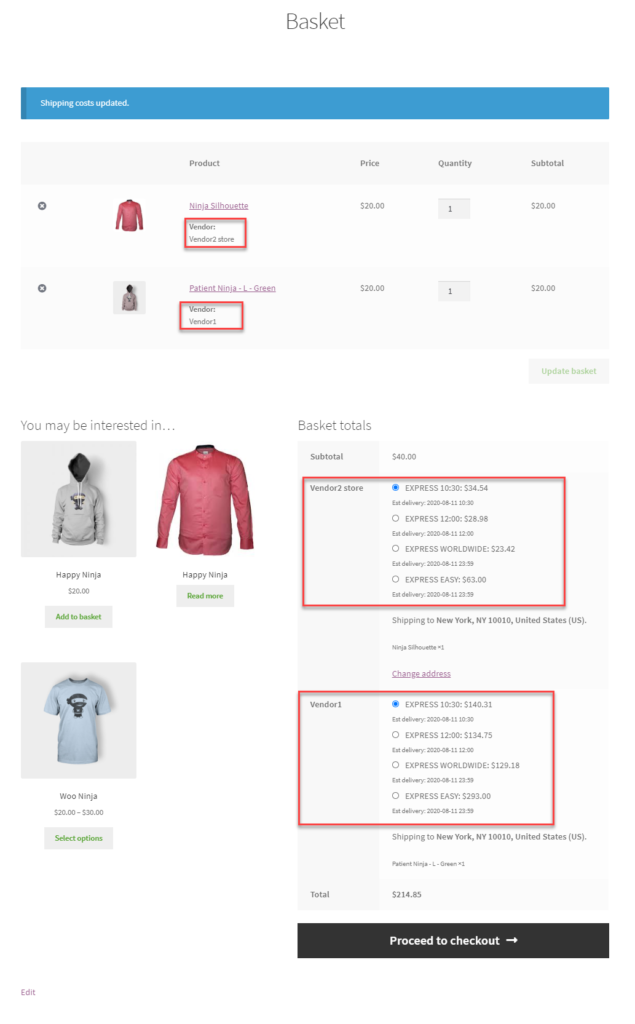
Therefore, in this way, you can boost your multi-vendor marketplace functionality on your WooCommerce store.
You can also check out other WooCommerce and WordPress plugins in ELEX.
2 Comments. Leave new
have it available for the wcfm multivendor plugin of wc lovers?
https://wclovers.com/
thanks
Not currently. But we are working on the compatibility of our DHL plugin with WCFM and planning to make it available in the coming plugin version.
Thanks