What can we help you with?
How to Print UPS Shipping Labels on your WooCommerce Store Order Admin Page?
As a WooCommerce store owner, you are probably using UPS shipping services to deliver products to your customers. We have discussed the process of displaying live UPS shipping rates on your WooCommerce store in another article. One of the important steps involved in the order fulfilment process is generating and printing shipping labels. You can manage this directly from the UPS website. However, for this, you will have to manually enter the order details to generate UPS shipping label. It would be much simple if you can manage the entire process directly on your WooCommerce store. In this article, we will discuss how you will be able to print UPS shipping labels directly from your WooCommerce store admin page.
Watch the video tutorial below, or read on for a step-by-step description.
What is a UPS Shipping Label?
Before getting into the process of generating and printing a UPS Shipping Label, let us quickly look at one.
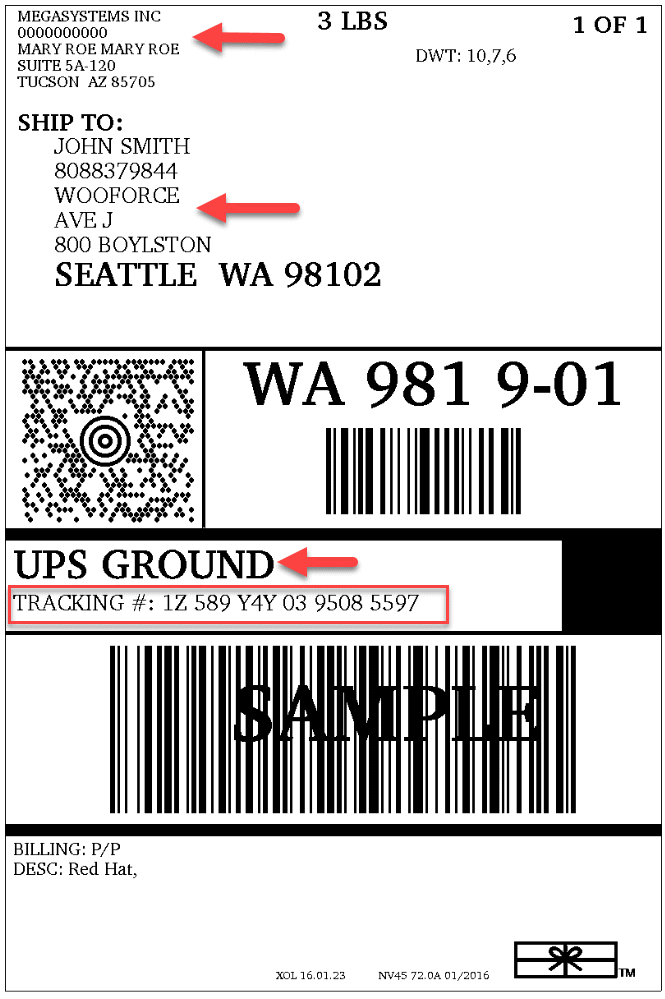
A shipping label is an identification label that can be affixed on a shipping package, which includes information critical to the fulfilment of the package. A UPS shipping label will contain specific information, which can be read by both humans and machines Let’s take a quick look at a sample UPS Shipping label, and understand its major features.
- The sender’s address.
- Shipping date, along with the weight and dimensions of the product.
- Receiver’s address
- The UPS service is used for fulfilment.
- The UPS tracking number
- A barcode
How to generate and print UPS Shipping Labels from your WooCommerce admin?
Let us look into the process of printing UPS shipping labels directly from your WooCommerce store admin. With the ELEX EasyPost Shipping Plugin, you will be able to print UPS shipping labels from the order detail page of WooCommerce.
Configuring the Plugin Settings
First, let us look at all the settings you need to configure to manage this.
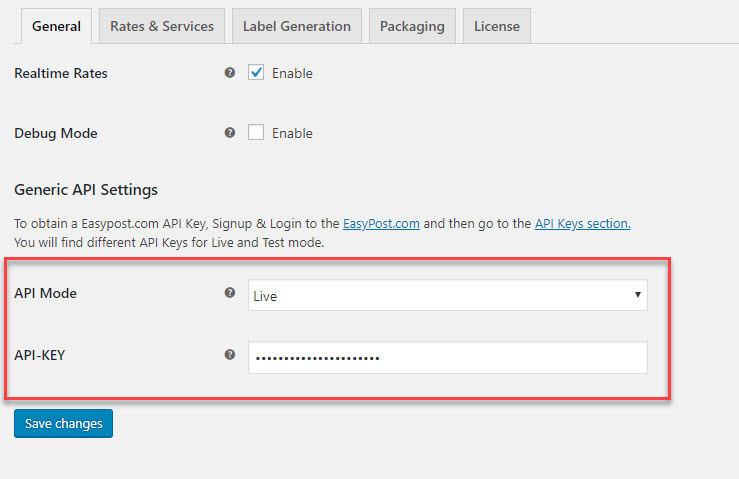
You can access the plugin settings through WooCommerce > Settings > Shipping > EasyPost.
On the General tab, you can select the API Mode (Live or Test), and the API-Key (which you will find from your EasyPost account).
Once you have configured the General settings, you can move to the Label Generation tab.
Here you can set the label printing API settings.
In the Print Label Type field, you can choose PNG, PDF, ZPL or EPL, according to your requirement.
You can also enable the Insurance field as well as Estimated Delivery Date here, if required.
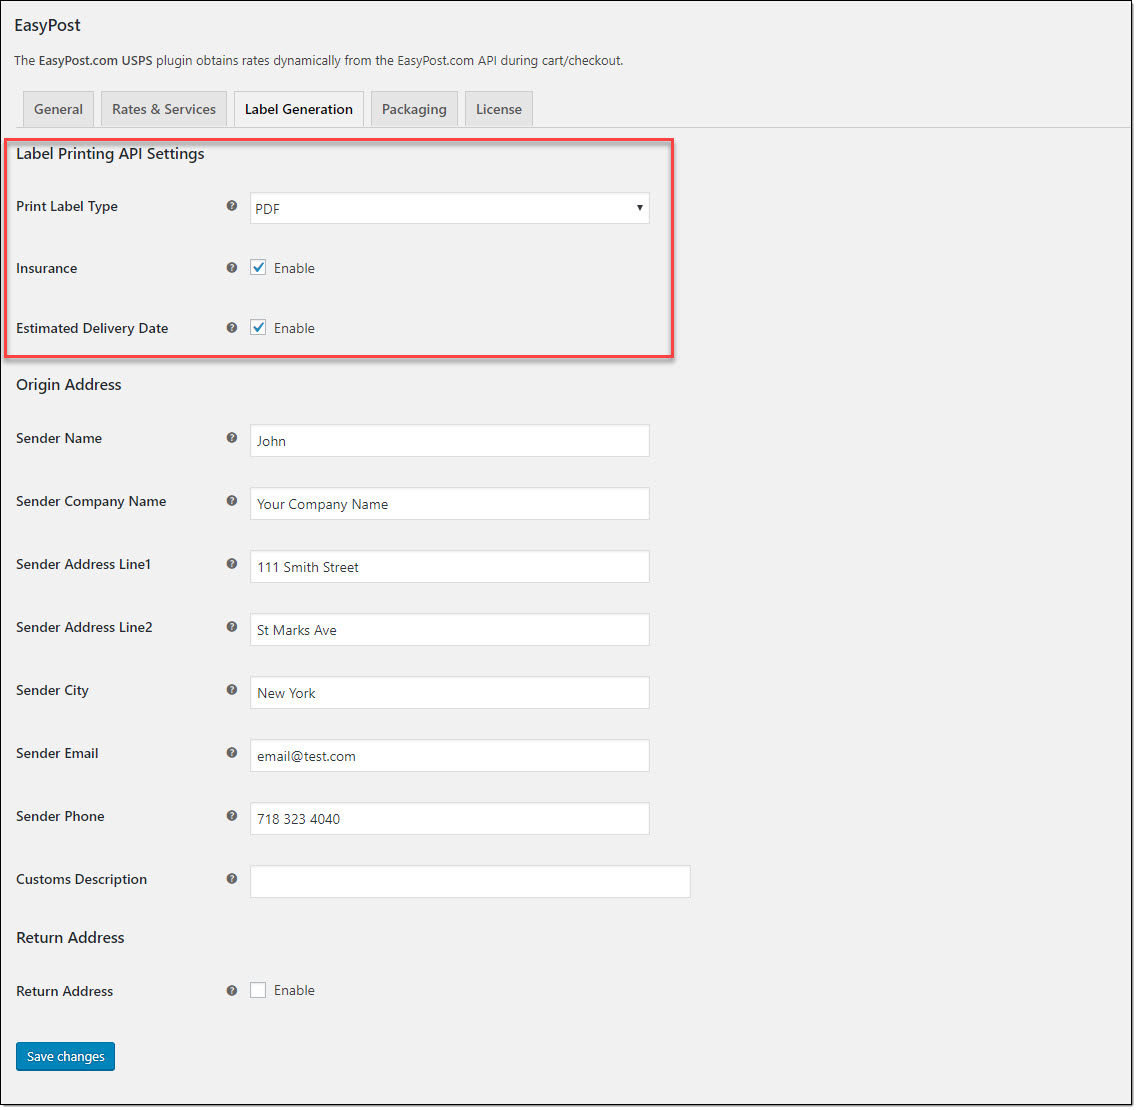
Next, you need to enter the Origin address. Enter the complete address with City and state code, along with your email id and phone number.
Here, you can also enter a customs description as well, which is a requirement when you are doing international shipping.

In case you want to enter a different address for returns, you can enable the Return address field, and enter the alternate address.

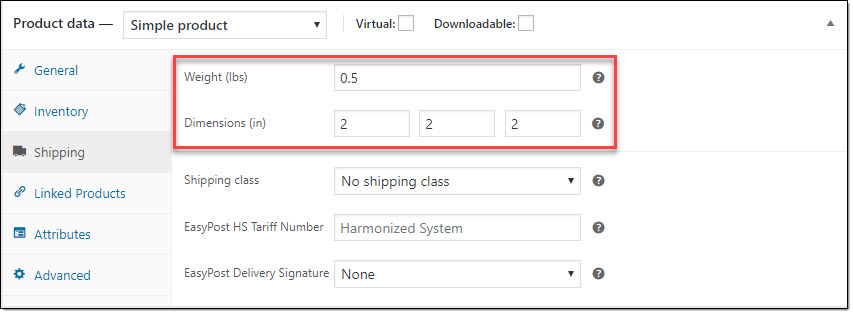
Please note: You have to make sure all your products have weight and dimensions entered before going live.
Generating and printing UPS Shipping Labels
Now, let us see how to generate and print a UPS shipping label when a customer places an order using one of the UPS services.
On the checkout page, the customer selects a specific UPS Service and places an order.
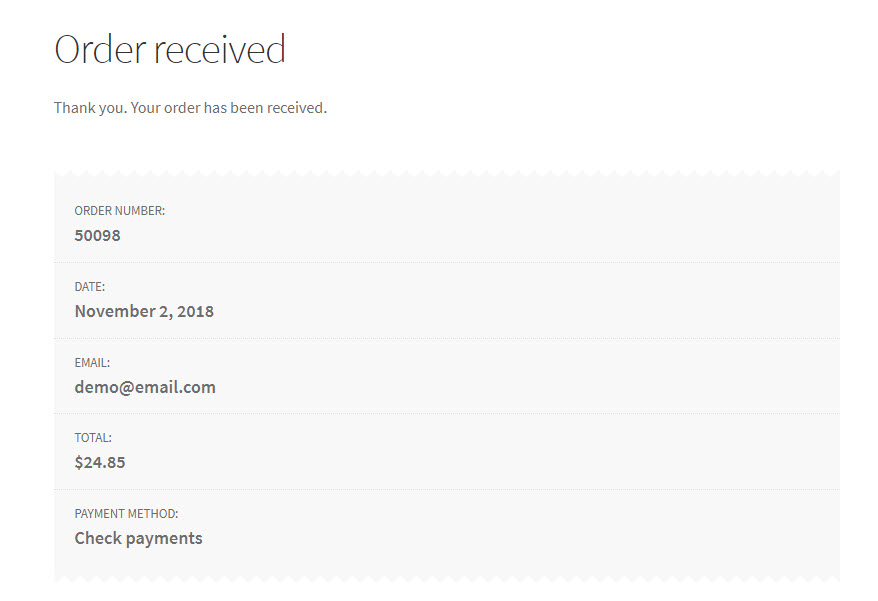
You can log in to your WooCommerce store admin and access the order details page (WooCommerce > Orders). Here, you can access the specific order.
You will see the specific service that was selected by the customer while placing the order. Also, you will see a section EasyPost.com Shipment Label. Click the Generate Packages button to automatically create shipping packages.

The weight and dimensions of the package will be automatically populated from the product details page. This is based on the Box packing method you have chosen under the Packaging tab. Select the particular UPS service you want to choose for the order, and click the Create Shipment button.
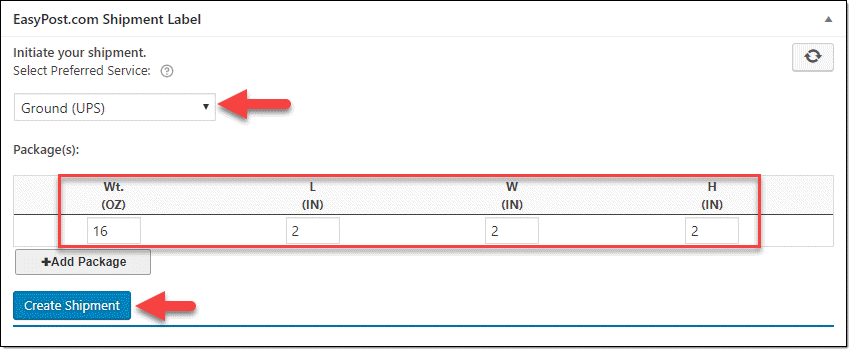
Now, the shipment will be created by the plugin. You will also find the UPS tracking ID here. The tracking ID will be sent to the customer along with the order completion email. You can click the Print Label button to print or download the label.

The label will open in a new tab on your browser window. This you can print if connected to a printer.
Also, read more about automating the process of printing the shipping labels from the WooCommerce store.
You can find out more features of the plugin on the product page.
You will find more information on how to configure varied settings of this plugin on the documentation page.
Contact the support team, if you have any queries regarding the plugin.
You can also find out the complete process of obtaining the UPS shipping rates in the checkout page with the estimated delivery dates and also to print the shipping labels from the order page.