What can we help you with?
Detailed Guide on Setting up Dialogflow – Artificial Intelligence Based NLP, Optimized for the Google Assistant and Chatbot Development
This tutorial explains how you can set up Dialogflow, an Artificial Intelligence Based Natural Language Processing (NLP) tool for building automated conversational actions. Dialogflow helps you to build Actions, Skills, bots, and apps for Google Assistant, Alexa, Cortana, Facebook Messenger, and other platforms your users are on. This article demonstrates the functionality using the WordPress live chat software (WSChat) we have built by integrating it into Dialogflow.
Overview
Google’s Dialogflow is to generate automated chat responses based on customer queries with the integration of Artificial Intelligence. Sometimes you need to simply answer their queries, and provide images, documents, or videos based on the questions to solve the problem facing your customers. All these can be configured to reply automatically based on the query of customers.
Getting Started with Dialogflow
Go to https://dialogflow.com/ -> Click Sign up for free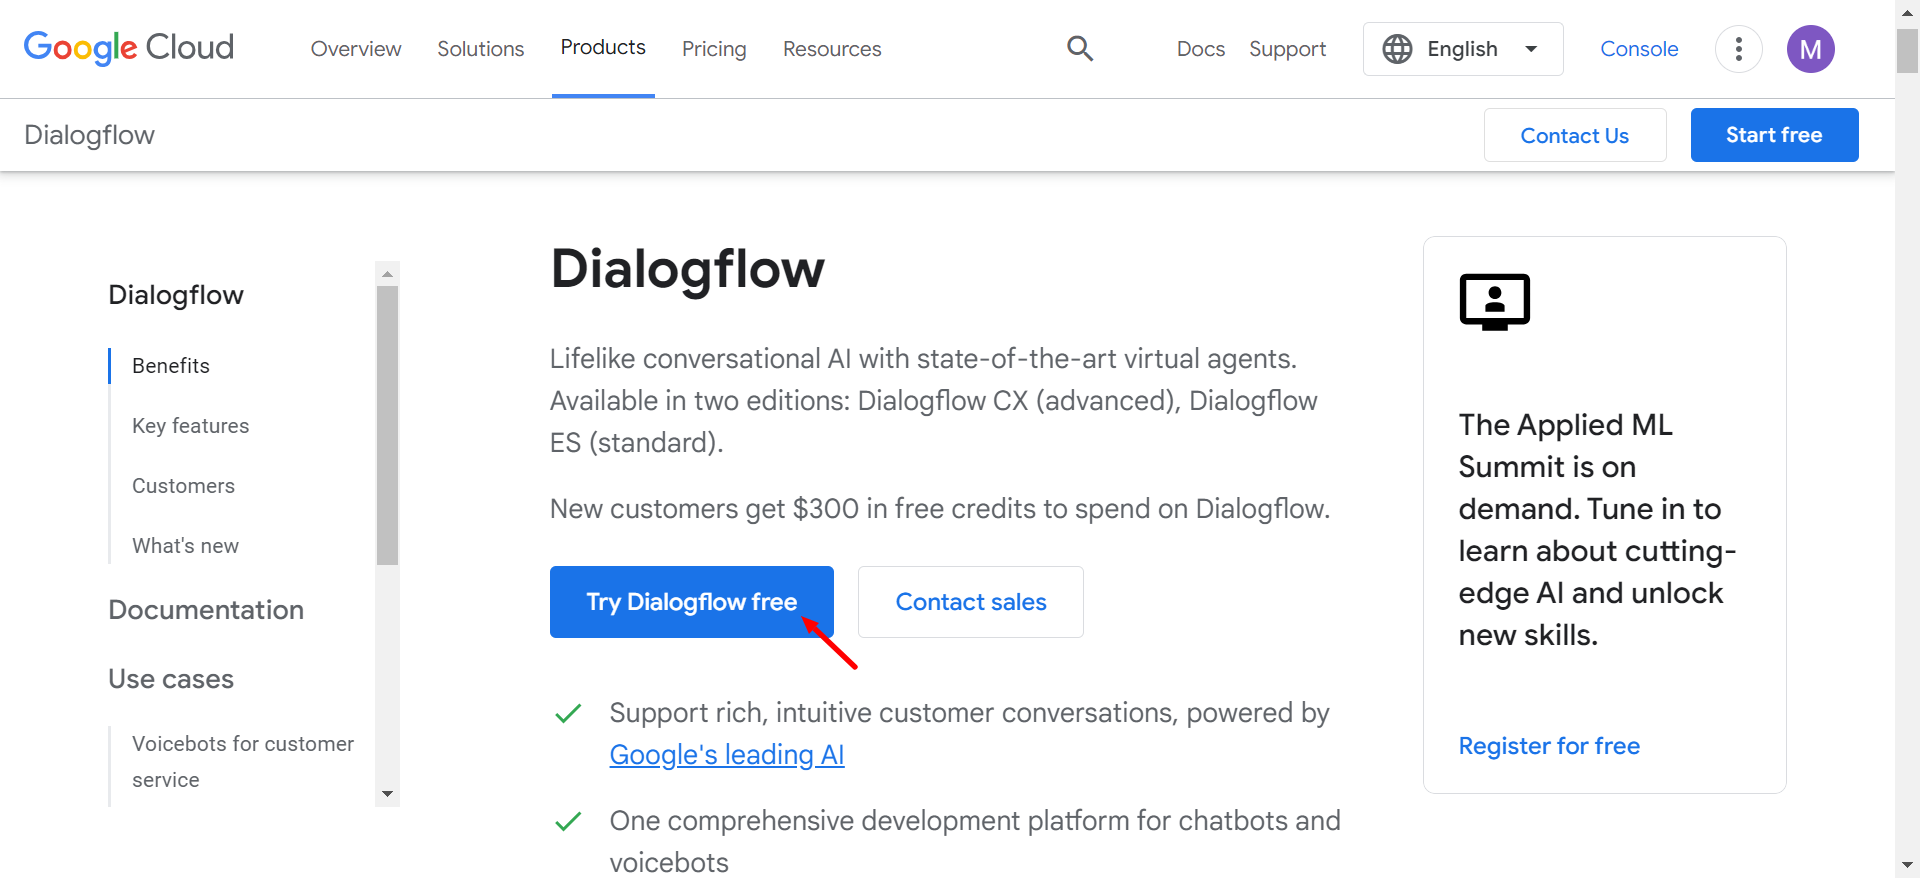
Create your Dialogflow account using your Gmail ID.
Create Agents
Enter the agent name, default language, and default time zone, and click on ‘Create’. 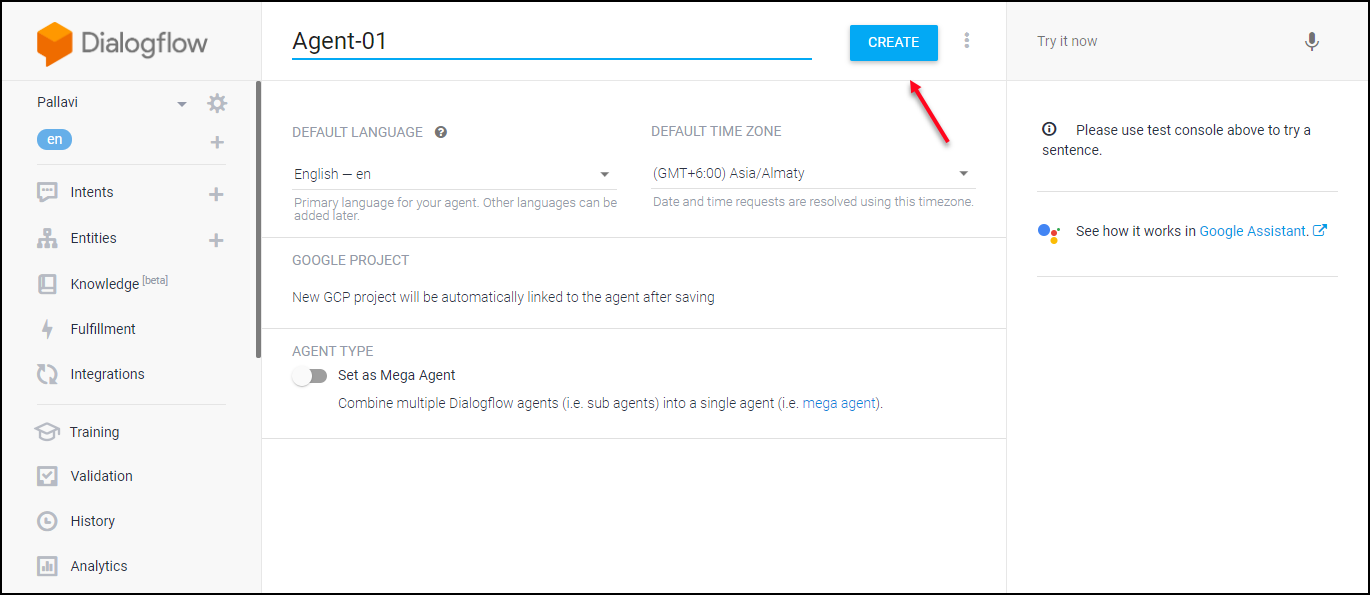
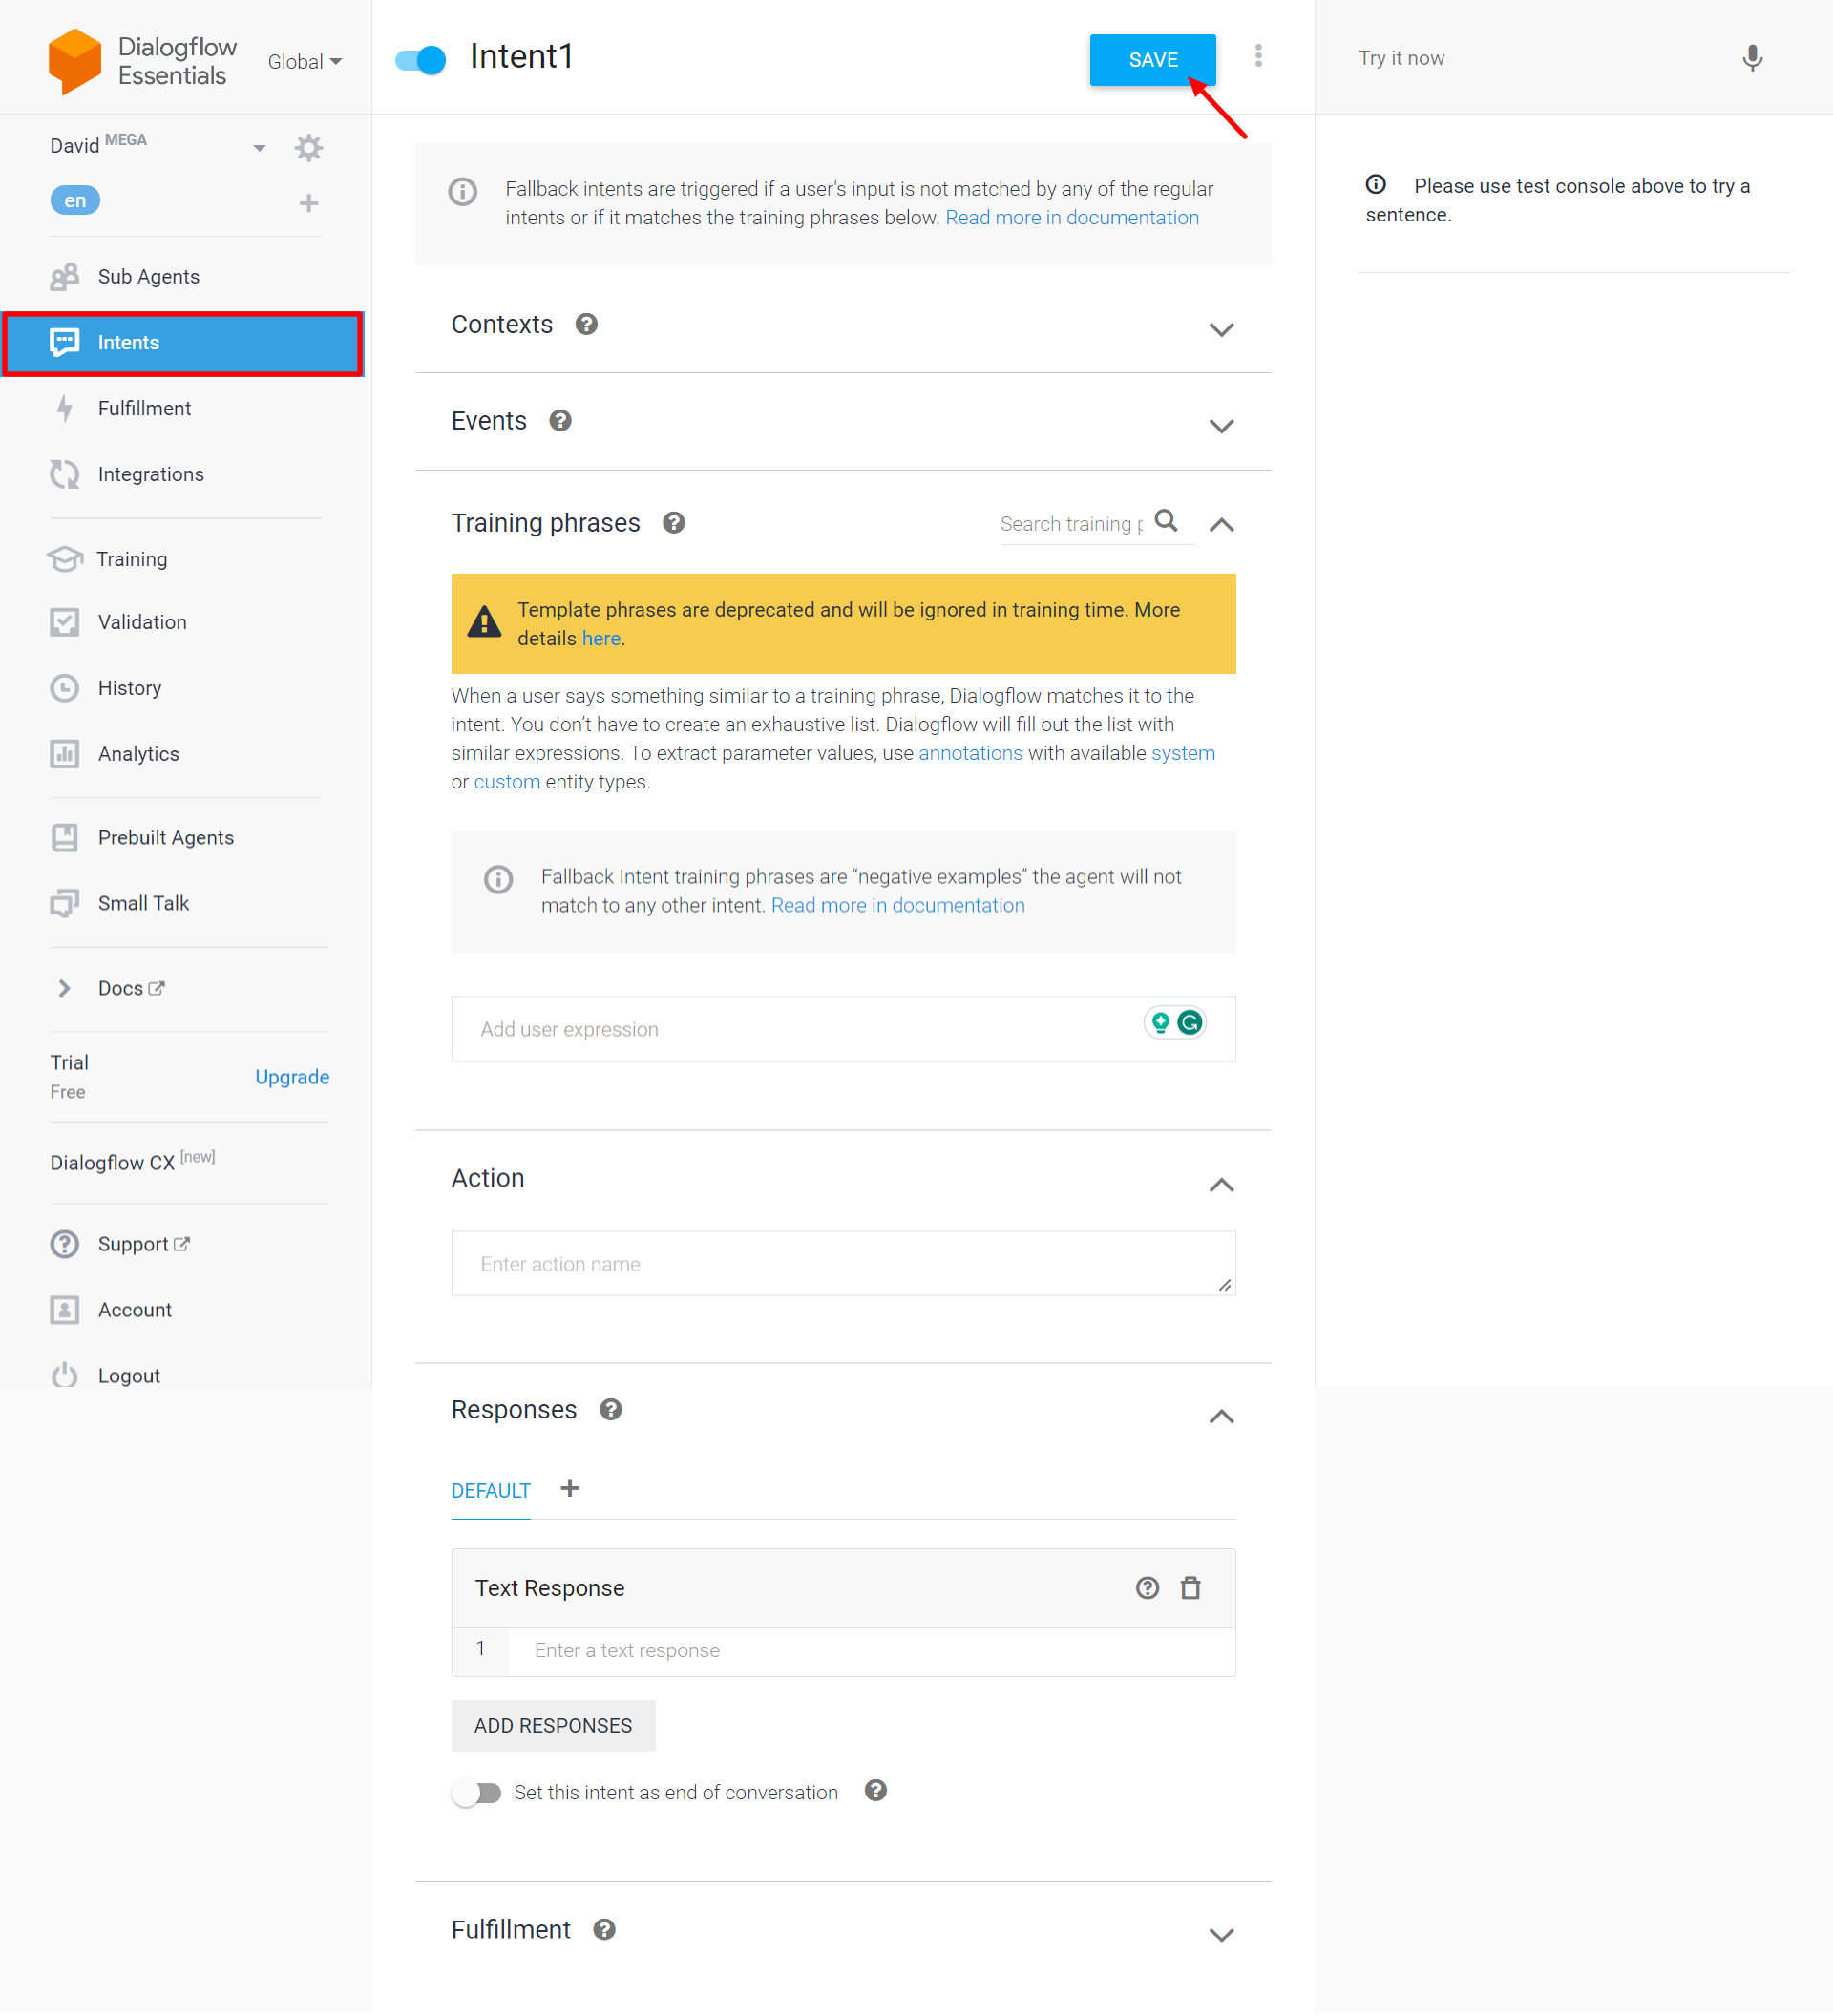
Create Intents
Then you can create the ‘Intents’. You can find it on the left side of the tab.
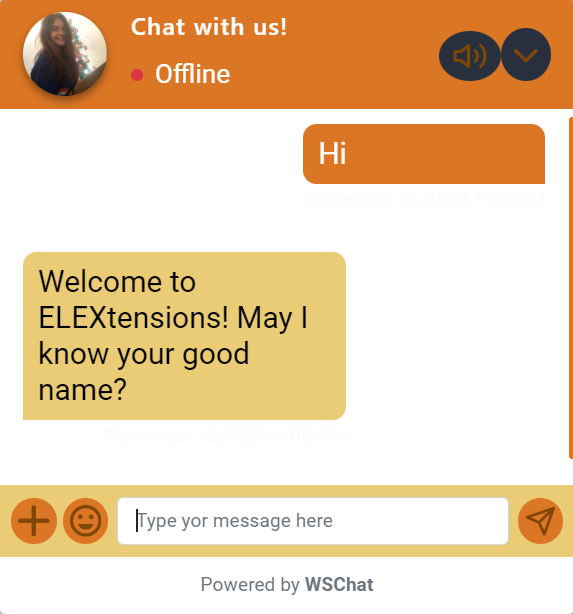
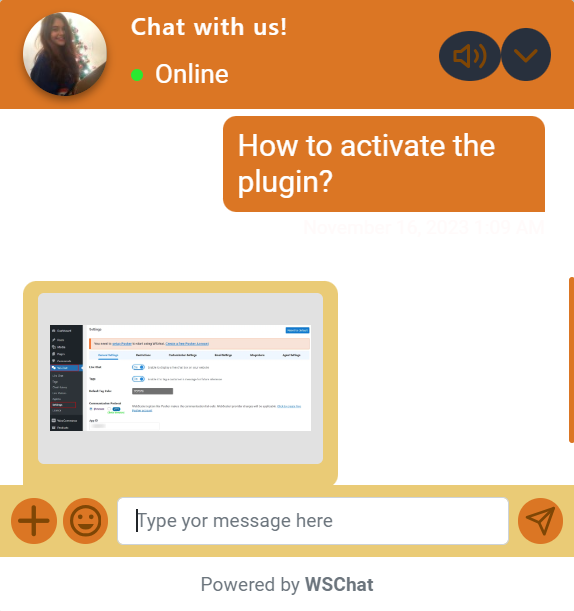
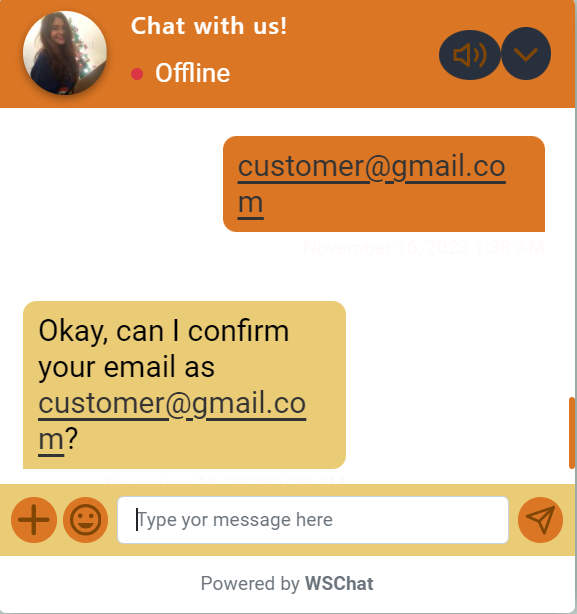
Frontend Demonstration
This is how your Chatbot looks after WSChat is integrated with Dialogflow.
How To Set Up Intents?
Intents will take the queries from the user and analyze the requirements from the terms of the query and it triggers an action based on that.
You can give an intent name, which is related to a particular product or service of your business. Here you can find,
- Contexts: Contexts are used to set the responses based on the parameters in the queries. You can enter the input contexts as the parameters could be present in the query by a customer. You can set the output context as the reply should be generated to the users if those input contexts are present in the query.
- Events: They are used to trigger responses to the user. You can find it as button actions.
- Training phrases: Here you can add phrases with different variations that a user could enter as a query in their natural language. This will trigger the intent.
- Extract the action and parameters: Here you can configure to extract the parameter values from the customer queries.
- Execute and respond to the user: You can set the responses to be sent to the user when the user asks a query.
- Fulfillment: You can enable this to send the intent, parameters, and context to your Cloud function or a web service.
You can set up the intents by the following steps.
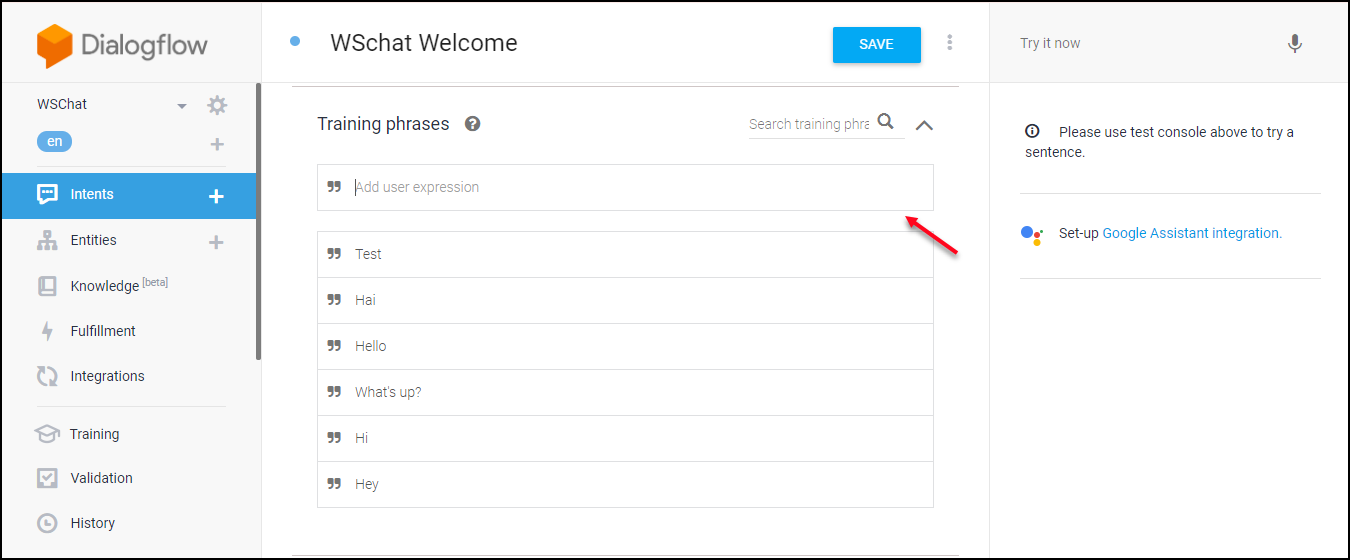
Step 1: Create training phrases
Training phrases are the texts that could be entered by a customer into the chat to start the conversation. Eg: Hi, Hello, Hey, etc.
You can enter all probable phrases according to your niche.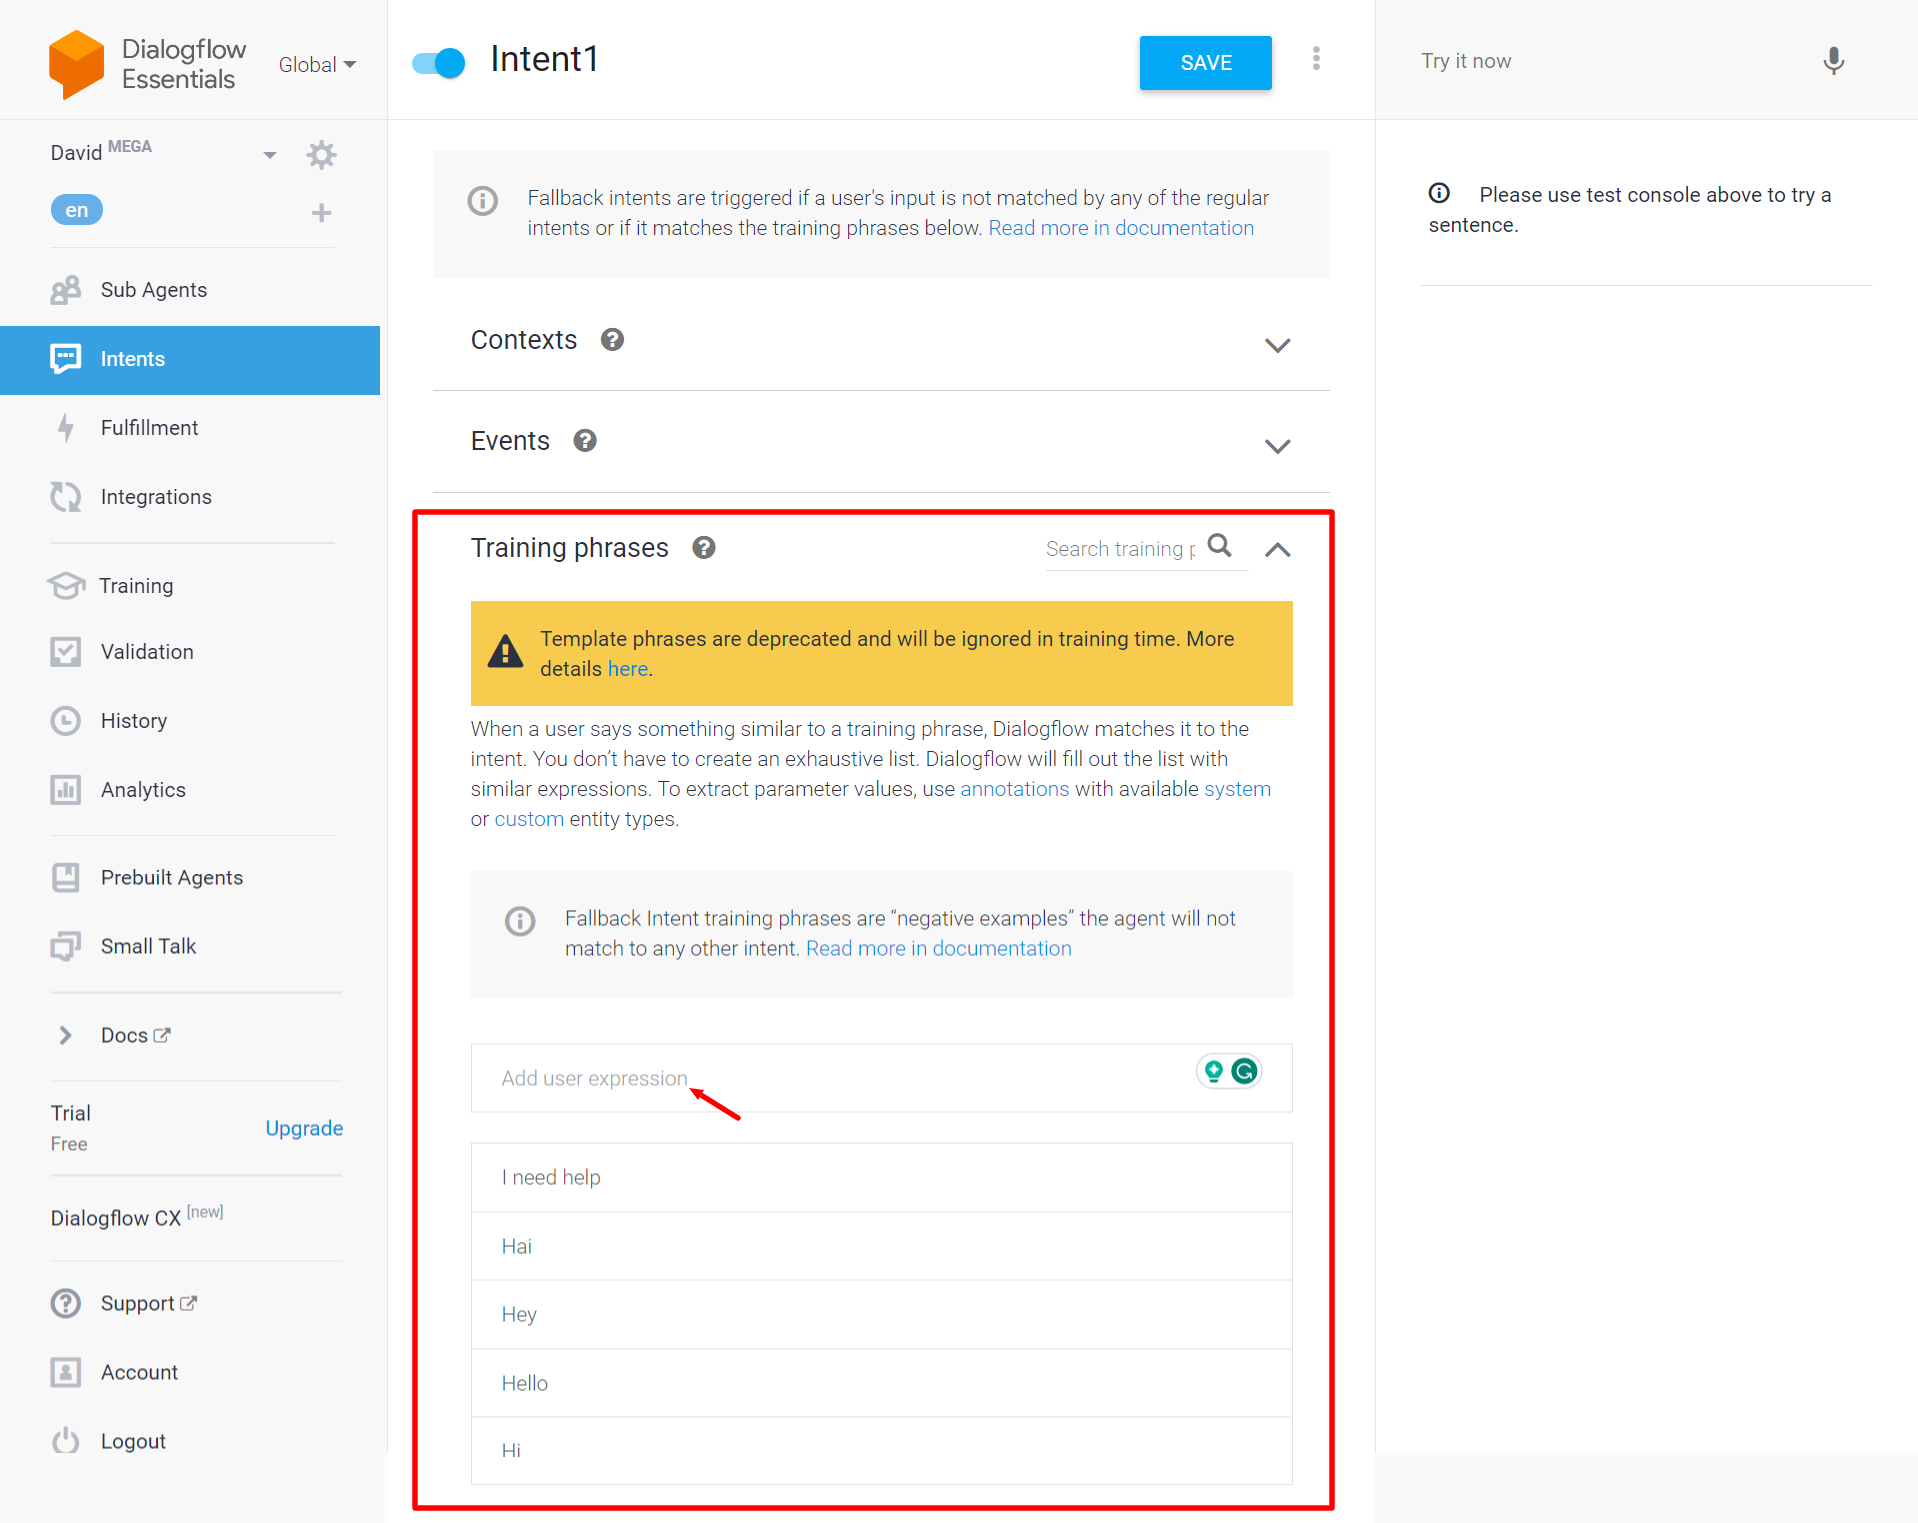
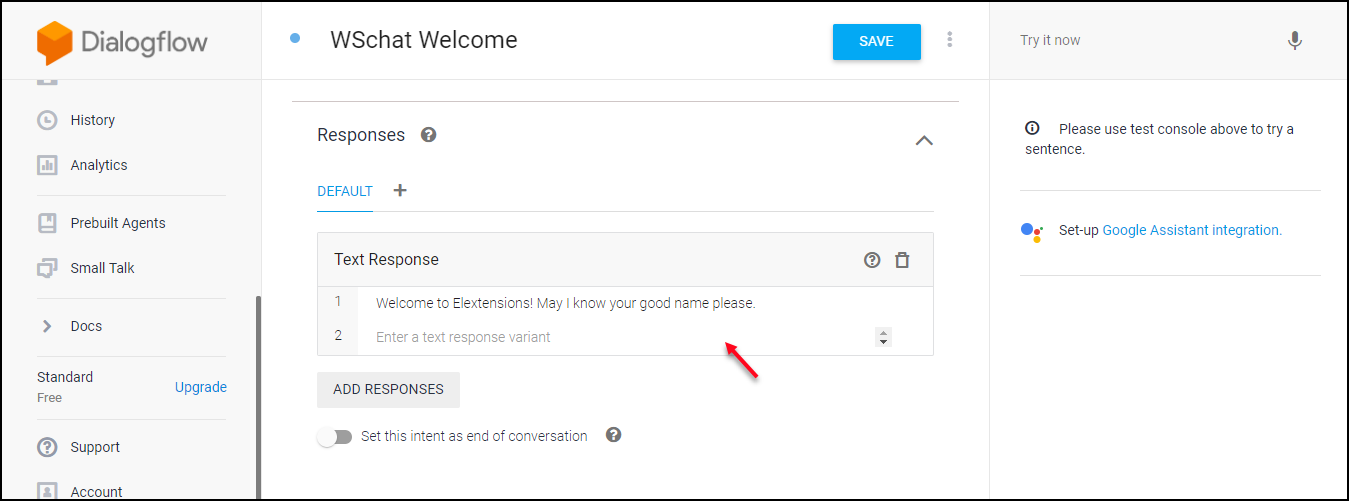
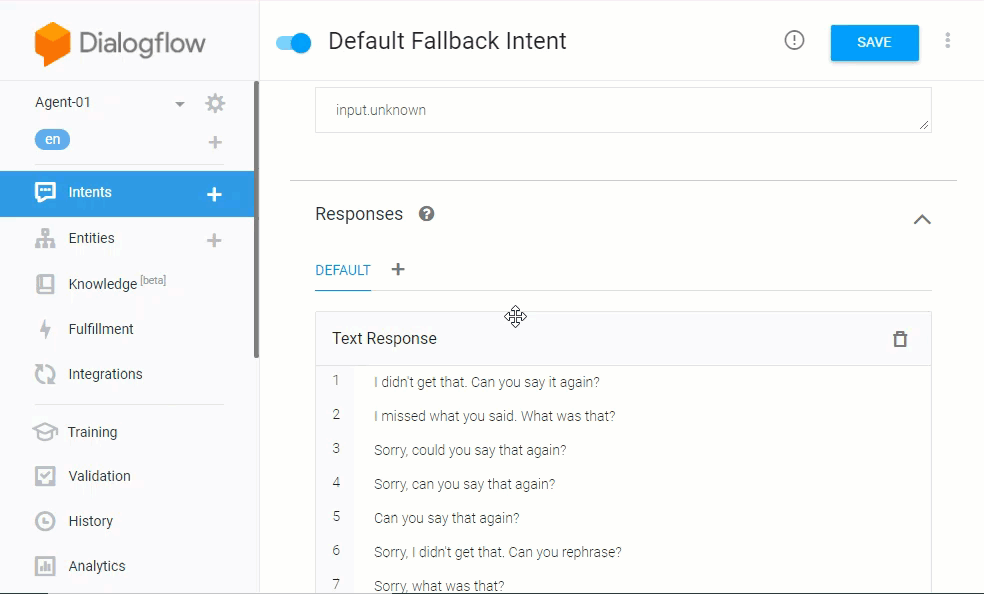
Step 2: Set responses
Go to Responses.
You can set the reply should be sent to the customer automatically when he or she sends the first message by setting it in the ‘Responses’.
You have two options here, text response and custom payloads for replying to images, audio, and video.
Text response setting: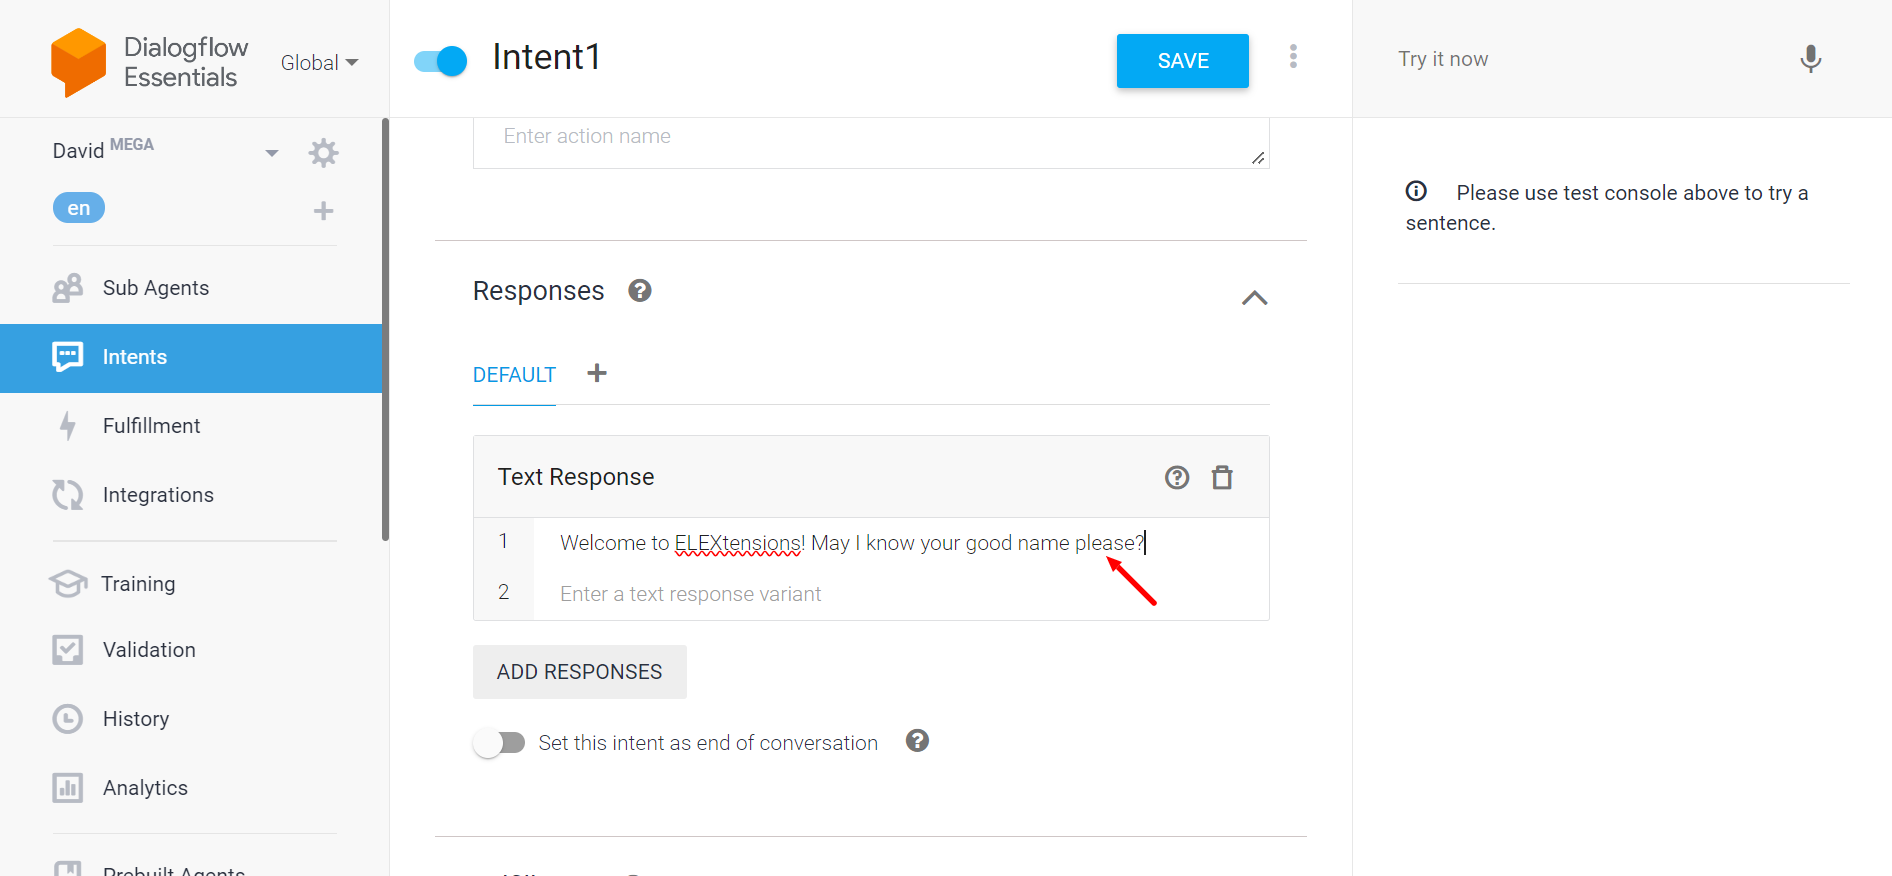
Custom payload setting: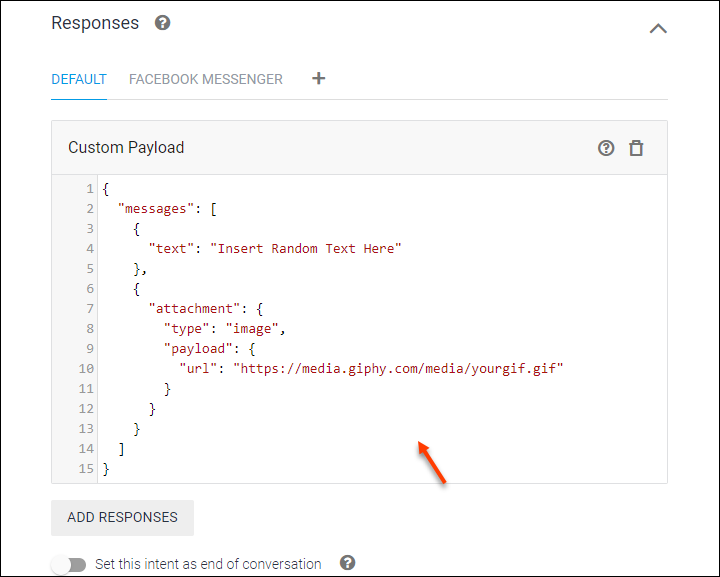
You can enter one by one text response to be displayed to the user there. You can save the intent. It will work as,
You can also give responses by integrating Google Assistant, Facebook Messenger, Slack, etc.
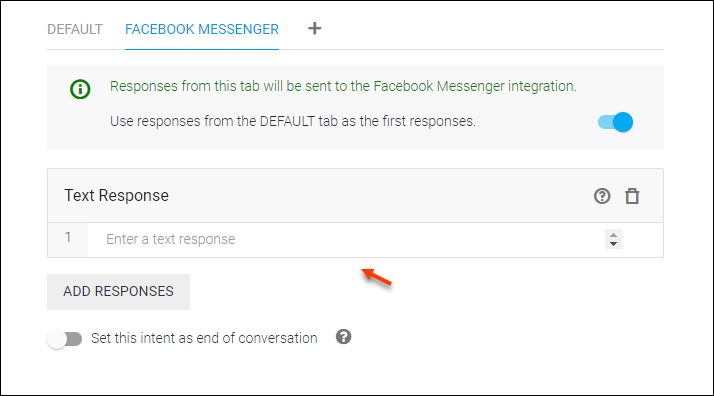
Step 3: Integrate with Facebook Messenger, Google Assistant, and Slack
Go to Responses -> Click on the ‘+’ and choose which option you want to integrate with.
Dialogflow integration with Facebook Messenger
Choose Facebook Messenger and add your responses.
Here you can add,
- Text response: Can enter a text.
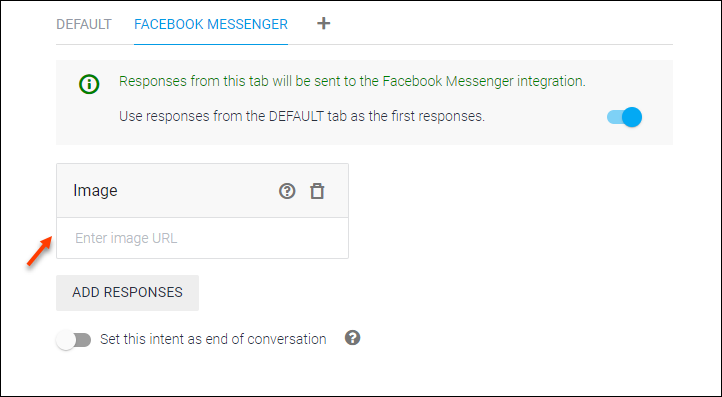
- Image: Enter an image URL stored in the Firebase.
- Card: In this, you can add an image URL, a title, a subtitle, and a button title.
- Quick replies: For sending quick replies.
- Payloads: For sending audio or video. You can also add a YouTube video link.
Text response
Enter your text response for the corresponding training phrase.
It will work as,
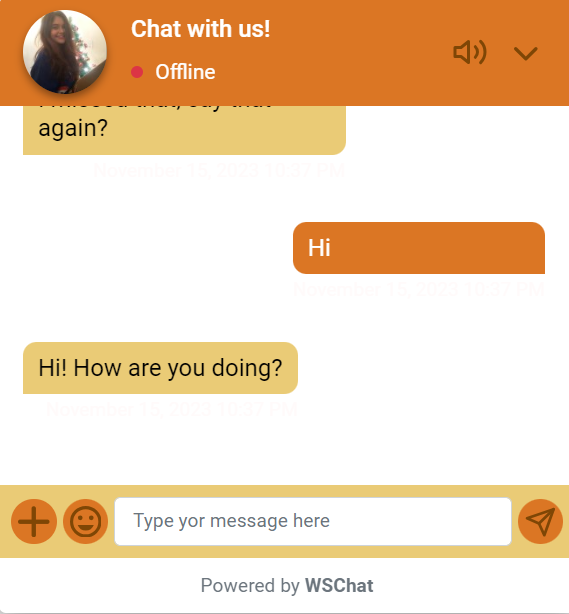
Image response
Enter the image URL to be displayed as the response.
Card response
Create card responses by entering the image, title, subtitle and button title.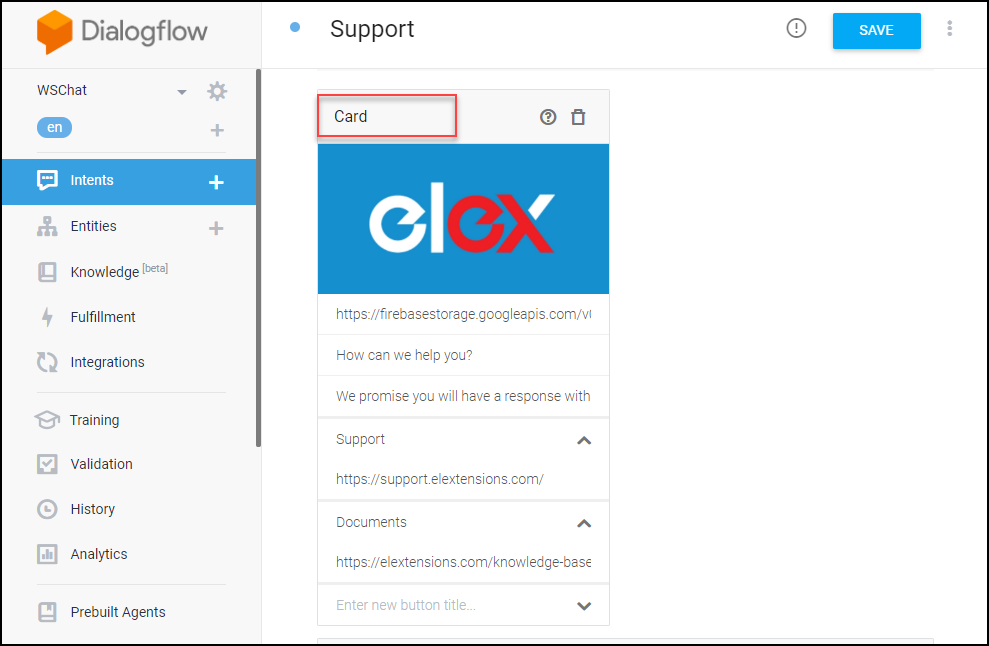
It will work as,
Quick reply
Add the quick replies,
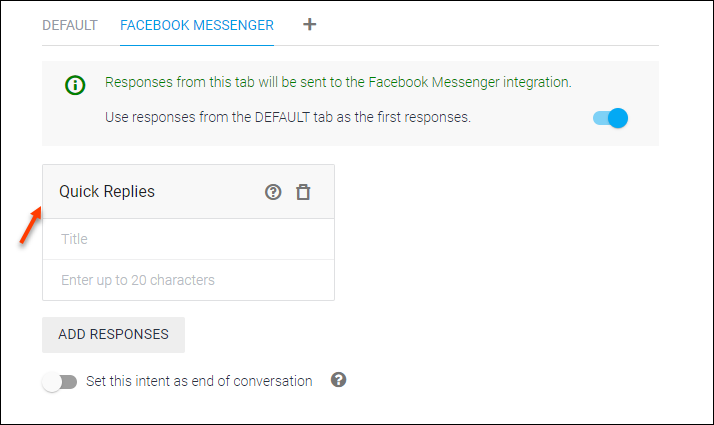
For each quick reply, you can create separate intent and add a response.
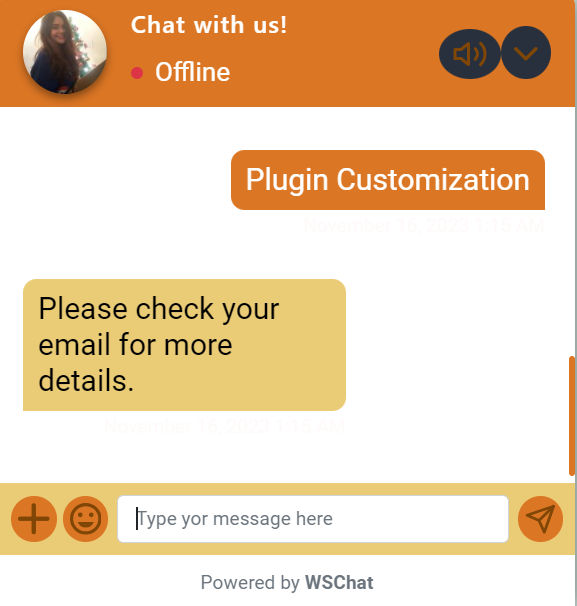
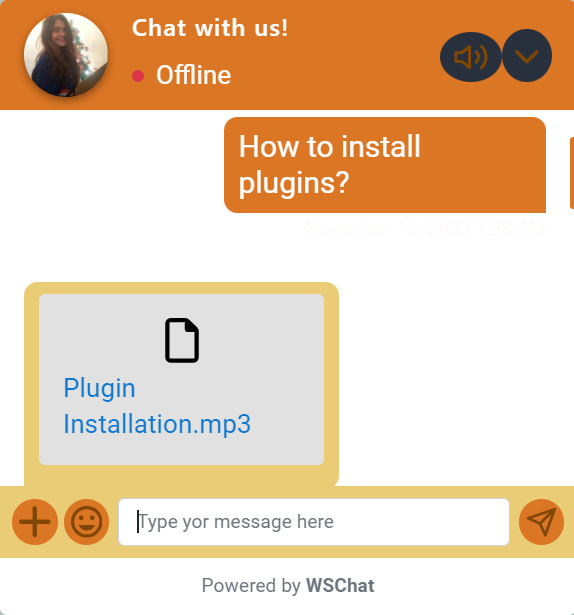
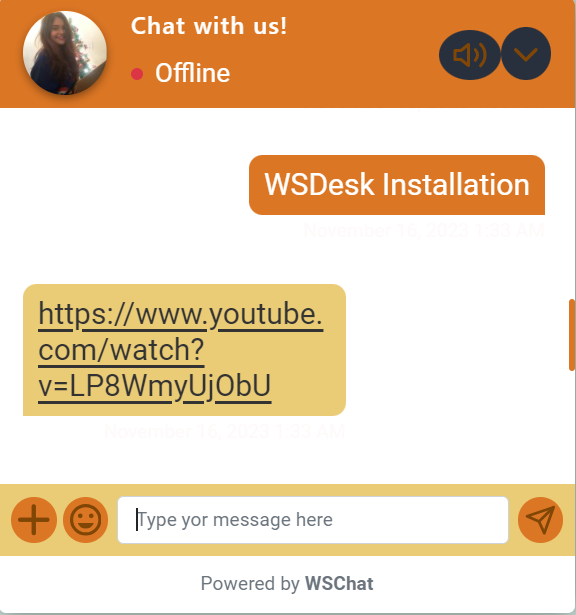
Eg: if the customer clicks on ‘Support’ you want to respond with a link or document. For that, you can create an intent named ‘Support’ and add the reply in the response section.
It will work as,
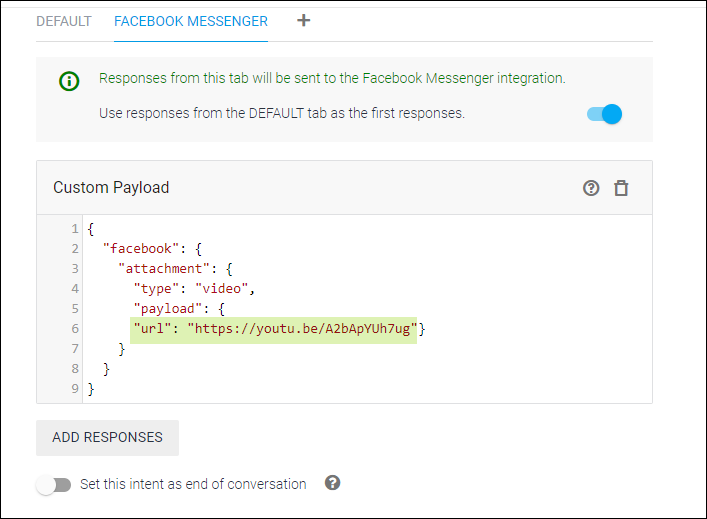
Payloads
You can add links to video or audio links as highlighted in the below screenshot.
Example of an audio response:
 Example of video response:
Step 4: Fetch data from customers and include it in the response
If you want to reply by fetching a parameter value and use the value in your reply, you can set it by the following steps.
Look at an example to take the name from the user and reply to a message with his or her name.
Create an Input Context
First, you have to create an input context variable under ‘Contexts’ to save the parameter value fetched from the user.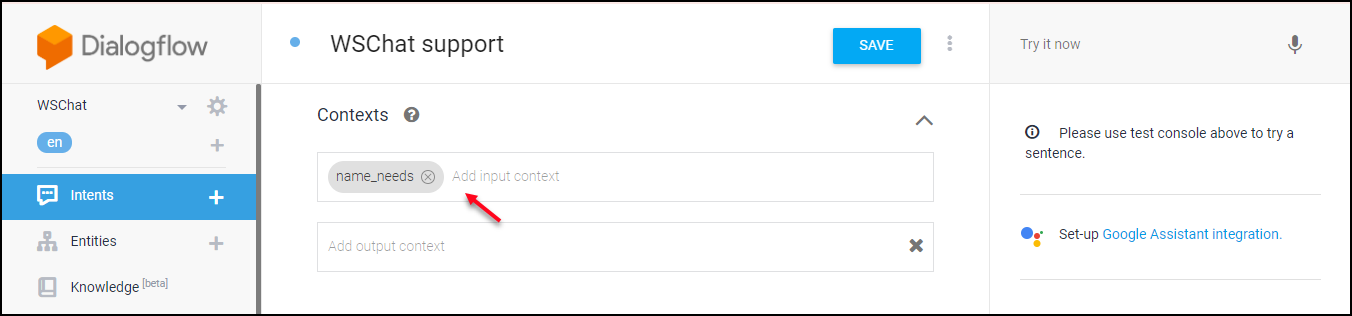
The name of the customer will be stored in the variable ‘name-needs’.
Add Training Phrases
Add the probable training phrases that could be entered by the customers.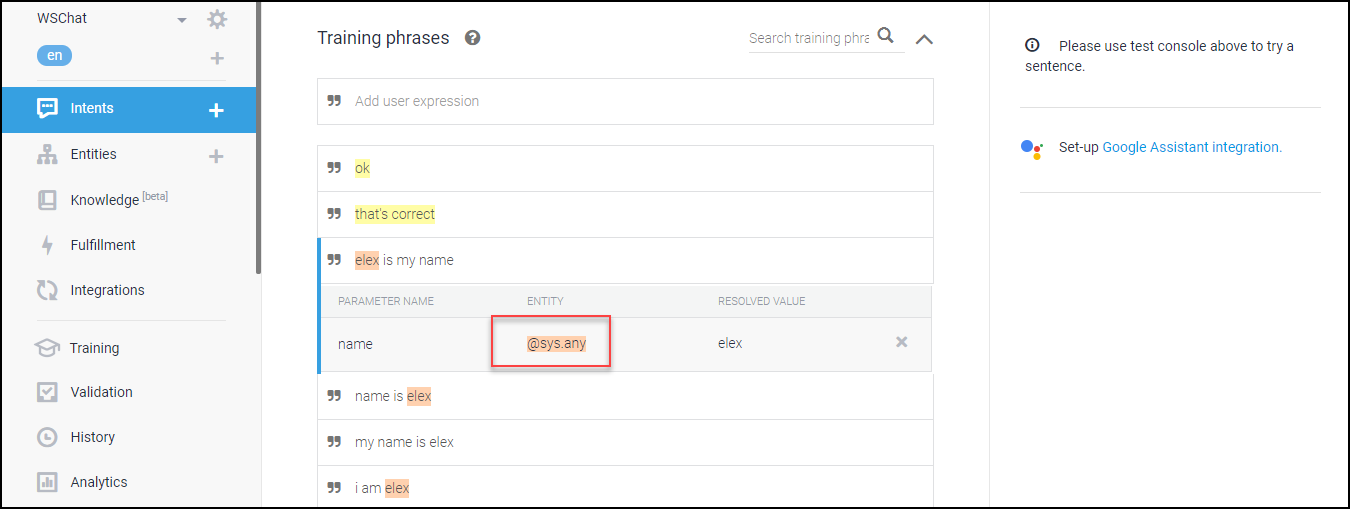 Here, all the possible responses from the users are added.
Tag Parameters to Dialogflow Default Entities
For fetching the value highlighted, the term would be entered by the user tagged to @sys.any. Which means it could be any name. It is highlighted by the pink color.
For the default responses like yes or no, you can tag it as @sys.ordinal. You can find it as highlighted by the yellow color. This is mainly used for the confirmation from the user. Mostly used when fixed value responses from the users.
Similarly, you can tag the parameters with the default entities available in Dialogflow.
Prompt for Parameters
The next step is to add the fetched parameter value to your next query. For that, you can go to ‘Action and parameters’.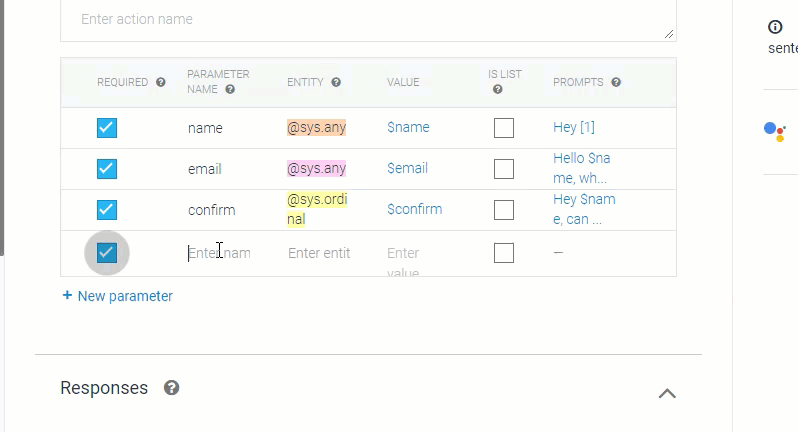
Here you can set a parameter name, entity, and variable value and prompt the response to the customer with the variable.
See an example of fetching data from customers and include it in your response.
Step 5: Save Image, Audio, and Video To The Firebase and Integrate It To The Dialogflow
Sign up to Firebase using your same Gmail ID you have used for signing up for Dialogflow.
Go to Console -> Storage -> Upload file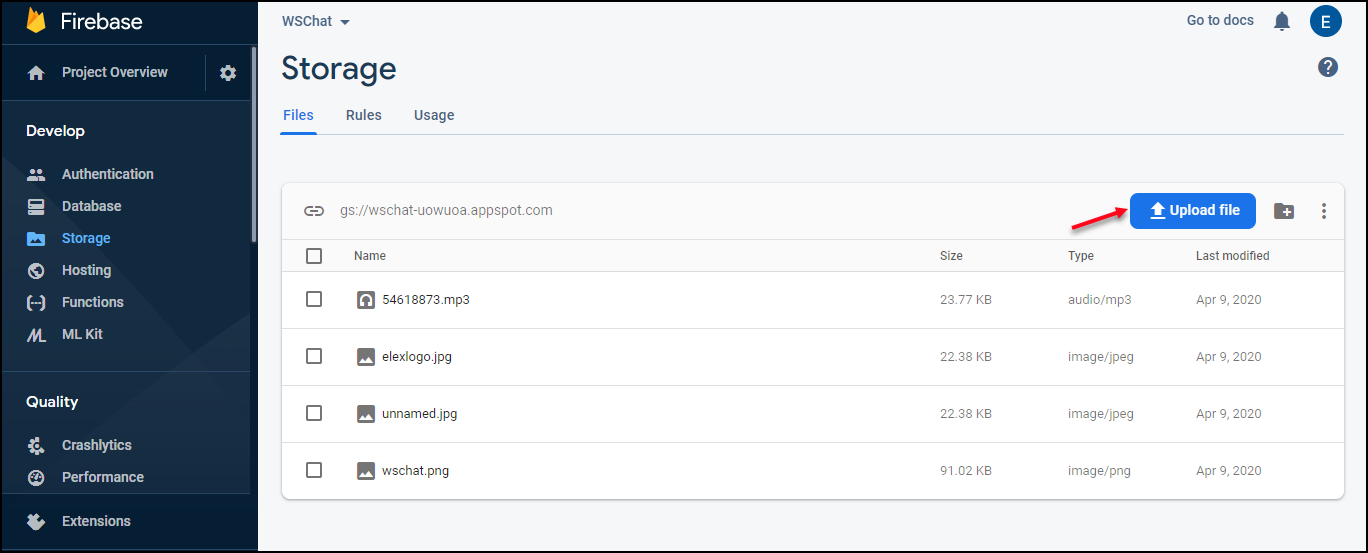
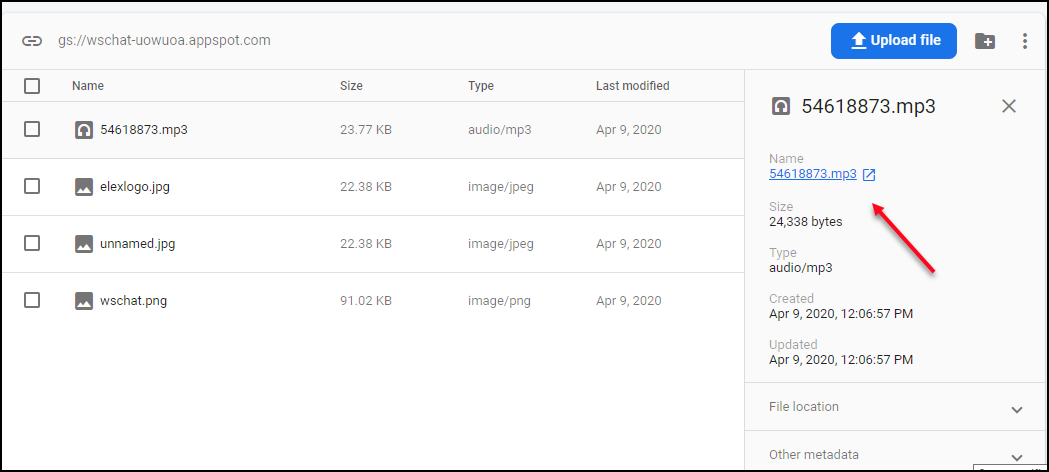
You can upload the images, videos and audio files here. And you can copy the URL of files from the Firebase and add it to the Responses according to the requirements.
You can save the intents after setting them up.
Step 6: Integrate Dialogflow with Your Chatbot
Go to Dialogflow -> Settings
There you can find the project ID and service account.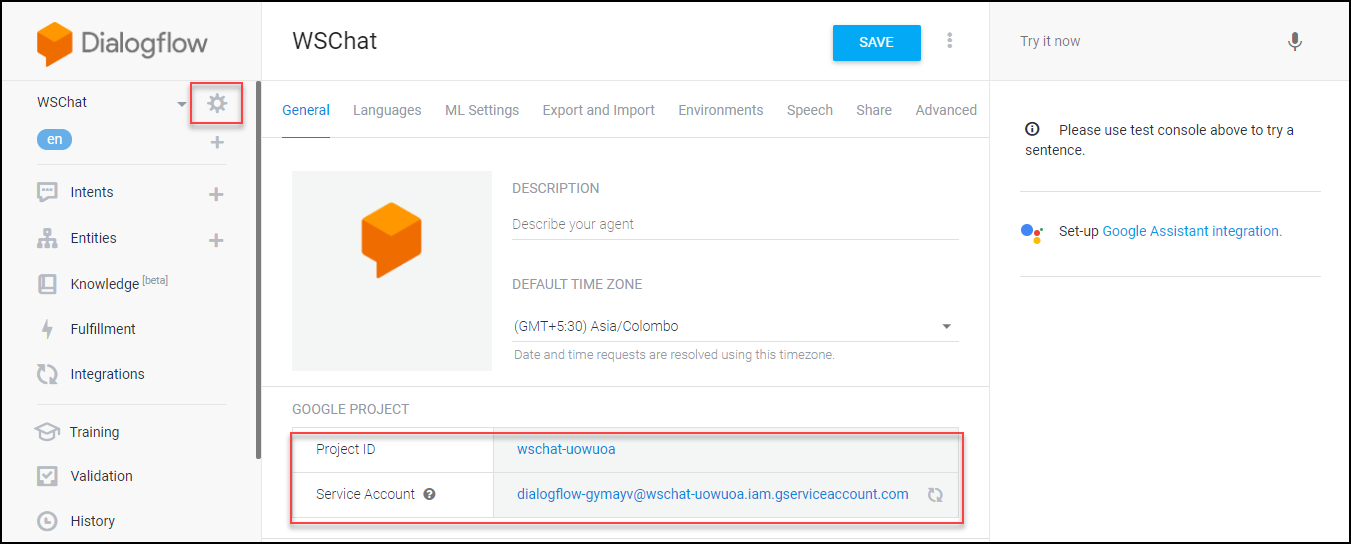
You can copy the project ID and click on the link of ‘Service Account’. It will be redirected to the Google Cloud Platform. Click on the ‘Actions’ corresponding to the email Id. Then click on Create Key.
Choose JSON or P12 format and click on Create.
A file will be downloaded.
Look at an example of the JSON file.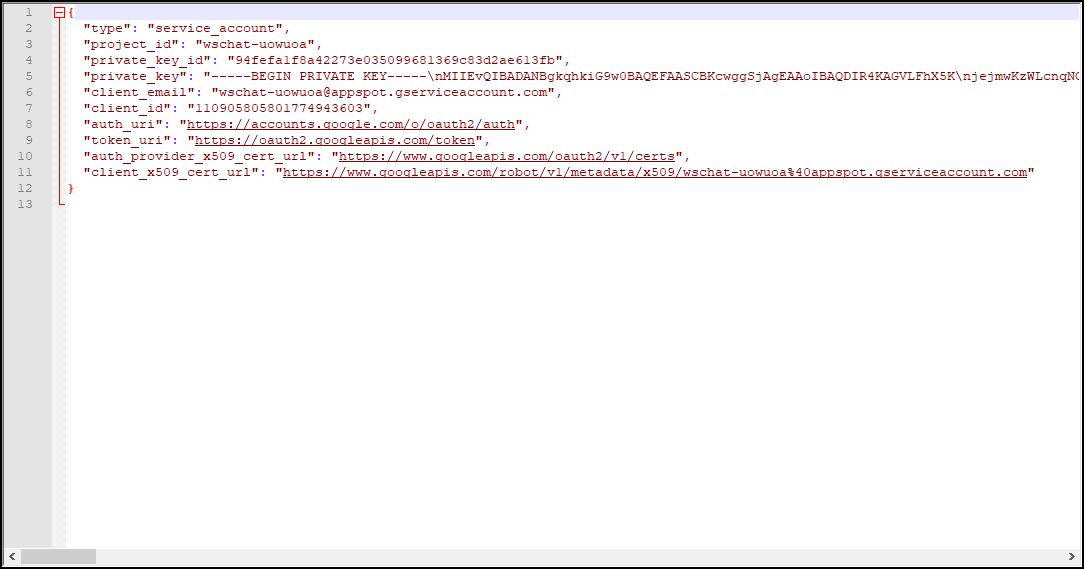
You can use the project ID and JSON/P12 key file.to integrate Dialogflow with your respective Chatbot.
How To Integrate WSChat with Dialogflow?
WSChat is a simple and top-notch WordPress live chat plugin, tailored for the best customer support experience. This handy plugin allows you to easily integrate with Dialogflow for implementing AI and NLP-based responses automatically to make your customers get your support even though you are not online to answer.
For more details about how to set up this, go through How to set up WSChat – ELEX WordPress Live Chat Plugin?.
After installing and activating the plugin,
Go to WSChat -> Settings -> Integrations -> Dialogflow
Enable Dialogflow, enter the project ID, and copy-paste the JSON file format Google service account private key file in the respective fields. You can also choose an agent language here.

Click on submit.