Videos are excellent tools for attracting, engaging, and bringing back users to your website. They are undoubtedly the most simple-to-understand yet powerful form of communication and a terrific way to learn things in an engaging way. Therefore, adding videos to your website is the best way to engage your audience and increase retention.
Additionally, including videos on your website can improve its Google Search ranking. It may be beneficial to integrate YouTube videos in WordPress for a variety of reasons, including showcasing your brand, promoting a promotional campaign, or using a video to enrich a blog post.
By integrating a video on your website, users can view it more quickly and develop a connection with your company. When properly integrated, a video improves your WordPress site and encourages people to stay on your website for a longer period of time.
Integrating YouTube videos into your website was a little challenging in the early days of WordPress. It’s a good thing that the platform has advanced somewhat since then because there are now a variety of options to include YouTube videos on your website. The various methods for integrating YouTube videos into WordPress are covered in this article. Additionally, we’ll walk you through the differences between uploading and embedding videos.
Difference Between Uploading and Integrating Videos
The video file on its own is uploaded to your unique web hosting server when you upload a video. The video player can then be displayed and played on your website using WordPress. When you embed a video, you are only linking to a video that is already hosted on YouTube. You may integrate and view the video on your WordPress-powered website by simply adding the provided link or code.
Listed below are a few reasons why, in our opinion, you shouldn’t just upload a video directly to your website.
Limits on server bandwidth and file sizes – A portion of your bandwidth allotment is consumed each time someone views a video that is uploaded and hosted on your website. Plus the majority of servers have a file size restriction for uploads. If you upload too many videos, even if they are within the allowed limit, your storage will be soon used up. Supplemental plugins may be needed for managing videos, and such plugins will drain resources as well. By embedding your videos, you can prevent this from happening and improve the performance of your website.
Boost your visibility, subscribers, and engagement – Uploading your videos to YouTube rather than your own website will increase traffic and audience numbers. Additionally, managing your videos on YouTube is simple and easy.
Cross-promotion – You can cross-promote by directing website visitors to your YouTube channel and vice versa. Videos boost the visual appeal of your website and provide additional material and usefulness to your customers.
Top 3 Ways to Integrate YouTube Videos on Your WordPress Site
We’ll demonstrate three simple ways to embed YouTube videos for you in this article. All of the techniques are very easy, so by the time you finish reading this article, you’ll be able to integrate videos into your website like an expert.
Method 1. Direct Video Embed
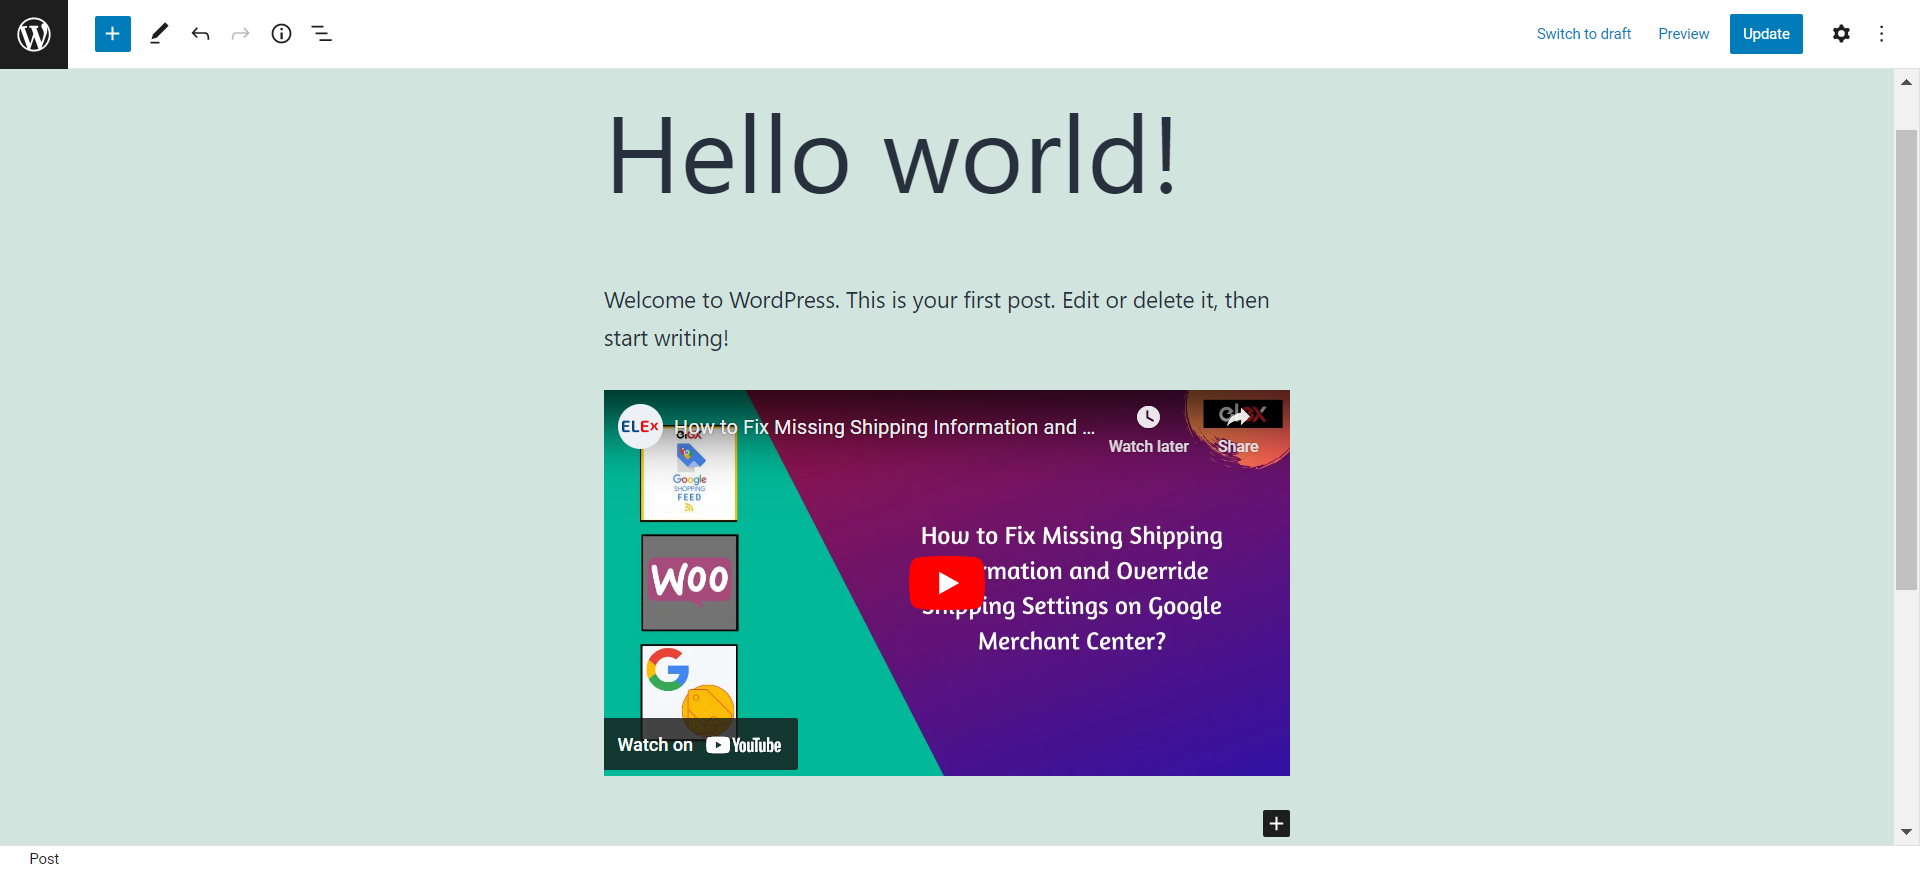
All you need to do is navigate to the YouTube video’s URL and copy it. The URL can be copied from the URL bar of your computer or from the YouTube share button. You can make the video start at a specific point by checking the “Start at” box and selecting a timestamp.


 Method 2. WordPress Sidebar Embed
Just like the direct video embed process, you can simply embed the copied youtube video link onto the sidebar of your website. Let’s see how.
From the WordPress dashboard, navigate to Appearance > Customize and click Widgets. You might want to add your videos to several different sidebar sections. After selecting the desired sidebar, click Add a Widget.

Paste the YouTube video URL into the box after that. To confirm, click Add to Widget after the video preview has appeared. The video title can be entered in the video widget on the left side. To go live, lastly, click Save & Publish.

Method 3. Video Embedding WordPress Plugins
Even though all of the default techniques discussed above are rather straightforward and uncomplicated, you can nonetheless need a variety of personalization options. This option also makes the job of handling videos in bulk much simpler. As a result, there are a number of WordPress plugins available for this purpose.
In order to add more features, you can add plugins to your website. This might involve connecting your YouTube feed to your website, creating a video gallery, enabling autoplay videos on loading the page, or lazy loading your videos to make your website run smoothly.
Just a few of the numerous benefits you may obtain by including a video embedding WordPress plugin are listed below:
- Create an endless number of YouTube galleries with playlists, channels, and videos.
- Simple tools for quickly creating and customizing galleries
- Schedule automatic syncs or manually sync galleries.
- Incorporate an introduction video into your YouTube video gallery.
- Each gallery can have a subscribe button at the top.
- Each gallery can be live-previewed as it is being created.
- Strong pagination for fast loading and a clean layout
- API authorization for YouTube
We strongly recommend installing the ELEX WordPress Embed YouTube Video Gallery plugin, which makes it incredibly easy to embed YouTube galleries on your website. The best thing about this plugin is that no coding knowledge is necessary. There are extensive layout and modification options to ensure that your gallery fits the appearance and look of your website.
It provides you with the flexibility to integrate and customize as many YouTube galleries as you like on your website, whether they contain full channels, playlists, or single videos. It makes use of the YouTube API and offers a variety of customizing options, such as the addition of pagination to improve the design and loading speed and carry out pre-programmed syncs automatically.
First, the plugin must be installed and activated. This can be done by downloading the plugin, going to WordPress Dashboard > Plugins > Add New, and clicking Install Now. Once the plugin has been installed, click Activate.
The settings for the ELEX WordPress Embed YouTube Video Gallery can be found under WordPress Dashboard > YouTube Gallery Dashboard > Plugins > Installed Plugins.
Access to the plugin settings is provided through four tabs: My Gallery, Create, Options, and Help & Support. Let’s get started with configuring the plugin.
Create
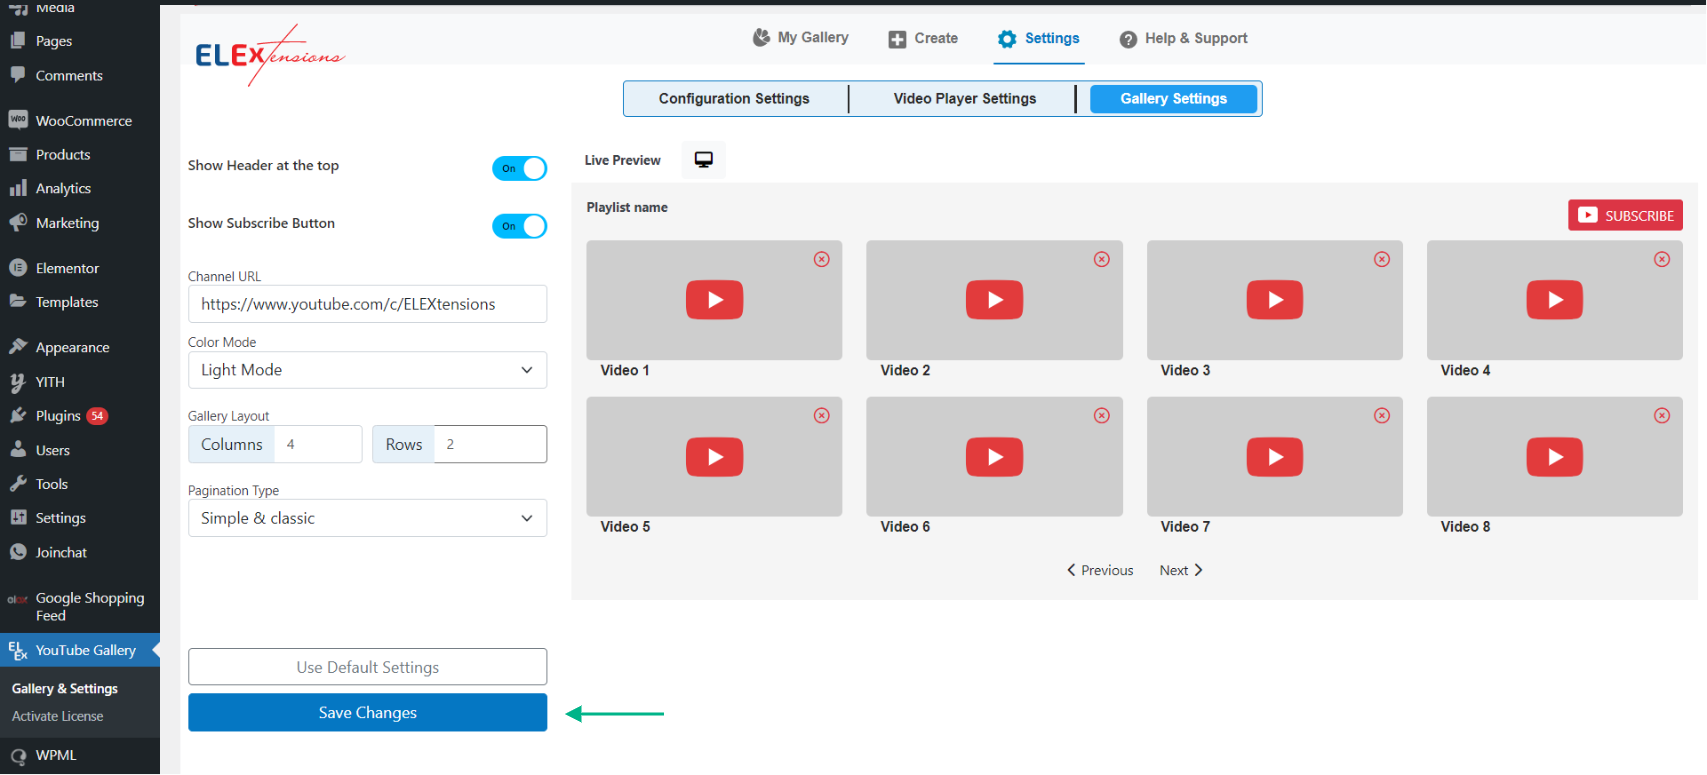
By adding video URLs, playlist URLs, or channel URLs to the source list under the Create tab, you may generate galleries, change the layout, and preview them upfront. The gallery name, category, and URL can all be added here. After you’ve completed the above steps, navigate to the Customize menu. This menu offers additional options for customizing galleries. The source list, color mode, desktop layout, subscribe button settings, and intro video configurations are all available from this menu. When you’re through making changes to the settings, click Save Changes.
Settings
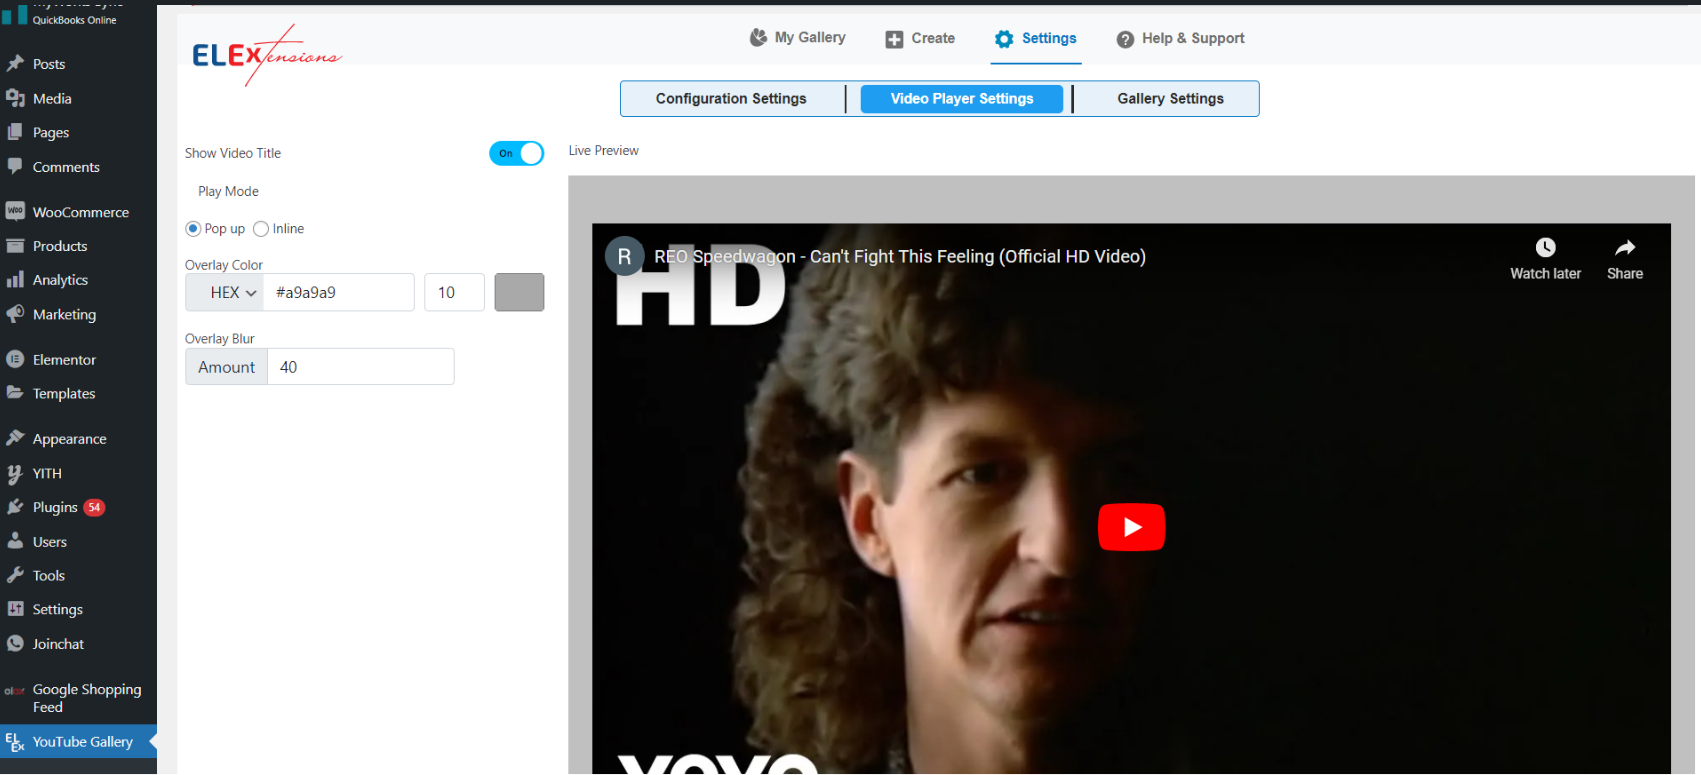
The settings tab is divided into three submenus: Configuration Settings, Video Player Settings, and Gallery Settings. By default, all of your galleries will be subject to these settings; however, you can subsequently change them by altering the preferences for specific galleries. Connecting the plugin to YouTube via the YouTube API key and configuring auto syncs are among the configuration settings.


To Wrap Up
Video is one of the most prevalent types of content available on the internet for a reason. It’s a fantastic opportunity to interact with your audience, educate them, and get them excited about your business. As we’ve demonstrated, using the appropriate plugins makes it simple to add YouTube videos to WordPress. With this knowledge, you should now be able to add YouTube videos to your WordPress website in a more effective manner. Please leave us a comment if you have any additional questions regarding how to integrate YouTube into WordPress.
Further Reading
How to add a YouTube Feed to your WordPress Website? | Step-by-Step Guide
How to Embed a YouTube Video on Your WordPress Website?
How to Embed Videos from a YouTube Channel on Your WordPress Website?


