It’s highly possible that, as part of your company’s operations, you will be responsible for the shipment of packages, regardless of the size of your business. When it comes to shipping and tracking, the United Parcel Service (UPS) is a major player.
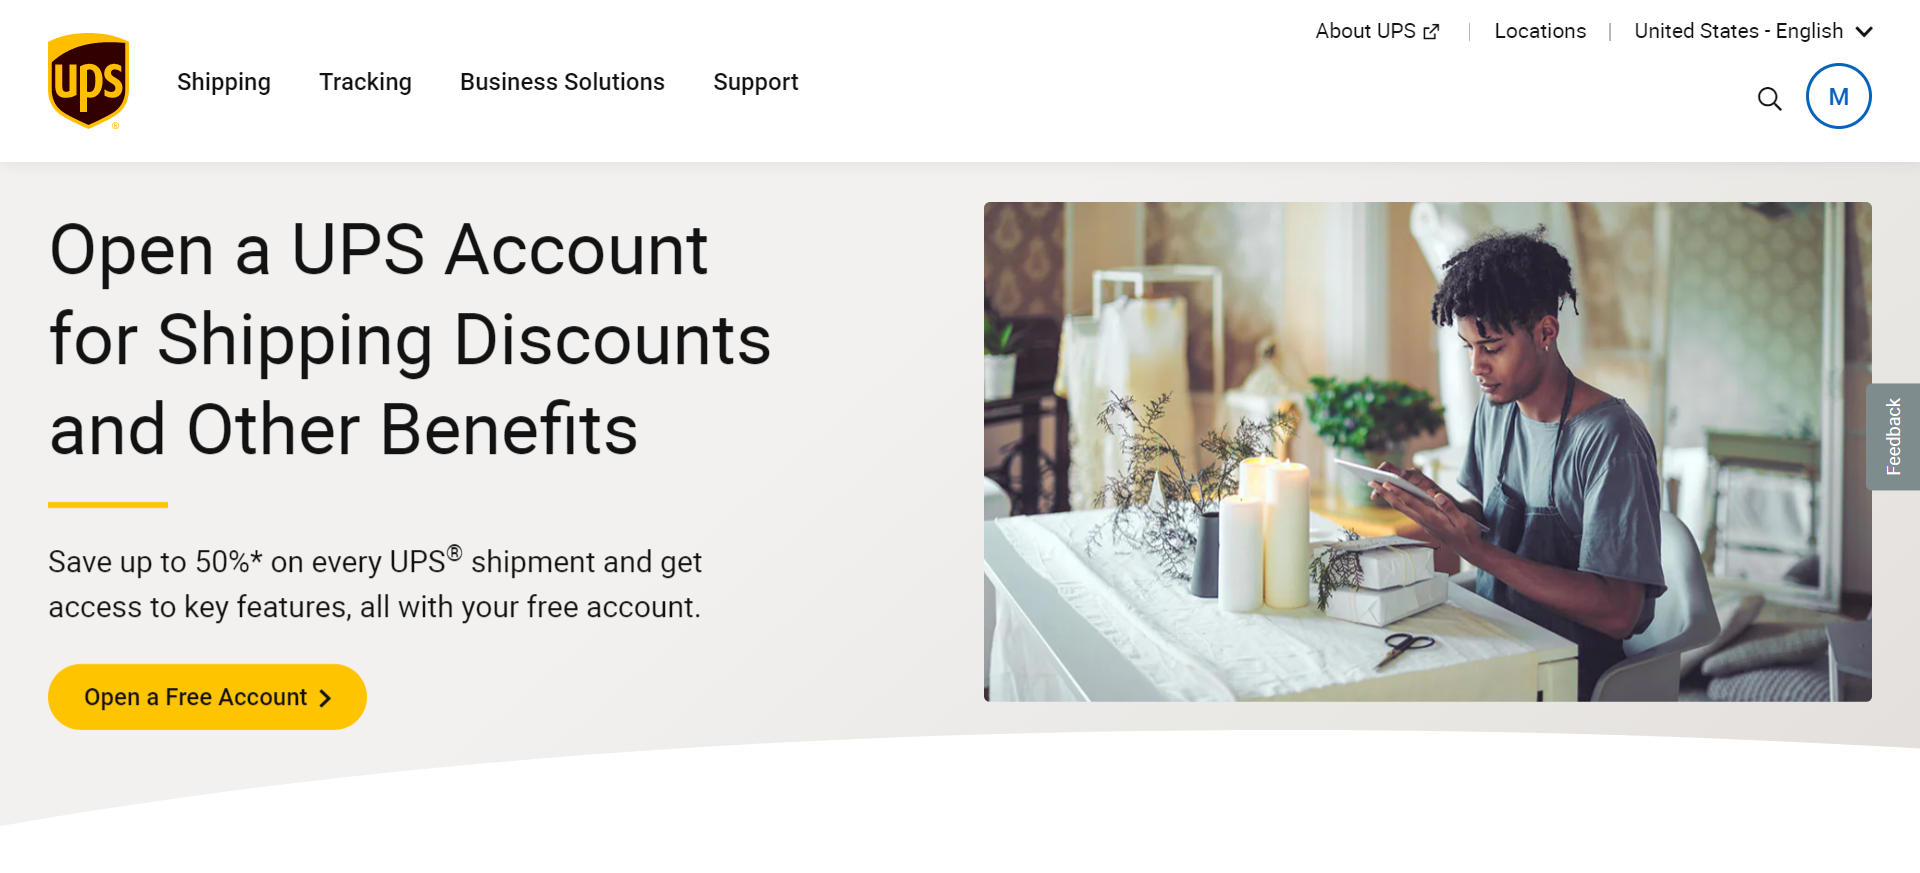
Setting up a UPS account might be helpful regardless of the size of your company. In addition to the numerous additional advantages of using UPS, you may also enjoy financial and time savings as a result of using the account number created by UPS.
You should be familiar with its benefits and how to create a new UPS account for your business.
In this guide, we will walk you through the process of creating a UPS account and integrating real-time shipping prices from UPS into your online storefront. We also go over any other information that could come in handy when creating your new account.
What exactly is a UPS account?

Anytime you need to send something, just set up a one-time shipment and pay for it when you send it. You will, however, have access to additional discounts and a more expedited shipping experience with resources such as saved payment options and online billing if you have an account with UPS.
UPS account numbers are six-digit numbers that are unique to each business. No matter if you’re a private individual or a large corporation, your UPS account is uniquely identified by a six-digit number.
UPS is able to better keep track of bills and payments because of the account numbers that are assigned to each individual account. In order to have deliveries automatically charged to your UPS account, you will need to obtain a UPS account number. We will demonstrate how to create one later in the article.
Should I open an account with UPS?
Having a UPS account is not required, but having one does come with some benefits to consider. If you send out a significant number of shipments, opening a shipping account could help you save money on your shipping expenses by granting you access to discounts.
Multiple users will have access to your shipping account, allowing you to make a single weekly payment rather than one for each shipment shipped.
It also makes the process of creating packing labels and organizing shipments significantly quicker, which can significantly cut down on the amount of time it takes for you to dispatch orders.
If you own a company that routinely sends packages to customers, you will find a UPS account to be especially helpful.
Pickups can be arranged for specific times each week, or they can be triggered automatically whenever a new shipment is made.
For companies that regularly send out multiple parcels, this is a huge time-saver and may even save money in the long run due to the resulting increased productivity.
- Packages can be charged to your UPS account record, eliminating the need to enter credit card information each time a shipment is made.
- You can bill shipments to third parties if needed.
- The recipient’s shipping address can be saved so that it doesn’t have to be entered again the next time the shipment is shipped.
- You will receive a personalized tracking dashboard as well as access to your shipment history when you sign up for an account with UPS.
- Each shipment’s current location and delivery time can be viewed by customers as well as the store.
- You are able to use both PayPal and major credit cards to make payments.
- You can view the history of approximately 50 tracking numbers using your account.
- Scheduled UPS pickups can be requested from any specified location, and the process can be initiated either using the user’s mobile phone or by referencing the user’s online order history.
- Worldwide package tracking
- Your UPS account makes it simple to schedule and manage your complimentary packaging materials and shipping supplies.
What are the Steps to Generate a new UPS Account Number?
You can generate a new account number in no time by following these steps:
Sign Up for a new UPS account
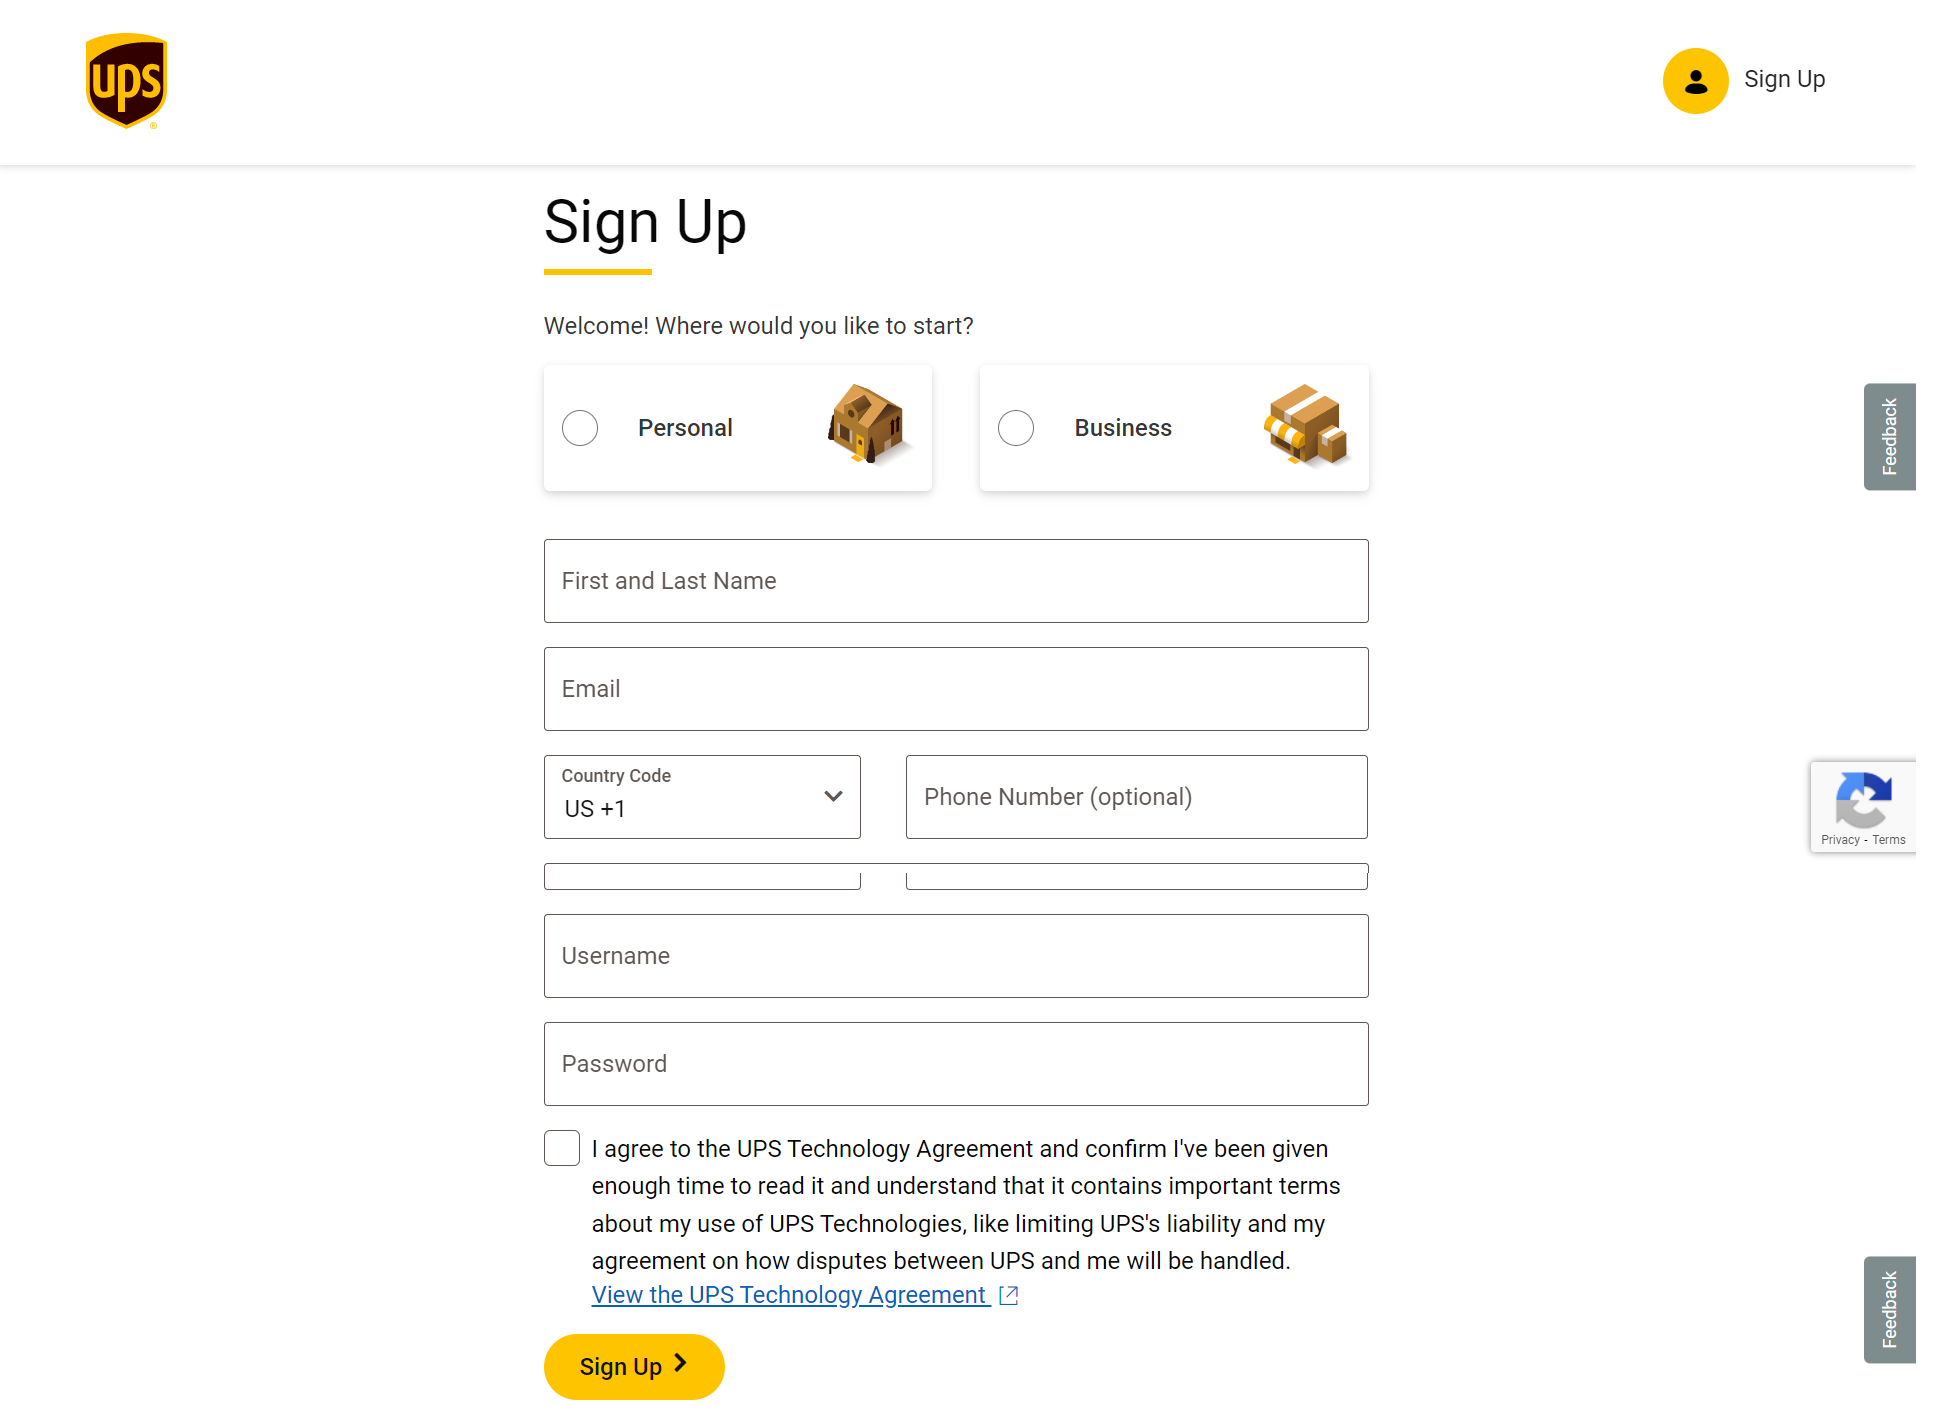
To sign up for an account, please navigate to the following UPS Sign-Up page.

Once that’s done, you’ll be prompted to choose a service plan that works for you. You will first be asked to select the services that you want, and then you will be invited to provide your billing information in order to finish the registration process.
There are a few different payment choices available to you, including prepayment, prepaid credit, and automatic billing. For the sake of avoiding any unpleasant surprises once you’ve started shipping, be sure to read the UPS agreement thoroughly since it contains important information on the service charges and policies you must follow in the event of any disputes or damages.
Your request for an account number will be processed when you’ve decided on a package of services and provided payment details, and after UPS reviews and accepts your paperwork.
You will then be given a unique UPS account number after the finalization process has been completed. This number can then be used for any future sales or shipping actions.
Your account number will be emailed to you once your application has been successfully submitted and you have been given approval after reviewing it. Always make sure to have this number handy because it is required for tracking deliveries as well as keeping track of your spending.
Be careful to keep an eye on the email you set up with UPS because they will send you reminders when payments are overdue.
Your account number can be found by navigating to Home > Profile > Accounts and Payment Options > My Accounts and Payment Methods.
Automate and Streamline UPS Shipments
When you have successfully created a new UPS account, your shipping process will become a lot easier, but you will have to keep switching between the UPS website and the backend of your own website to process orders.
With the help of a powerful shipping plugin such as the ELEX EasyPost Shipping & Label Printing Plugin for WooCommerce, you can process all your orders right from the backend of your website.
This can be achieved by integrating your UPS account with EasyPost. This process streamlines your orders with UPS and also provides you with multi-carrier shipping options from UPS, FedEx, Canada Post & USPS.
You are able to display real-time shipping charges for UPS, USPS, FedEx, UPS SurePost, and Canada Post with the use of the ELEX EasyPost Shipping & Label Printing Plugin.
It gives you the ability to create shipping labels, display estimated arrival dates, track orders, set USPS Flat rate boxes, and create customized box packing options for shipments.
To Wrap Up
Creating a UPS account might make shipping easier by streamlining the shipping process and enabling weekly billing. All of your deliveries will be linked to a six-digit account number, and you’ll be able to access your bills digitally from anywhere in the world.
You can also choose convenient defaults for scheduling pickups and streamlining shipping processes. We hope this article has helped you create a new UPS account and obtain your account number. If you have any questions regarding the process of creating a UPS account, please let us know in the comments section below.


