A YouTube playlist on your website is a fantastic method to let your audience see your YouTube material. By showcasing your video series, you may diversify your website’s content beyond just text.
While marketing your YouTube channel to efficiently increase your subscriber count, including a YouTube playlist can improve your WordPress SEO.
This tutorial will demonstrate the simplest method for adding a YouTube playlist to your WordPress website.
YouTube API: What is it?
An application programming interface called the YouTube API enables you to manage playlists, embed videos, and provide other YouTube features on your website. Without having to build new code from scratch, it enables organizations to offer sophisticated video-sharing services on their website or mobile application.
The YouTube API, like other APIs (or Application Programming Interfaces), simplifies programming tasks by avoiding the tedious task of creating every single line of code each time a user needs to access data. Instead, to curate YouTube videos on a website, programmers might utilize preset functions and protocols. Without having to access specific videos or channels, it enables mass data retrieval.
Using a Plugin to Auto-Sync a YouTube Playlist
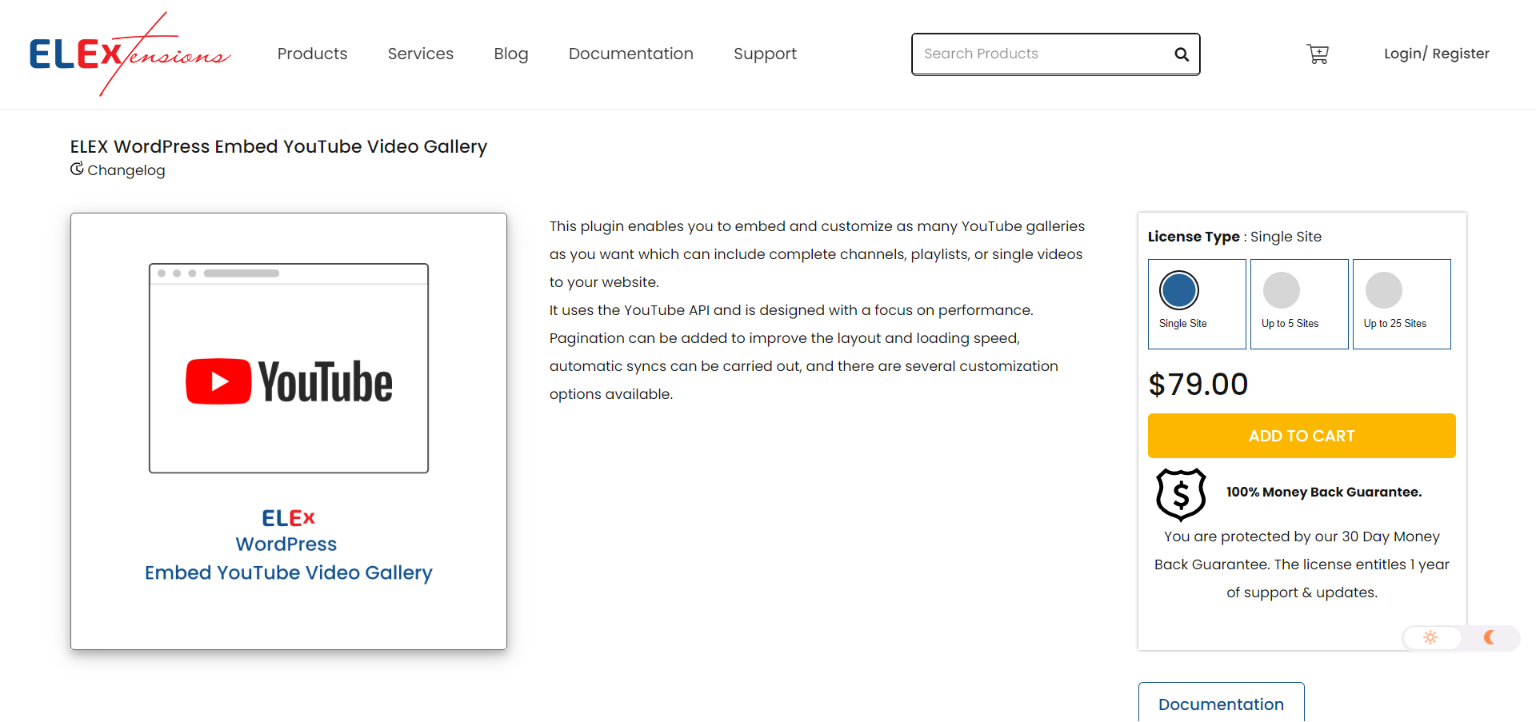
With the ELEX WordPress Embed YouTube Video Gallery Plugin, you may quickly and easily sync your YouTube playlists with your WooCommerce store.
The YouTube API enables you to show totally customizable YouTube videos on your website in the form of a gallery and to automatically sync individual videos, playlists, and even whole YouTube channels to your website.
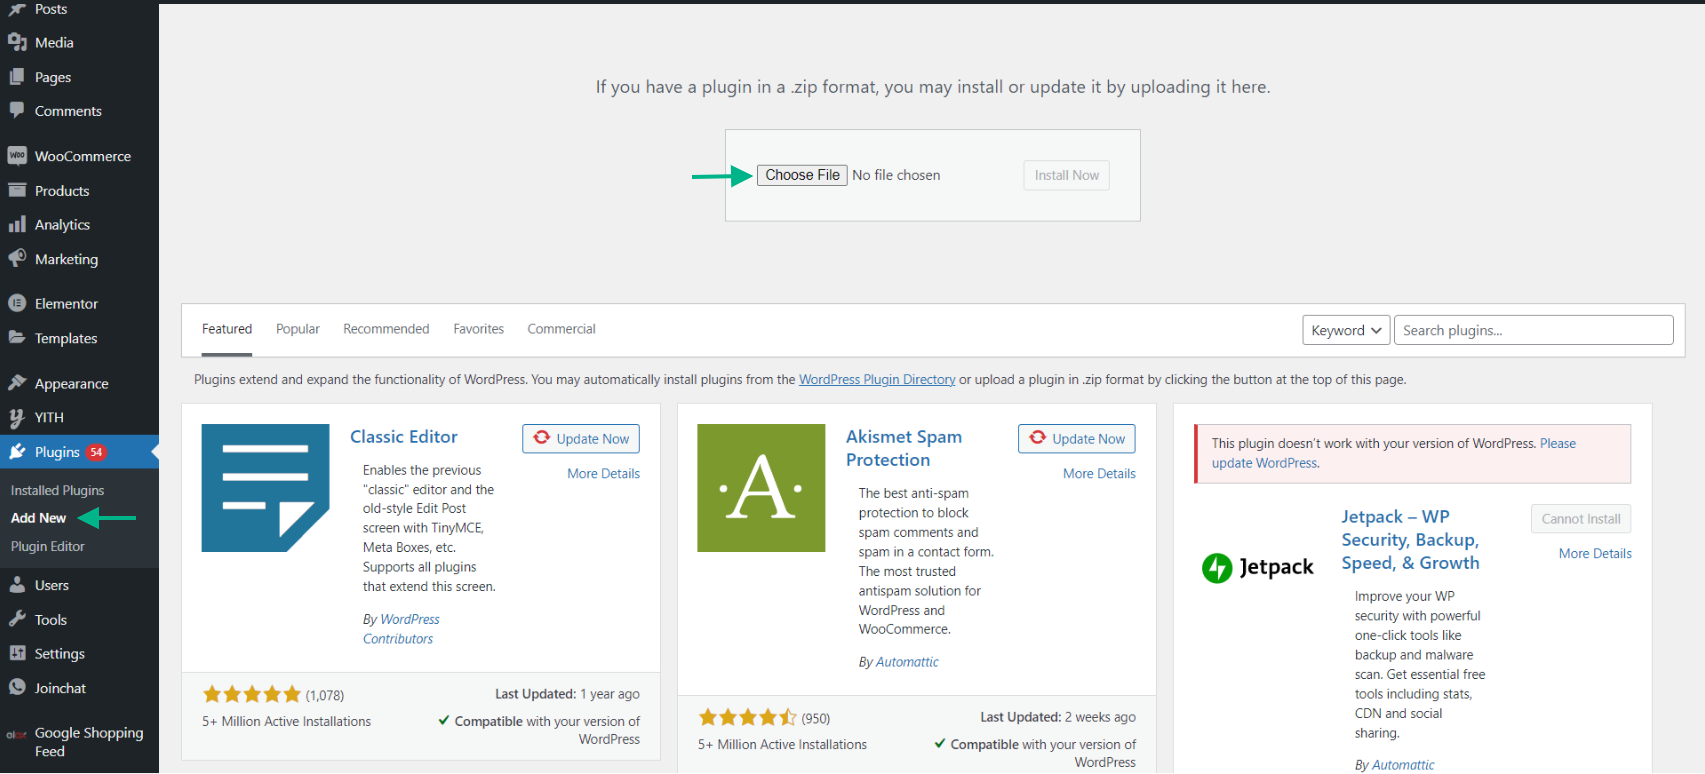
Installing and activating the plugin is the first step. To accomplish this, download the plugin and then click Install Now under WordPress Dashboard > Plugins > Add New.
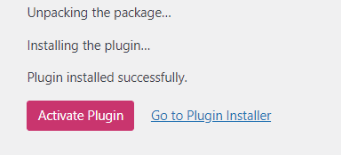
Click Activate Plugin when the plugin has been installed.
After installing and activating the plugin, you have two ways to access its settings:
- WordPress Dashboard > YouTube Gallery
- WordPress Dashboard > Plugins > Installed Plugins > ELEX WordPress Embed YouTube Gallery Plugin > Settings.
The four tabs that make up the plugin settings are My Gallery, Create, Options, and Help & Support. Let’s begin setting up the plugin.
The above settings are self-explanatory and easy to use, if you wish to understand each of them in detail, check out How to Embed a YouTube Video on Your WordPress Website.
For the sake of this demonstration, we will stick to the crucial settings necessary in order to auto-sync playlists using an API key.
Settings
The three sub-menus that make up the settings tab are Configuration Settings, Video Player Settings, and Gallery Settings. By default, all of your galleries will be affected by these parameters, but you may later change them by changing the settings for particular galleries. Let’s examine each of them in more depth.
Configurations tab
- YouTube API Key: Your YouTube API key should be entered in this area. “Click here to generate your API key” should be clicked. On this screen, click Create Credentials. After the rerouting, you’ll be sent to the Google Cloud Console. On this screen, click Create Credentials > API Key.
- Auto Sync: Using the Auto Sync feature will automatically update your gallery by syncing your YouTube channel or playlist on a routine basis.
- Time Interval: When auto-sync is enabled, the time interval drop-down option will be shown. Here, you may change how frequently you want the gallery to sync on its own. Daily, once every seven days, once every 15 days, and once every 30 days are the options.
- Use Default Settings: Removes the API Key and other preferences, returning the configuration settings to their initial state.
The above settings are easy to use and can be configured according to your preferences. Once the settings are customized, click Save Changes.
Let’s move on to the final essential setting.
Gallery Settings
This tab allows you to establish the default global gallery settings, which may later be altered per user.
- Show Header at the top: Enable this option to make the gallery name visible at the top of each gallery.
- Show Subscribe Button: Enable this option to make the Subscribe button visible at the top of each gallery. Show Subscribe Button.
- Channel URL: Users will be sent to this URL, which is the channel URL, when they click the Subscribe button. This is a crucial component as it connects your YouTube channel with your website. This allows your specific YouTube playlists to be synced.
- Color Mode: Choose a light or dark mode depending on your tastes and the layout of the website.
- Gallery Layout: Choose the number of columns and rows you wish to view in each gallery when laying up the galleries.
- Pagination Type: Choose the Simple & Classic or Numbered pagination type to display a previous & next page or a numerical page, respectively.
You may watch a preview of each adjustment in the live preview section. Click Save Changes once all the necessary modifications have been made.
Below is a screenshot of the end result with the YouTube playlist synced onto our website.
We hope this post has helped you understand the process of integrating YouTube playlists with your store using YouTube API.
Conclusion
It wouldn’t be a leap to assume that video content would dominate the internet in the future. You’re missing out on the chance to truly capture your visitors’ interest and keep them coming back for more if you’re still solely posting text-based content to your website. Integrating your YouTube videos and playlists with your WordPress website is essential for this reason.
Further Reading
- How to Feature a WooCommerce Shipping Calculator on your Website? | Product Page, Checkout Page, or Any Other Pages
-
Step-by-Step Guide to Set Minimum and Maximum Amount Range in WooCommerce
- How to Embed Videos from a YouTube Channel on Your WordPress Website?
- How to Create a Website Displaying Video Gallery from your YouTube Channel?


